
This section describes the operation of the "IPsec" screen.
Here, you can check the IPsec connection status, add or edit settings, etc.
This manual describes the IKEv2/IPsec VPN connection operating between AG10 and AC15, organizing its basic configuration, cryptographic parameters, and communication patterns.
Overall overview of VPN connections
- Connection Name:
sa01 - Protocol used: IKEv2 (phase 1)
- Authentication method: Both parties use pre-shared keys
- Local AG10 side IP: 1
192.168.1.197 - Remote AC15 side IP: 1
192.168.1.113
- Local AG10 side IP: 1
- Child Connection (Child SA):
- Traffic Selector:.
192.168.0.0/24 === 192.168.0.0/24 - Communication mode: Tunnel mode (TUNNEL)
- Traffic Selector:.
Encryption parameters
- IKE(Phase 1)
- Encryption: 1
AES_CBC_128 - Authentication
HMAC_SHA1_96 - PRF (Pseudo-Random Function): The
HMAC_SHA2_256 - Diffie-Hellman Group:.
MODP_2048
- Encryption: 1
- IPsec(Phase 2/Child SA)
- Encryption: 1
AES_CBC_128 - Authentication
HMAC_SHA2_256_128
- Encryption: 1
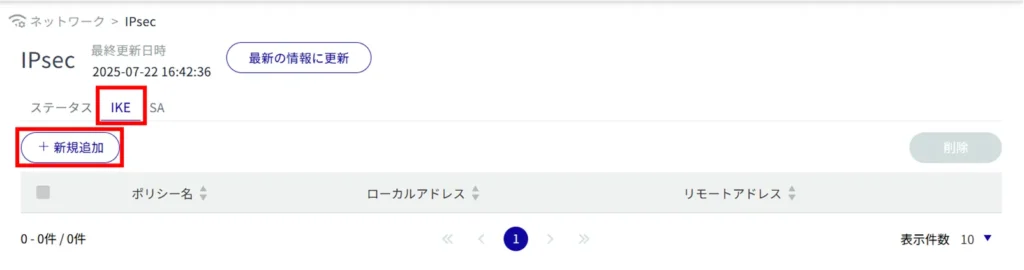
Click [Network] > [IPsec] on the side menu to open the "IPsec" screen.
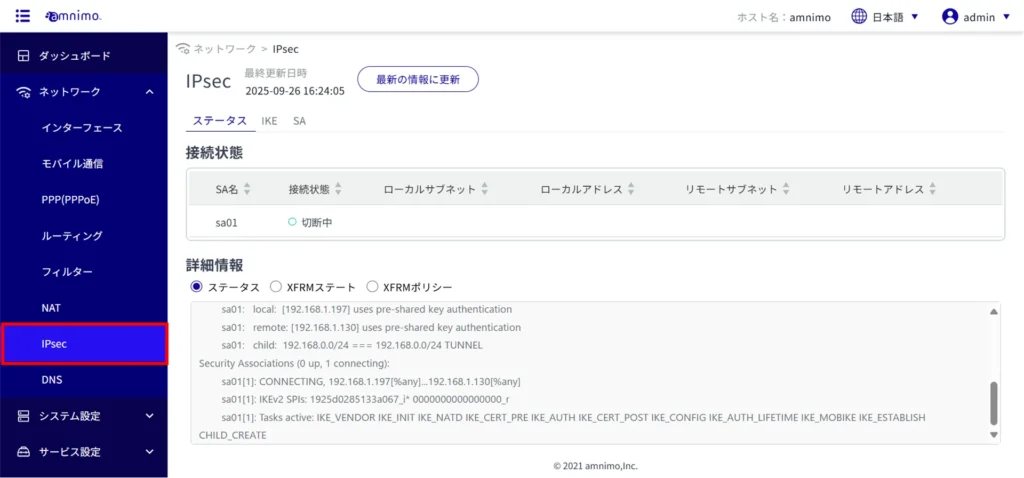
IPsec connection status #
Check IPsec connection status #
Click on the "Status" tab to view the status of the IPsec connection you are connected to.
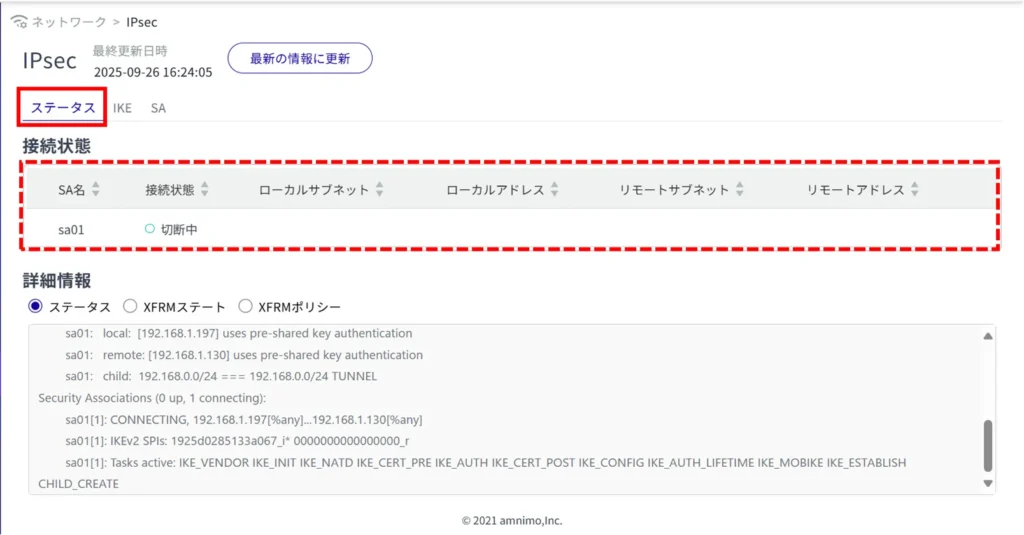
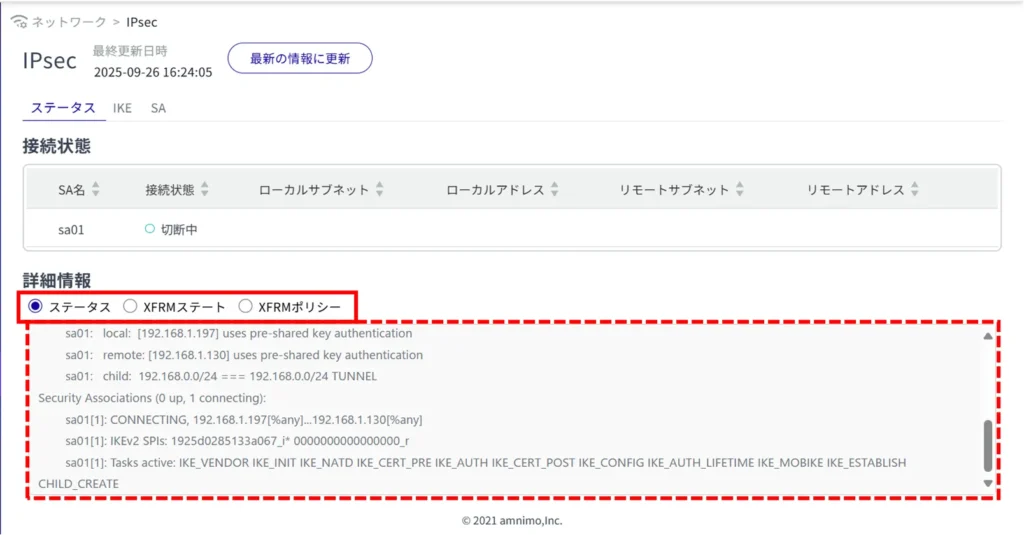
Check IPsec details #
On the "Status" tab, you can check the status, XFRM state, and XFRM policy by toggling the radio buttons for more information.
IPsec Configuration #
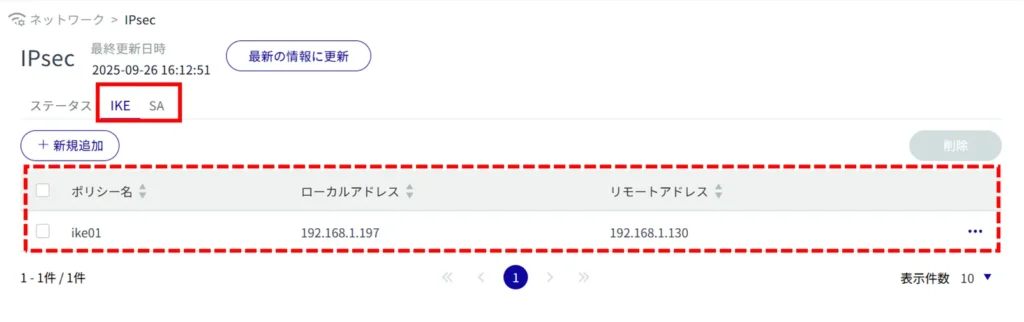
Display a list of IPsec settings #
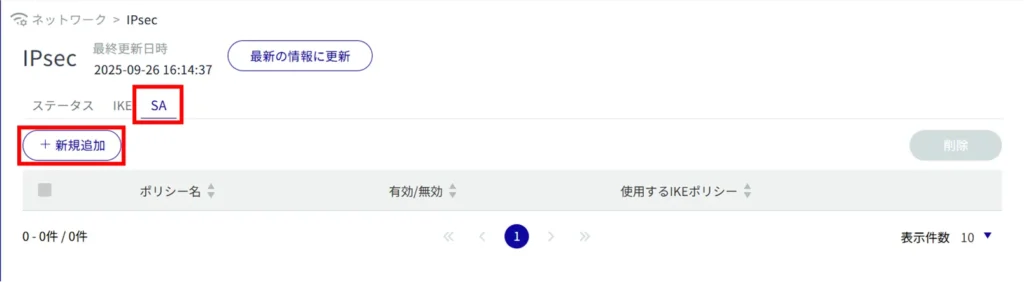
Switching between the "IKE" and "SA" tabs allows you to check the IPsec settings.
Add IPsec settings #
Add IPsec settings.
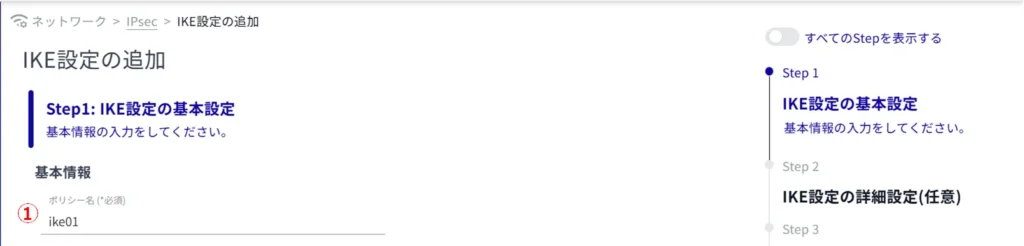
Adding IKE Configuration
This is how it is set up when the IKE tab is selected.
(1) Enter any policy name. Example: ike01
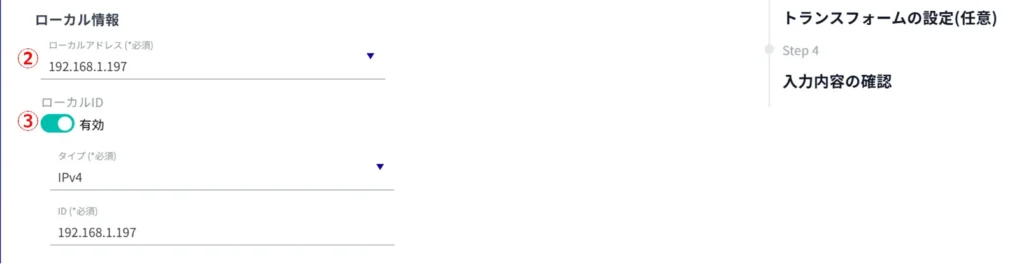
Enter the local address. Example: 192.168.1.197
③ Click the toggle button to enable or disable the local ID.
Select All to allow all addresses.
By checking the Local ID checkbox, you can also select the type and enter the ID.
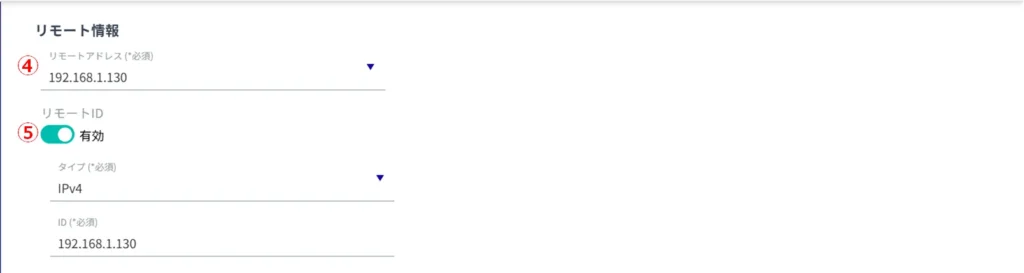
Enter the address of the remote side (connection destination).
Click the toggle to enable/disable Remote ID.
Select All to allow all addresses.
By checking the Remote ID checkbox, you can also select the type and enter the ID.
(6) Select the IKE version.
(7) Set the Pre-Shared Key (PSK).

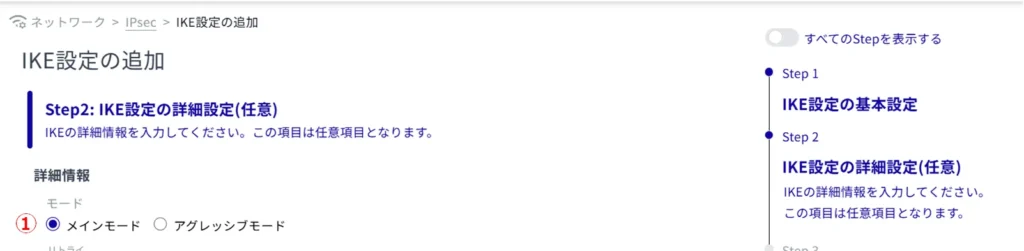
*Because this is an optional field, you can proceed to the next step even if you have not entered any information.
(1) Specify the IKE mode. This mode is valid only when IKE version 1 is selected.
Set the number of retries in the range of 1 to 255.
Select "No limit" for no limit on the number of retries.

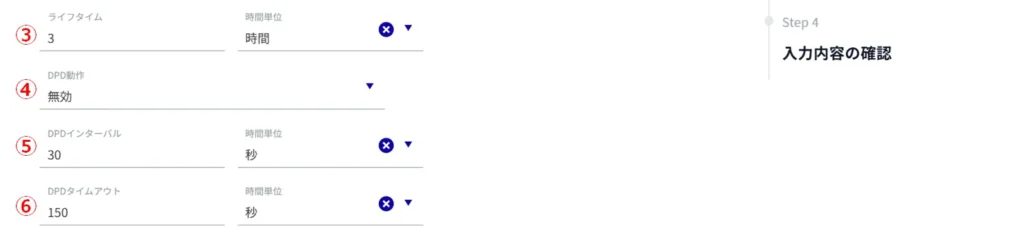
(3) Set the IKE lifetime. It can be specified in seconds, minutes, or hours.
(4) Specify the action to be taken when disconnected by DPD (Dead Peer Detection).
(5) Set the interval of DPD. It can be specified in seconds, minutes, or hours.
(6) Set the timeout for DPD. It can be specified in seconds, minutes, or hours.
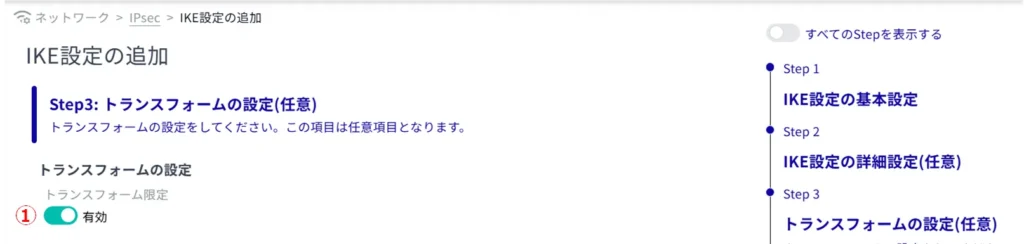
*Because this is an optional field, you can proceed to the next step even if you have not entered any information.
(1) Click the toggle to enable/disable transform limitation.
Enabling Transform Limit enables operation to be limited to specified transforms only.
Click [Add New].

(3) Configure the following settings and click [Setup].
Select the encryption algorithm.
Select the authentication algorithm.
Specify PRF (Pseudo-Random Functions). This is valid only for IKEv2.
Select Diffie Hellman Groups.

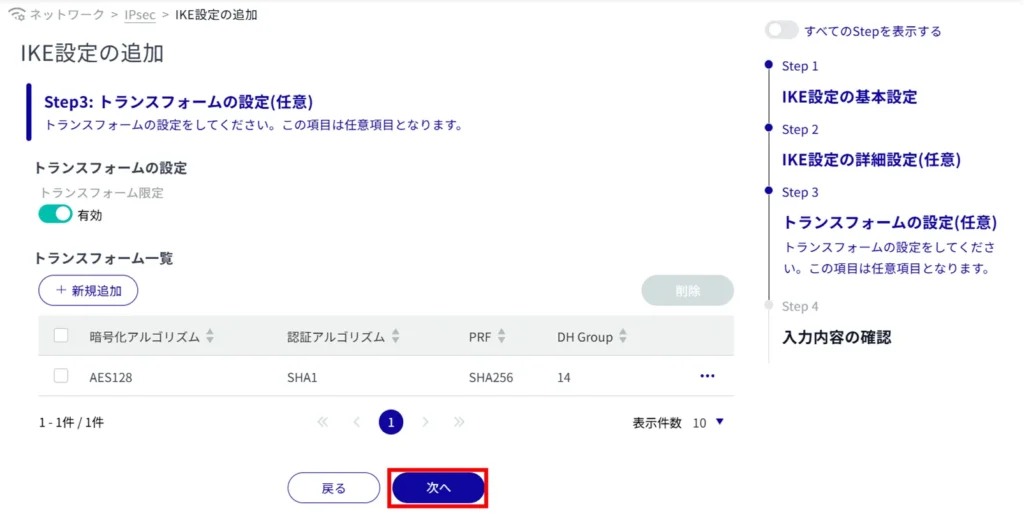
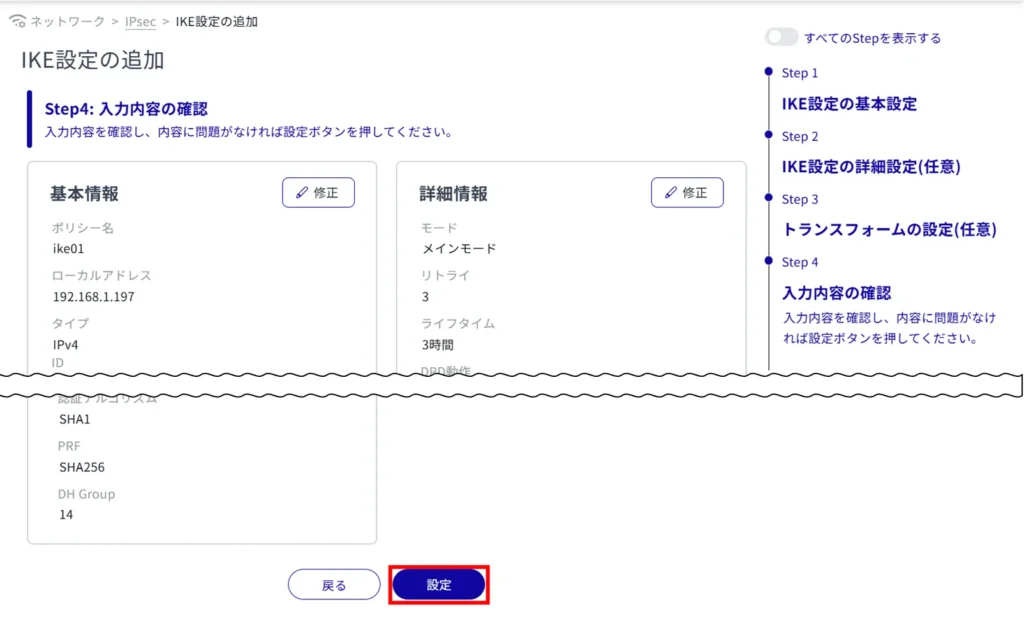
IKE configuration is completed.
Adding SA settings
This is how it is set up when the SA tab is selected.
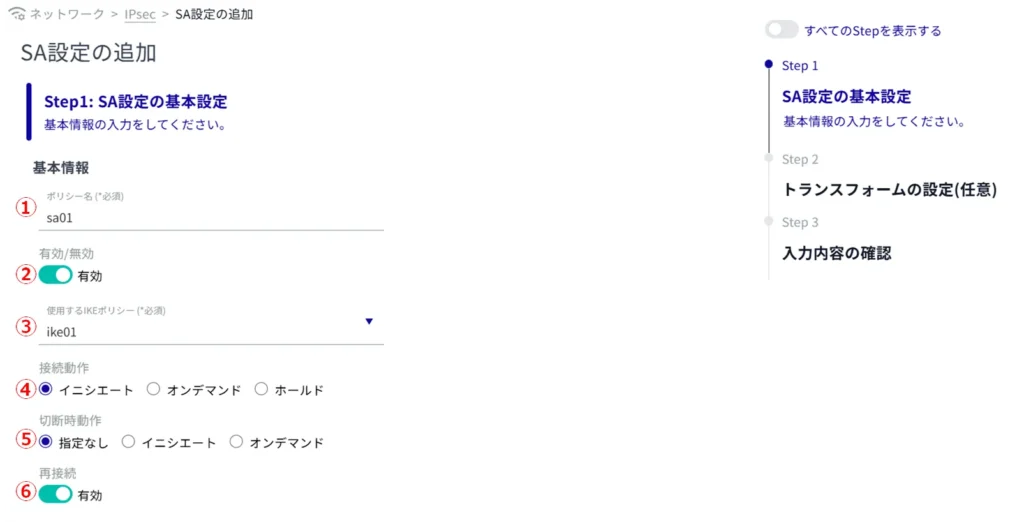
Enter any policy name.
Click the toggle to enable/disable.
Specify the IKE name to be used for key exchange.
Selects the connection operation.
(5) Selects the action to be taken when disconnected.
(6) Enable/disable reconnection.
(g) Select the protocol type.
⑧ Select the communication mode.
(ix) Set the life time.
(10) Select the priority level.
(11) Set each local subnet.
⑫ Set each remote subnet.

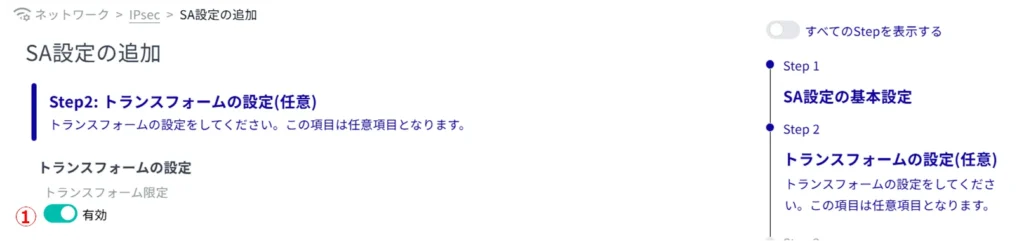
*Because this is an optional field, you can proceed to the next step even if you have not entered any information.
(1) Click the toggle to enable/disable transform limitation.
Enabling Transform Limit enables operation to be limited to specified transforms only.
Click [Add New].

(3) Configure the following settings and click [Setup].
Select the encryption algorithm.
Select the authentication algorithm.
Specify PFS (Perfect Forward Secrecy).

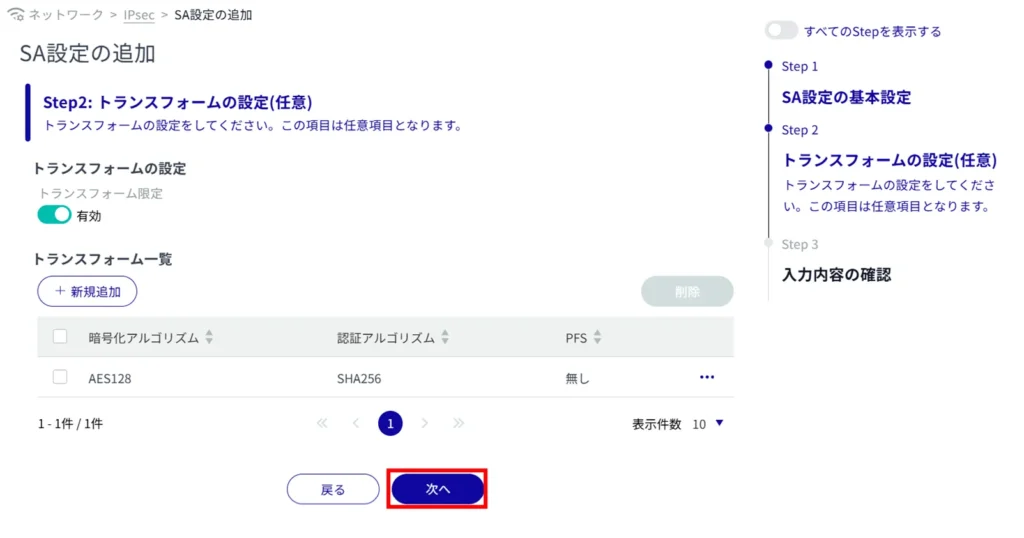
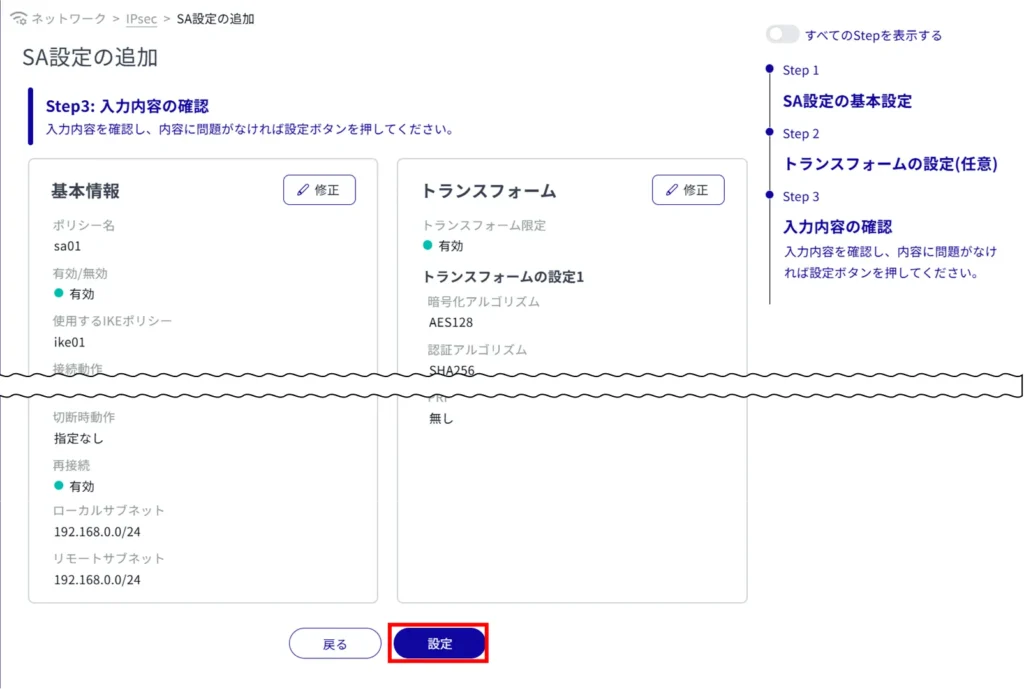
SA configuration is completed.
Edit IPsec settings #
Edit IPsec settings.
It is possible to edit for IKE and SA respectively. This section uses IKE as an example.
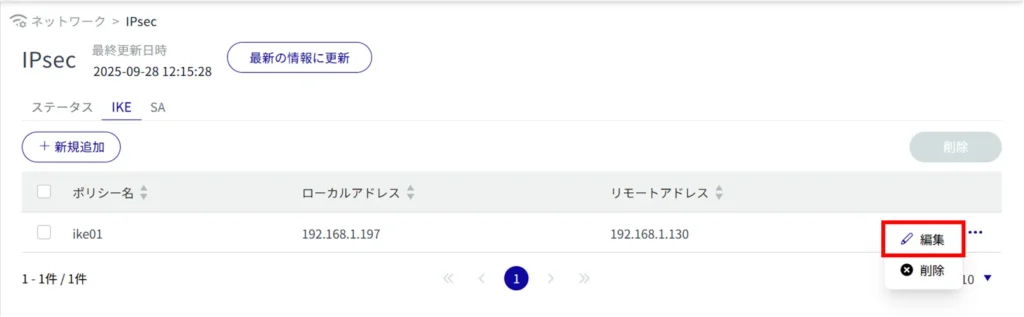
The "Edit IKE Settings" screen appears.

The information on the modified IKE settings is updated.
Delete IPsec settings #
There are two ways to delete registered IPsec settings: individually from the IPsec operation menu, or after selecting all IPsec settings to be deleted.
Deletion can be performed for IKE and SA, respectively. This section uses IKE as an example.
Delete IPsec settings individually
This method is to select Delete from the operation menu of IPsec settings.
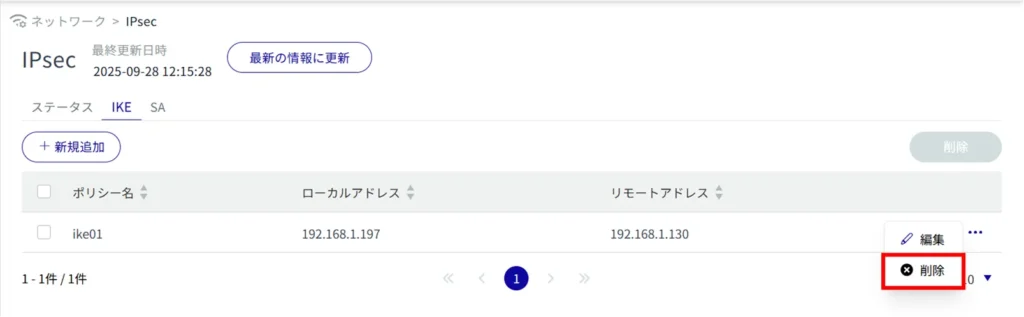
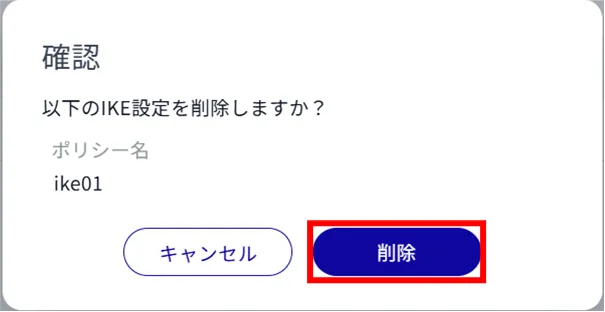
IPsec settings are deleted.
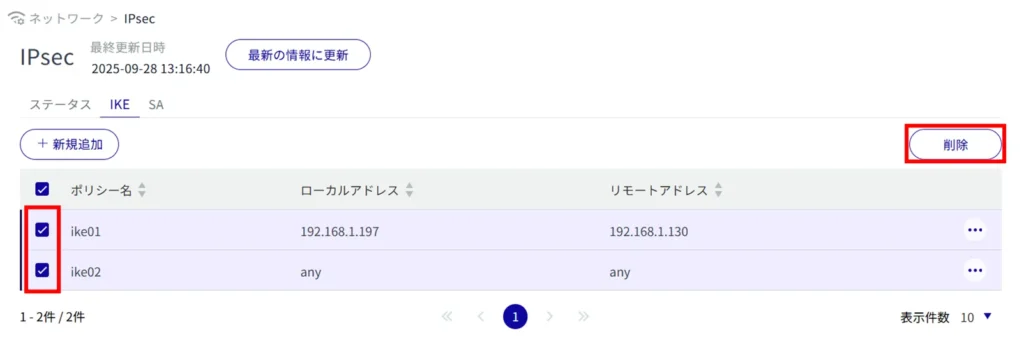
Selecting and deleting multiple IPsec settings
This method is used to delete IPsec settings after checking the check boxes of the IPsec settings to be deleted. This is useful for deleting multiple IPsec settings at once, or you can select a single IPsec setting to delete.
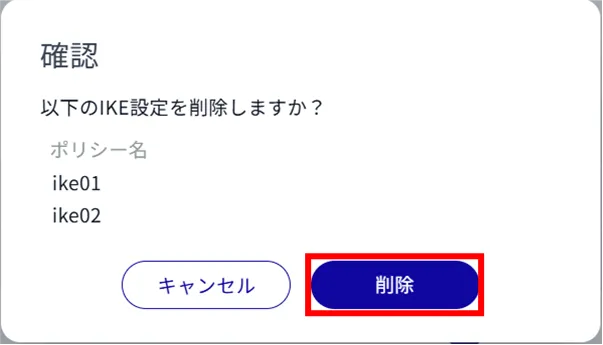
IPsec settings are deleted.