
This section describes the operation of the "DNS" screen.
Here you can enable DNS settings, specify port numbers, add query servers, etc.
Click [Network] > [DNS Settings] on the side menu to open the "DNS Settings" window.

common setting #
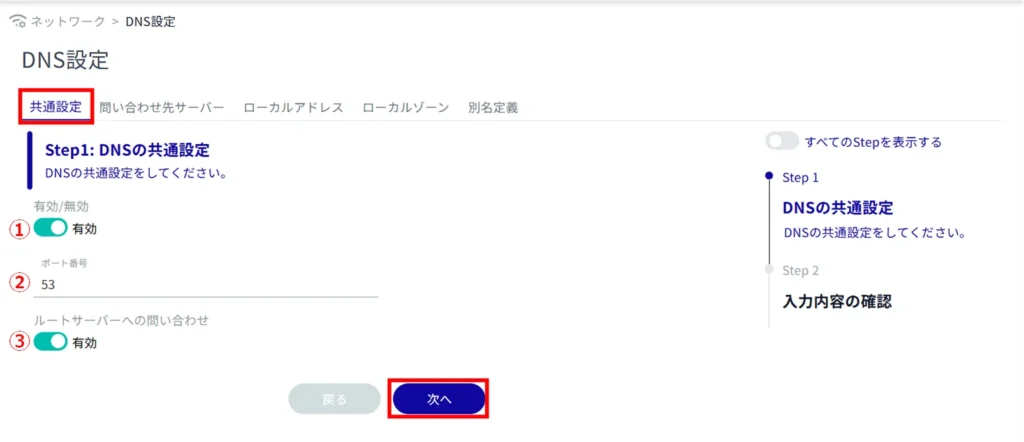
Common DNS settings.
Click the toggle to enable/disable the DNS settings.
Specifies the port number.
Click on the "Enable" or "Disable" button to enable or disable querying the root server.
Contact Server #
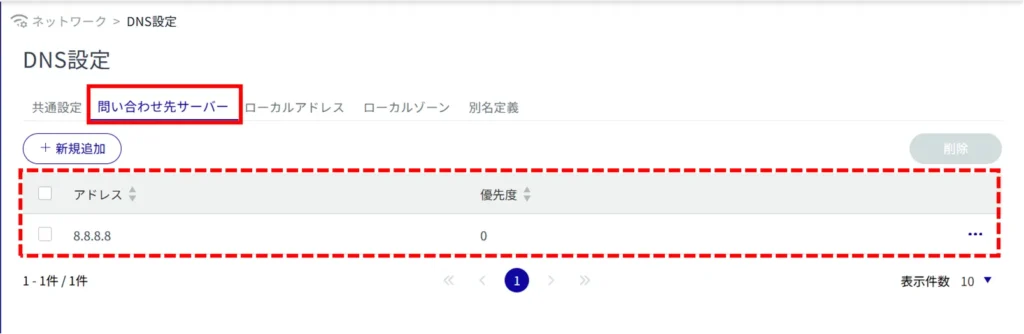
Display a list of servers to contact #
Click on the "Query Server" tab to view a list of query servers.
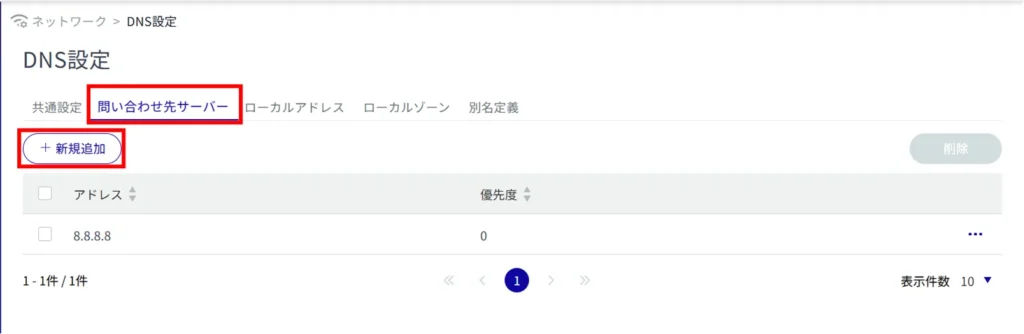
Configure the query server settings. #
The maximum number of servers that can be configured is two.
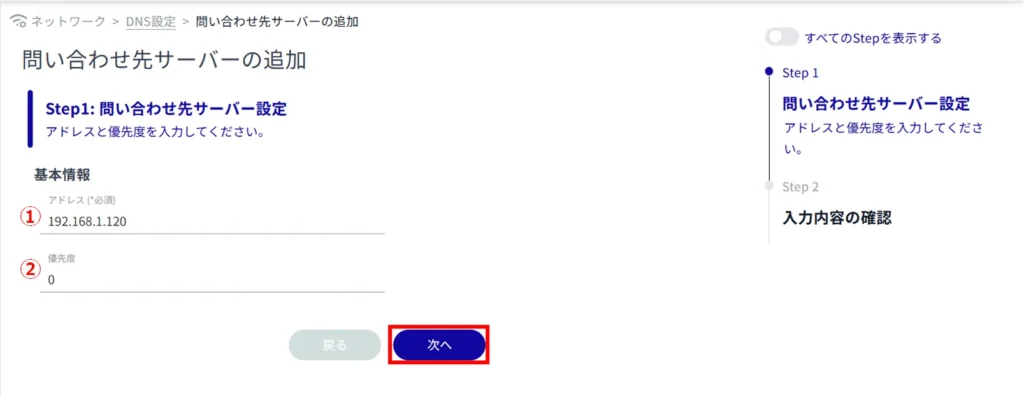
The "Add Query Server" screen will appear.
(1) Specify a high-level DNS server to query.
Specify the priority from 0 to 99. 0 is the highest priority.
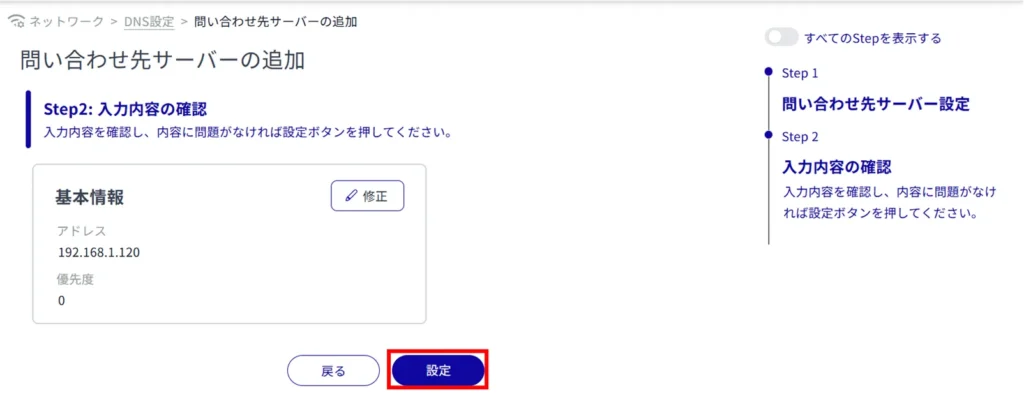
The addition of the query server is completed.
local address #
Display a list of local addresses #
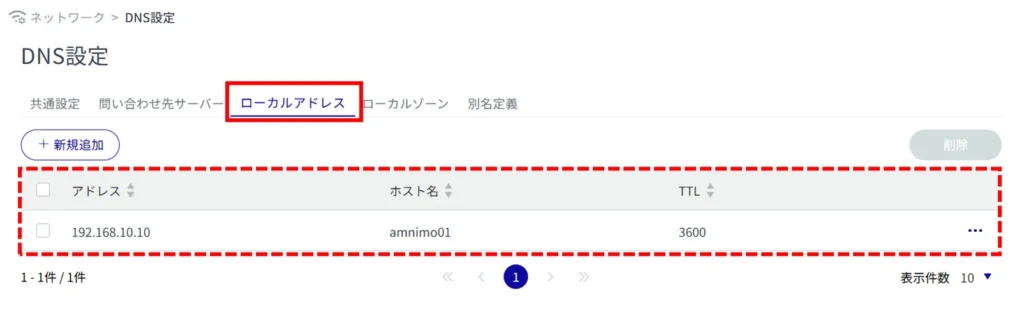
Click on the "Local Addresses" tab to view a list of local addresses.
Configure local address settings. #
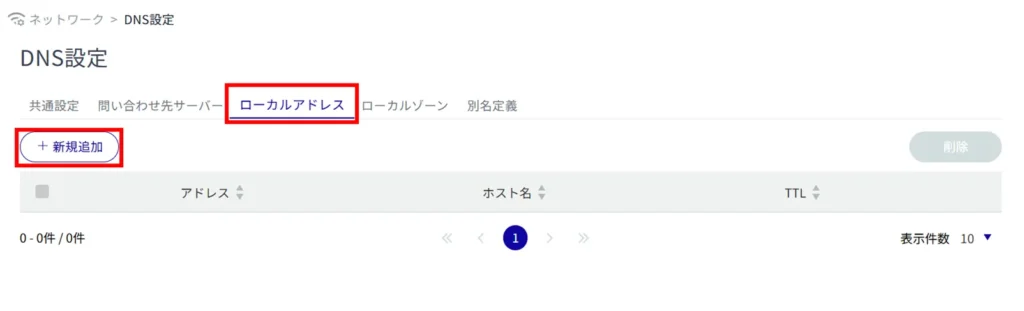
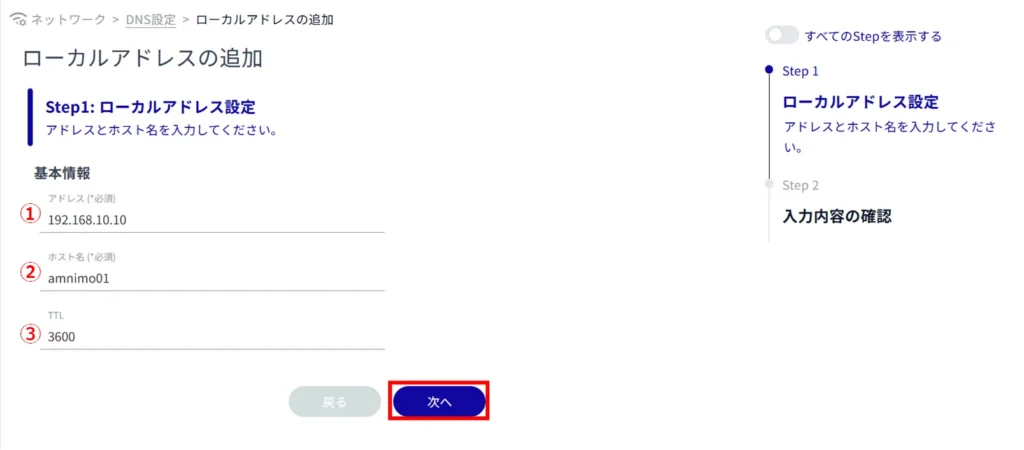
The "Add Local Address" screen appears.
Specifies the address to be responded to.
Specifies the host name to respond to.
Sets the TTL value to be returned upon response.
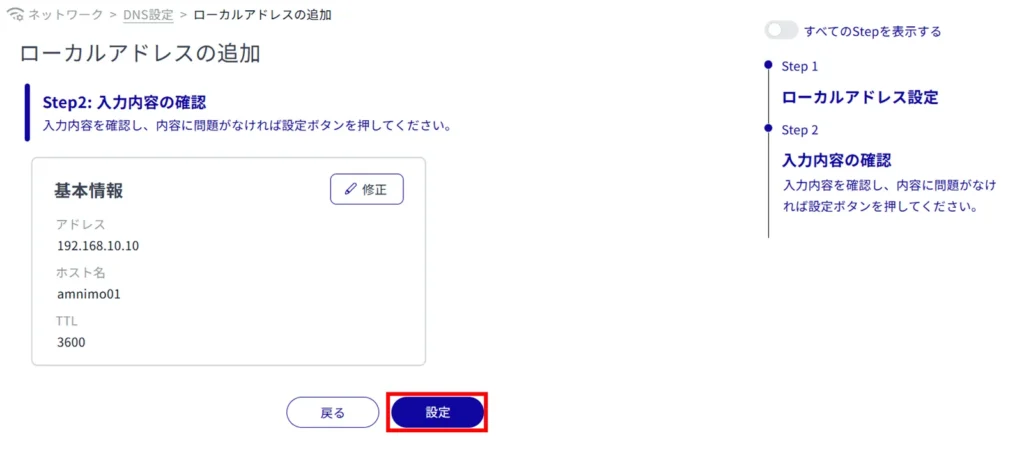
Adding a local address is completed.
local zone #
Display a list of local zones #
Click on the "Local Zones" tab to view a list of local zones.

Configure local zone settings. #
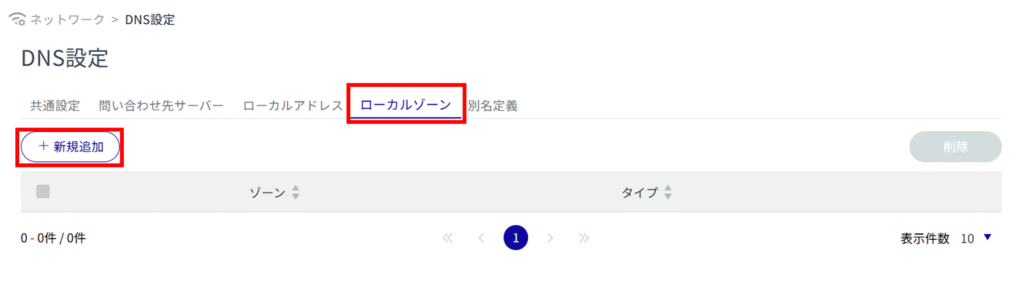
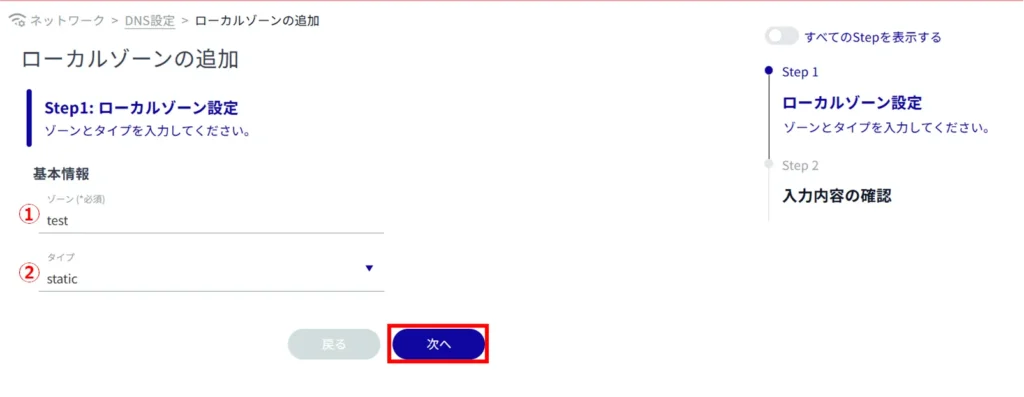
The "Add Local Zone" screen appears.
Enter any zone name.
Specify the type.
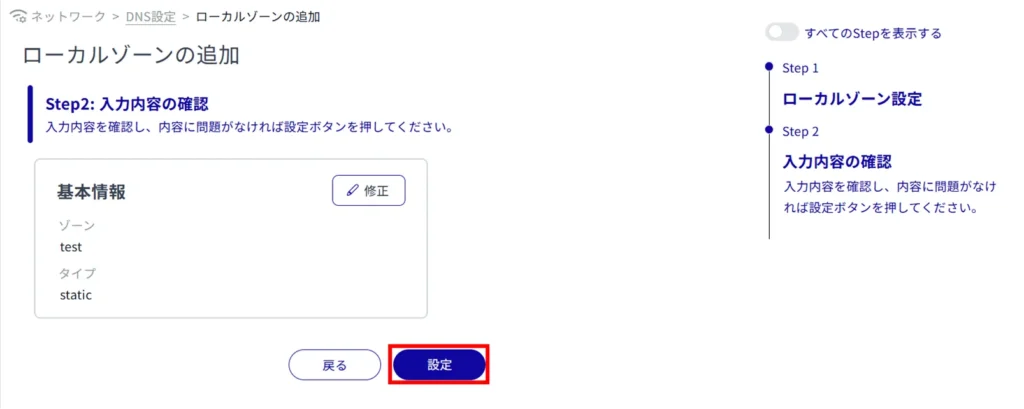
Adding a local zone is completed.
Alias Definition #
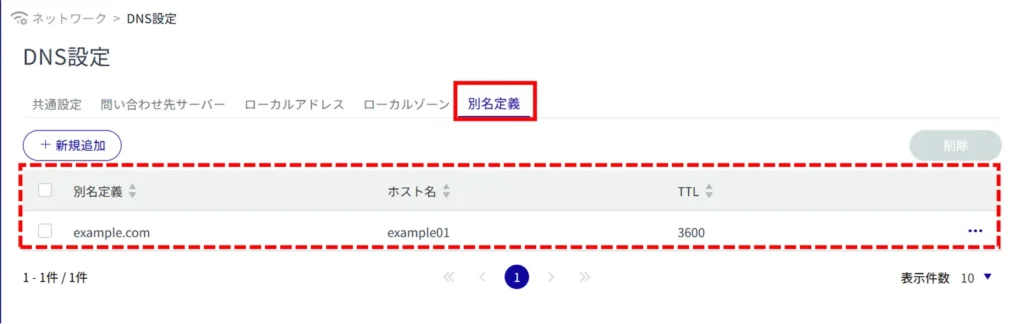
Display a list of alias definitions #
Click on the "Alias Definition" tab to view a list of account settings.
Set up an alias definition. #
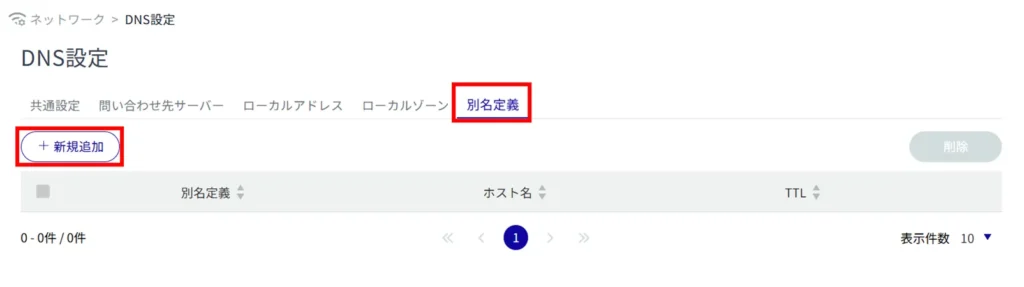
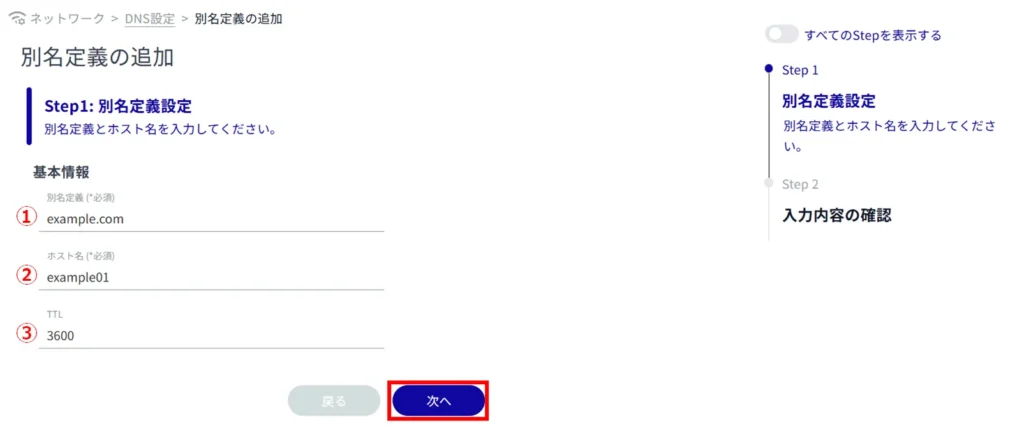
The "Add Alias Definition" screen appears.
Enter any domain name.
Specify the host name.
Sets the TTL value to be returned upon response.
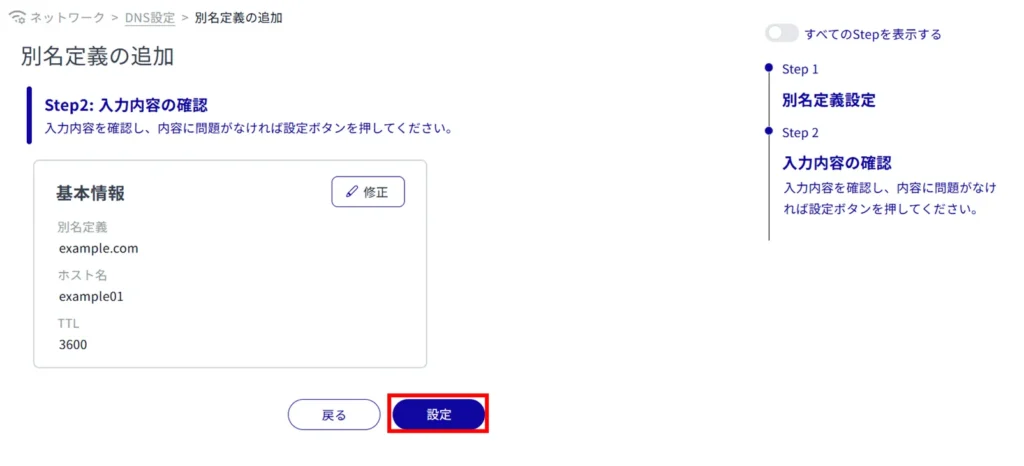
The addition of the alias definition is complete.
Edit / delete DNS settings #
Edit DNS settings.
Editing is possible for each of the query server, local address, local zone, and alias definition. The query server is used as an example here.
Edit DNS settings #
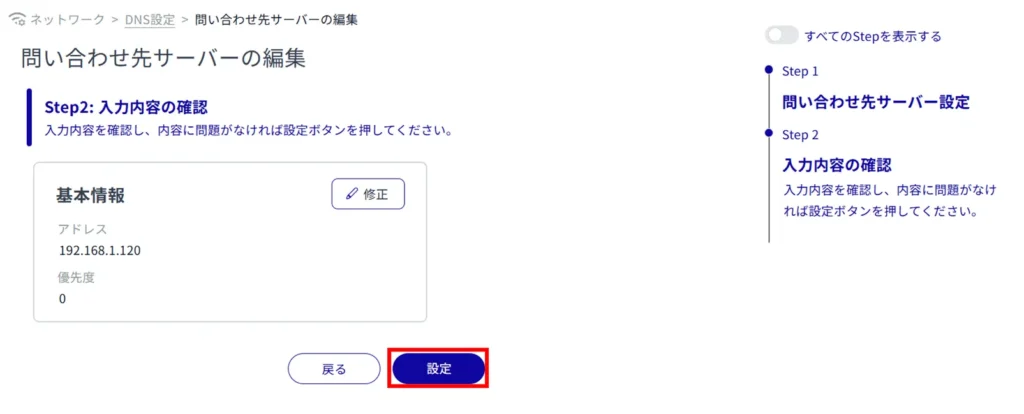
Edit the registered DNS settings.
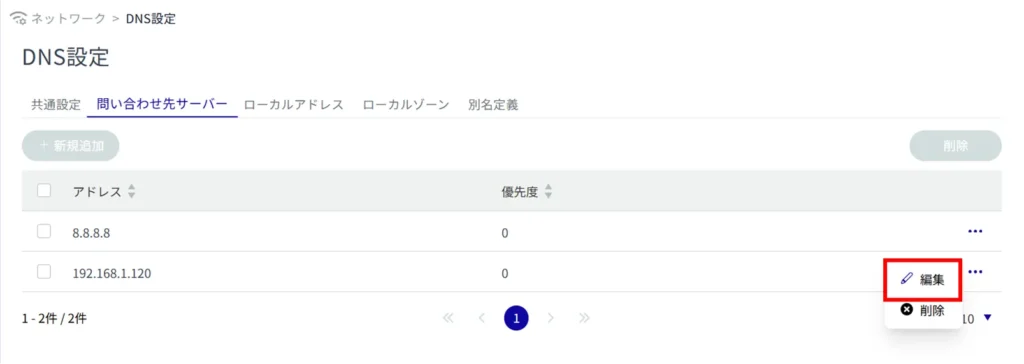
The "Edit Query Server" screen will appear.
Delete DNS settings #
There are two ways to delete registered DNS settings: individually from the operation menu of each DNS setting, or by selecting multiple targets and then deleting them.
Editing is possible for each of the query server, local address, local zone, and alias definitions. The query server is used as an example here.
Delete individual DNS settings
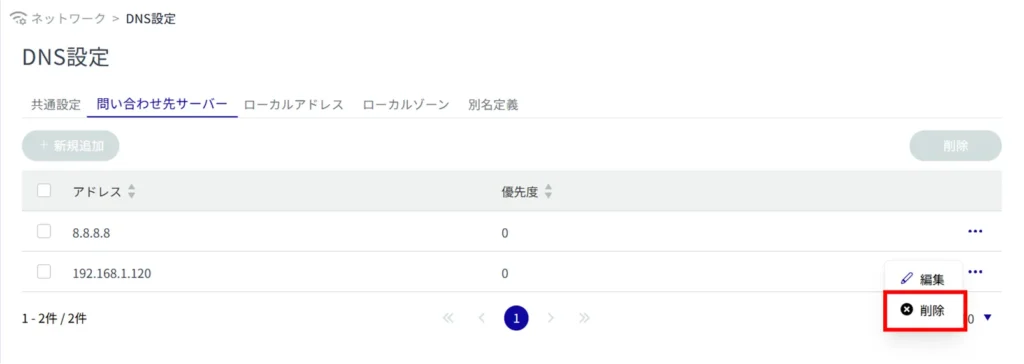
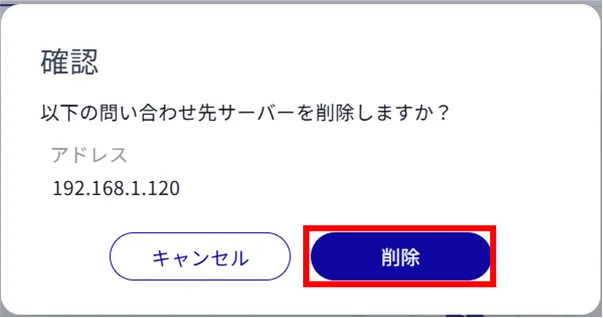
DNS settings are deleted.
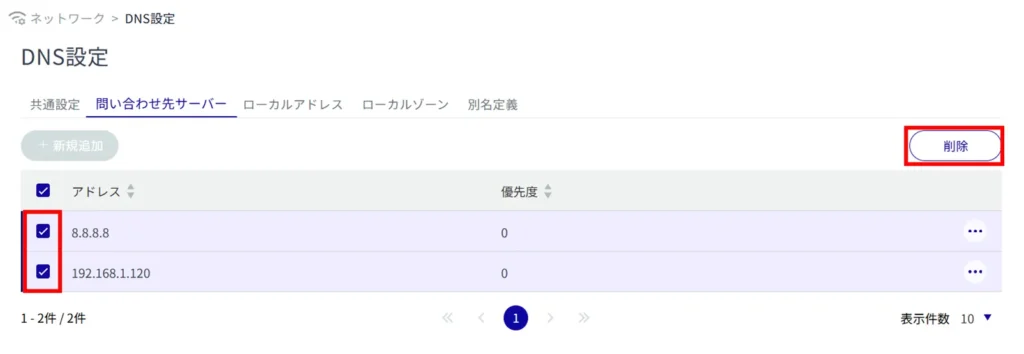
Delete multiple selections of DNS settings
This method allows you to check the DNS settings you wish to delete and then delete them. This is useful for deleting multiple DNS settings at once.
You can also select a single DNS setting to delete.
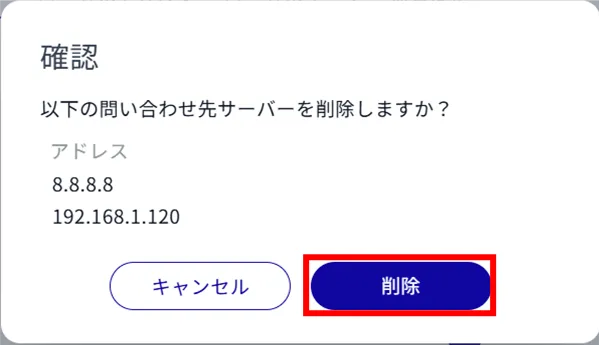
The DHCP server setting is deleted.