When fisheye correction is enabled, fisheye correction settings can be made for the target camera. The fisheye correction settings will be reflected in LIVE mode and DIRECT mode.
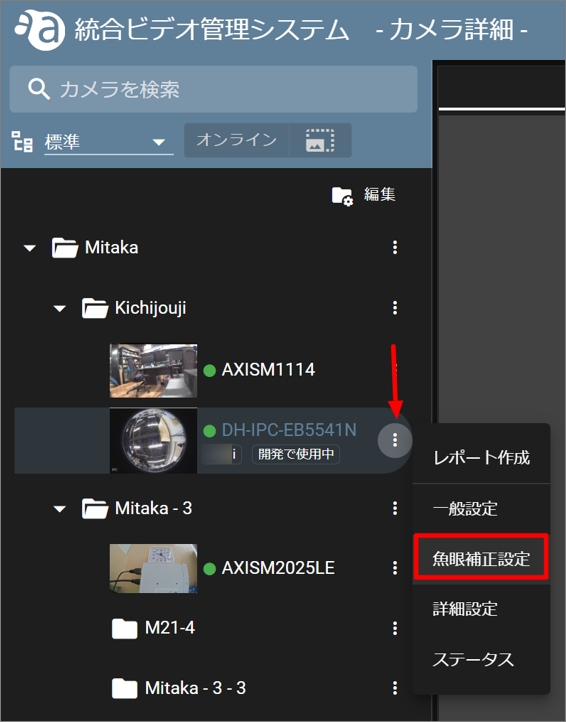
Correction setting #
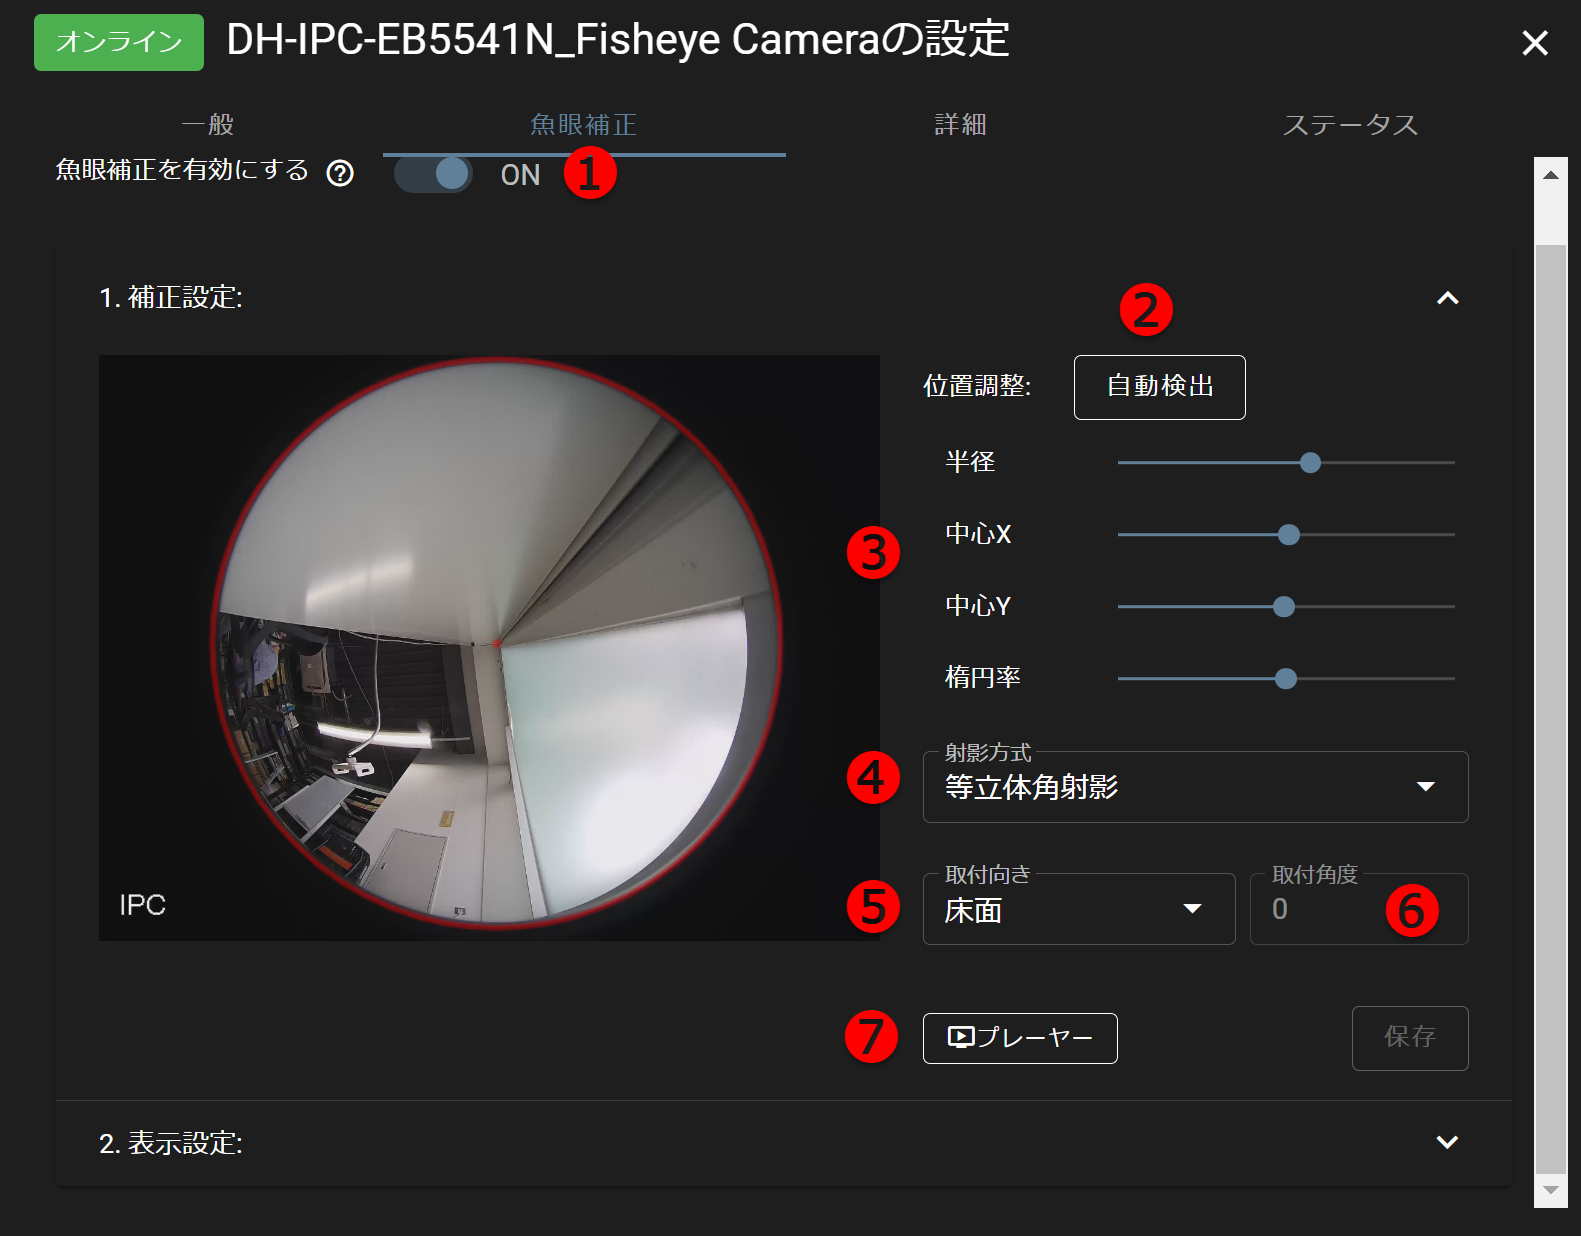
Sets fisheye correction ON/OFF.
ON : Fisheye correction is enabled and the fisheye corrected image is displayed in the camera detail page.
OFF: If fisheye correction is not used, set the toggle to OFF.
To auto-detect the location, click Auto-detect.
To set the position manually, set the respective value.
Radius: Adjust the distance from the center to change the size of the circle.
Center X: Change the coordinate X to center the circle and adjust the circle position left or right.
Center Y: Change the coordinate Y to center the circle and adjust the position of the circle up or down.
Ellipticity: Use the slider to adjust the shape of the lens (circle shape).
射影方式を選択します。
等距離射影 :光線の入射する角度と画面の中心からの距離が比例するように像を形成します。
等立体角射影:被写体の立体角と画像上の面積が比例するように像を形成します。
ステレオ投影:球面を平面にマッピングするように像を形成します。
正射影 :球面を平面上にそのまま投影したように像を形成します。等距離射影に比べ、中心部の被写体がより大きく画面周辺部の被写体がより小さく写ります。
Select the mounting orientation.
Ceiling : Select this option when the mounting surface is a ceiling.
Floor: Select this option when the mounting surface is the floor.
Wall :Select when the mounting surface is a wall.
Select the angle to the mounting surface. (This is used when the mounting surface is a wall.)
A video player for viewing video clipped images with fisheye correction in a local environment.
After saving the fisheye correction settings, the [ Player ] button is enabled for download.
The file will be downloaded in zip format.
Example) {camera name}_YYYYYMMDDhhmms.zip
- player.html : A player file to play the fisheye video.
- script.js : A Java script file that describes information for playing clips.

After unzipping the downloaded zip file, open player.html in your browser. (The latest Chrome is supported.)
A screen similar to the one shown in the figure will open. Click on the screen to select a video clip you have previously downloaded, or drag and drop a video clip to start playing the video clip.
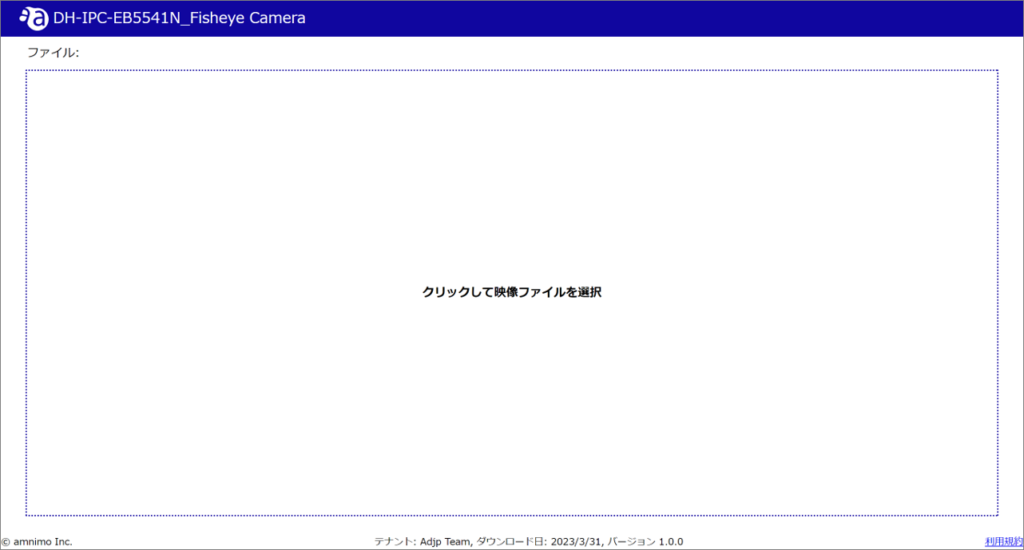
The image is opened.
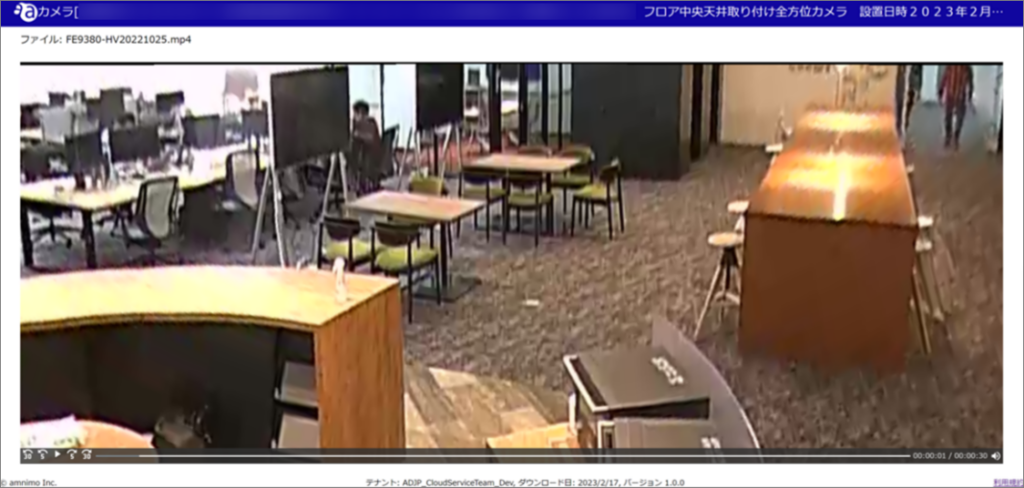
This player is exclusively for the target fisheye camera.
If you change the fisheye correction settings after downloading the player, the video may look different in the player and in the integrated video management system.
This player can also play other videos, but correction operation is not guaranteed.
Display Settings #
From the Layout drop-down list, you can select the layout you wish to view.
The layout set here is reflected in LIVE mode and DIRECT mode.
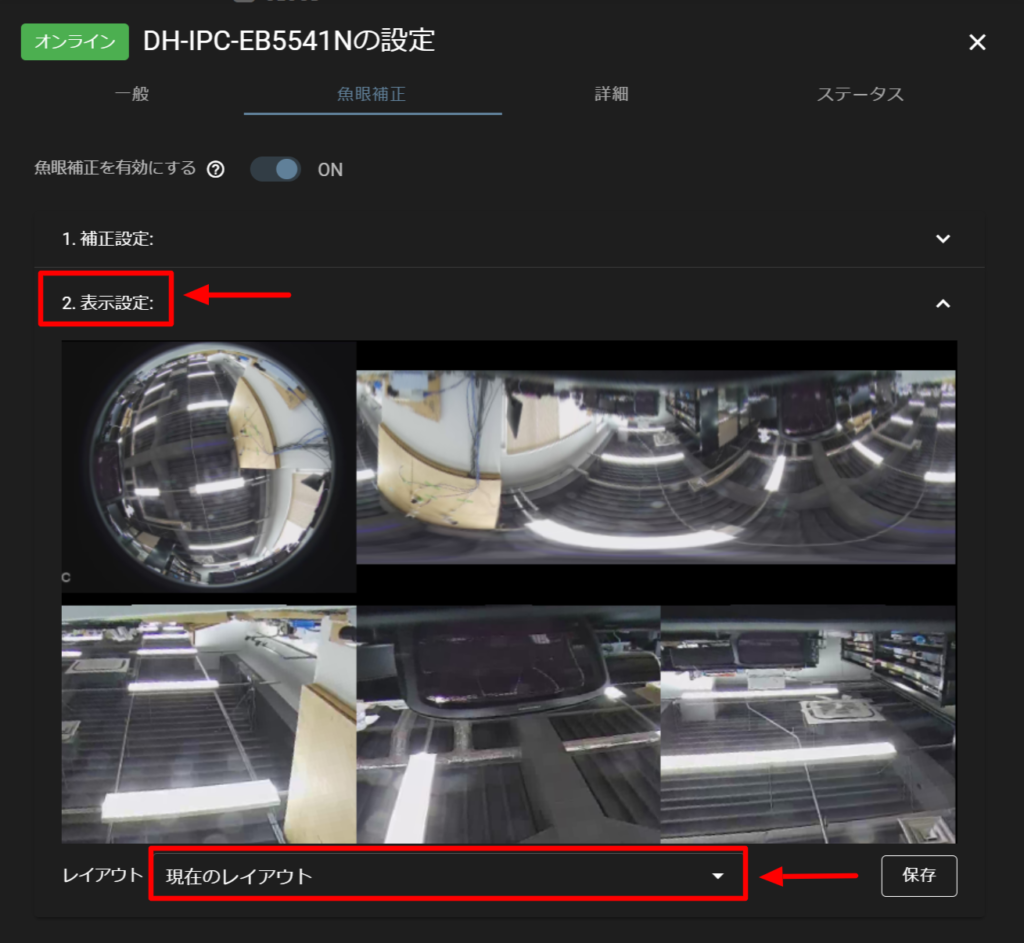
Layout Type
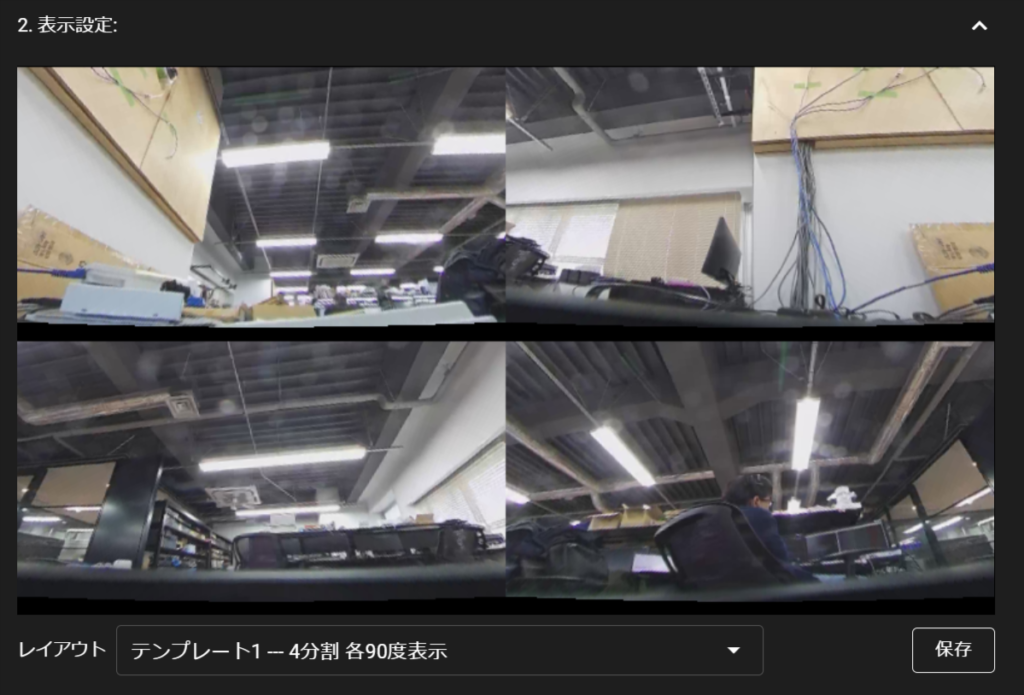
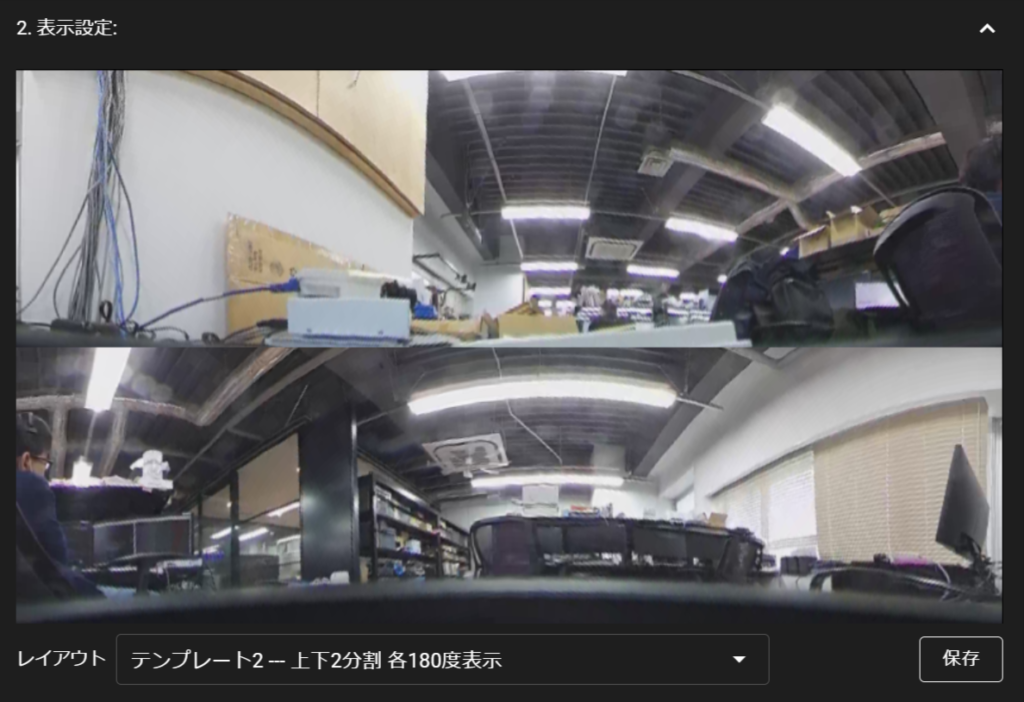
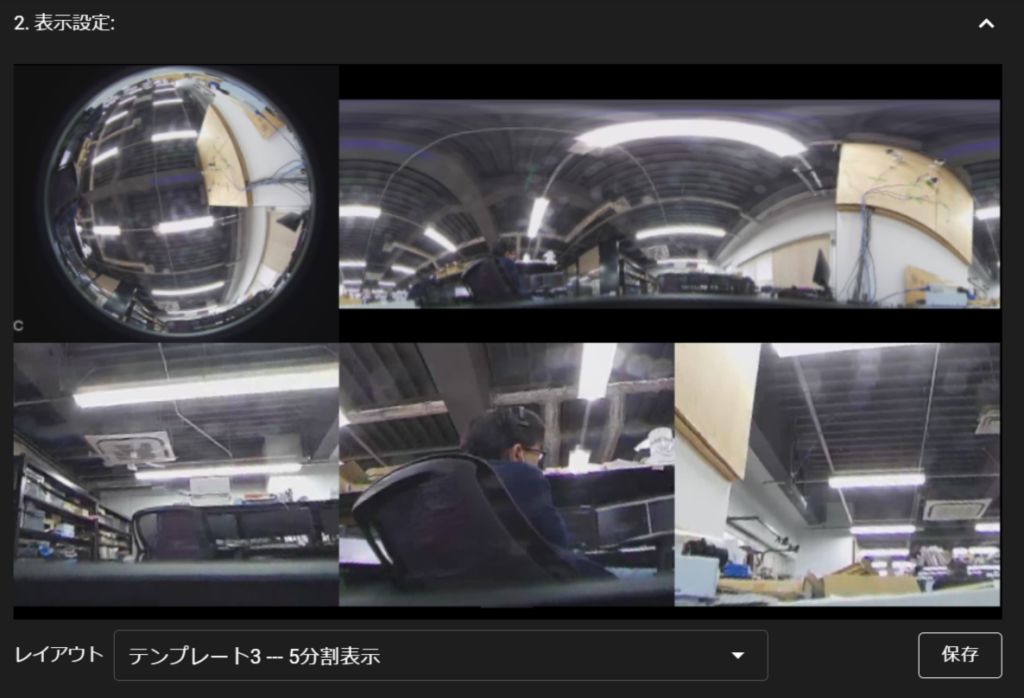
- Free layout 1 x 1 (column x row)
- Free layout 1 x 2 (column x row)
- Free layout 1 x 3 (columns x rows)
- Free layout 2 x 1 (column x row)
- Free layout 2 x 2 (column x row)
- Free layout 2 x 3 (columns x rows)
- Free layout 3 x 1 (column x row)
- Free layout 3 x 2 (column x row)
- Free layout 3 x 3 (column x row)
Change display mode
The video display mode can be freely changed.
Move the cursor over the image to display the [Area View], [Panorama View], and [Original (Fisheye) View] buttons as shown below.
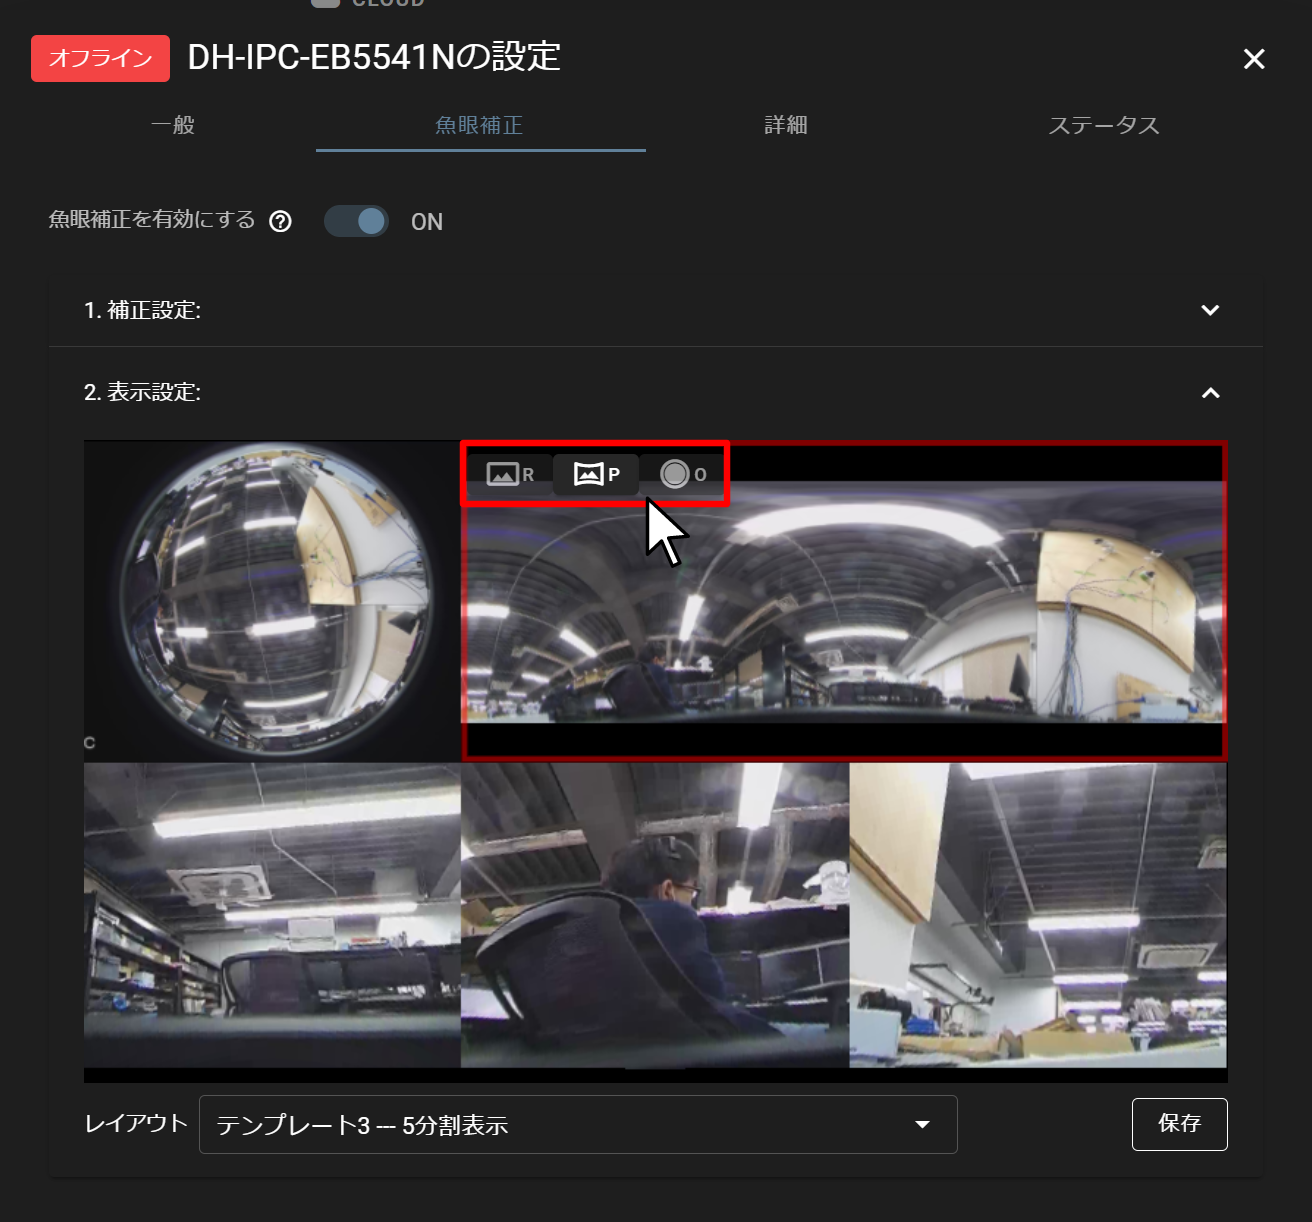
![]() Area view
Area view ![]() Panorama view
Panorama view ![]() Original (fisheye) view
Original (fisheye) view
Scaling and angle adjustment
The images in area and panorama views can be saved with their zoom in/out and angles adjusted. After making the following adjustments with the mouse, click [ Save ] to reflect them.
- Image scaling - adjust with mouse wheel
- Adjusting the angle of the image - mouse dragging
