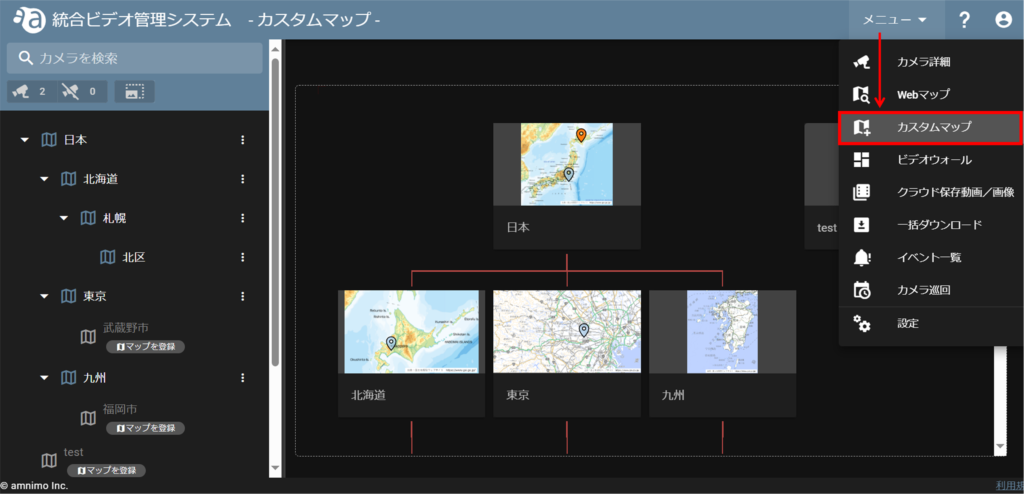
On the custom map page, you can register an original map image and place a camera icon on it for viewing.
The images are from an integrated video management system, but the basic operation method is the same.
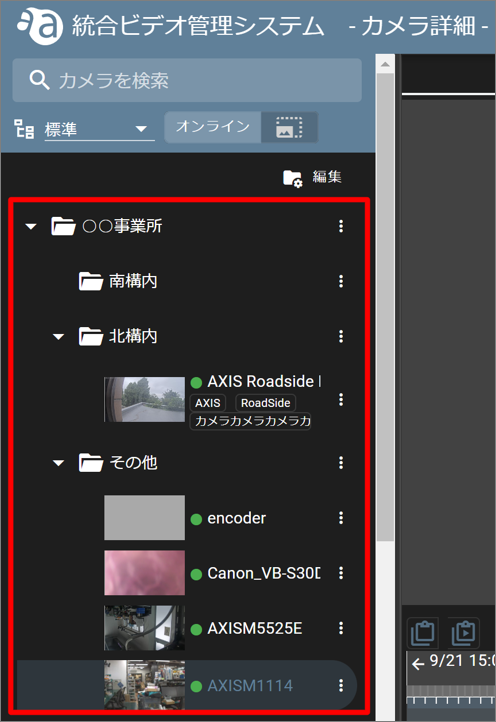
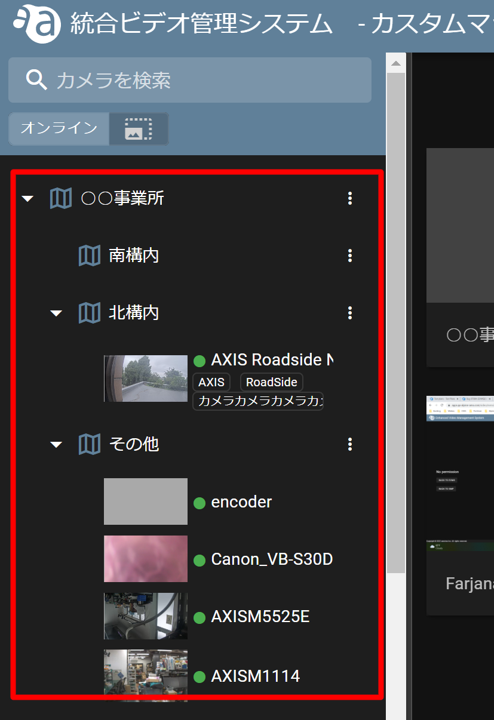
- The custom map view has a hierarchical structure. This mirrors the folder structure of the "Standard" view in the sidebar of the camera detail screen.
- Map images can be registered in each corresponding folder.
Camera detail screen
Custom Map Screen
- Folders cannot be added from the Custom Map screen.
- If you want to add a folder, please refer to the following page to add a folder and then move the target camera under the folder.
⇒ " Camera Folder Management
Register a custom map #
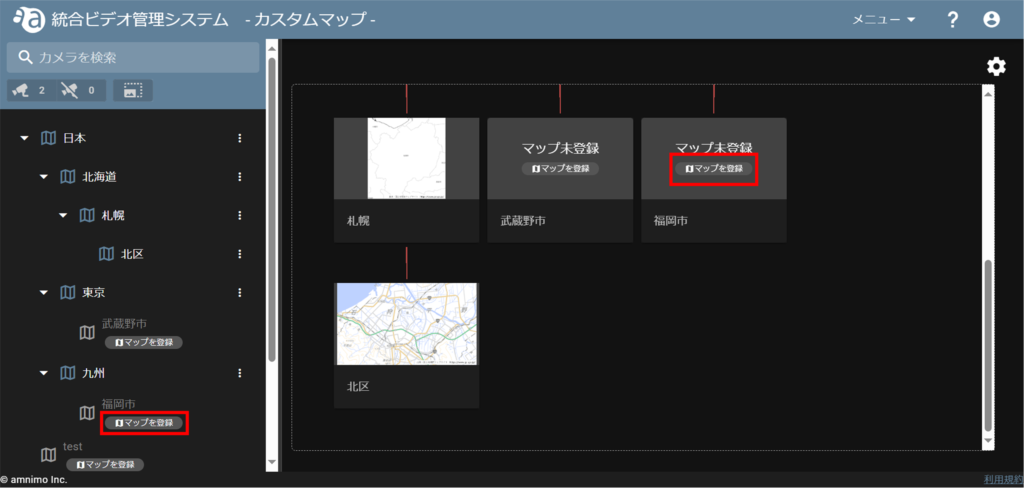
This procedure registers a "Fukuoka.png" image in the "Fukuoka" folder.
(*.jpg or *.png file formats can be registered. The maximum image file size is 10 MB)

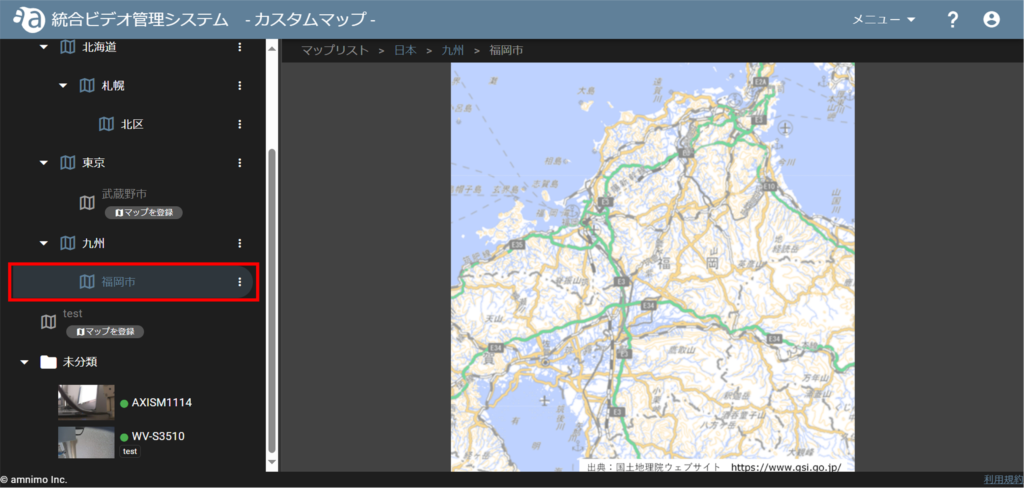
Similarly, other maps are registered.
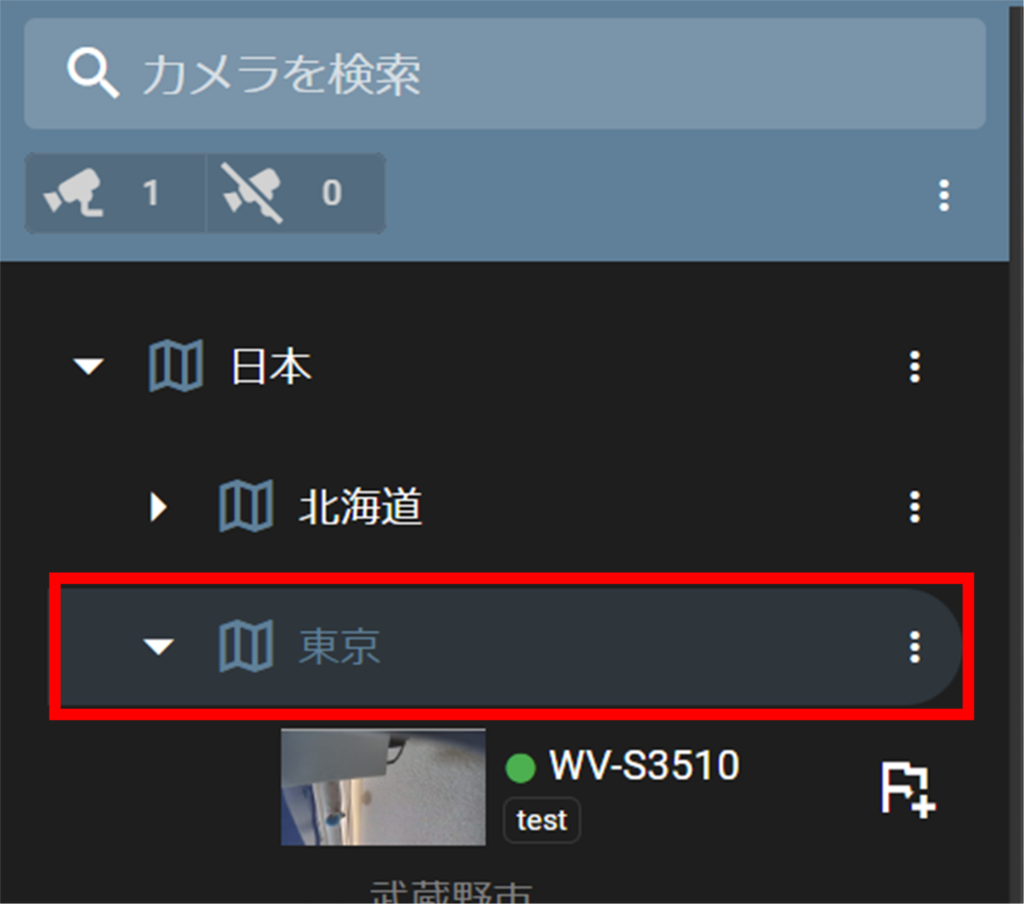
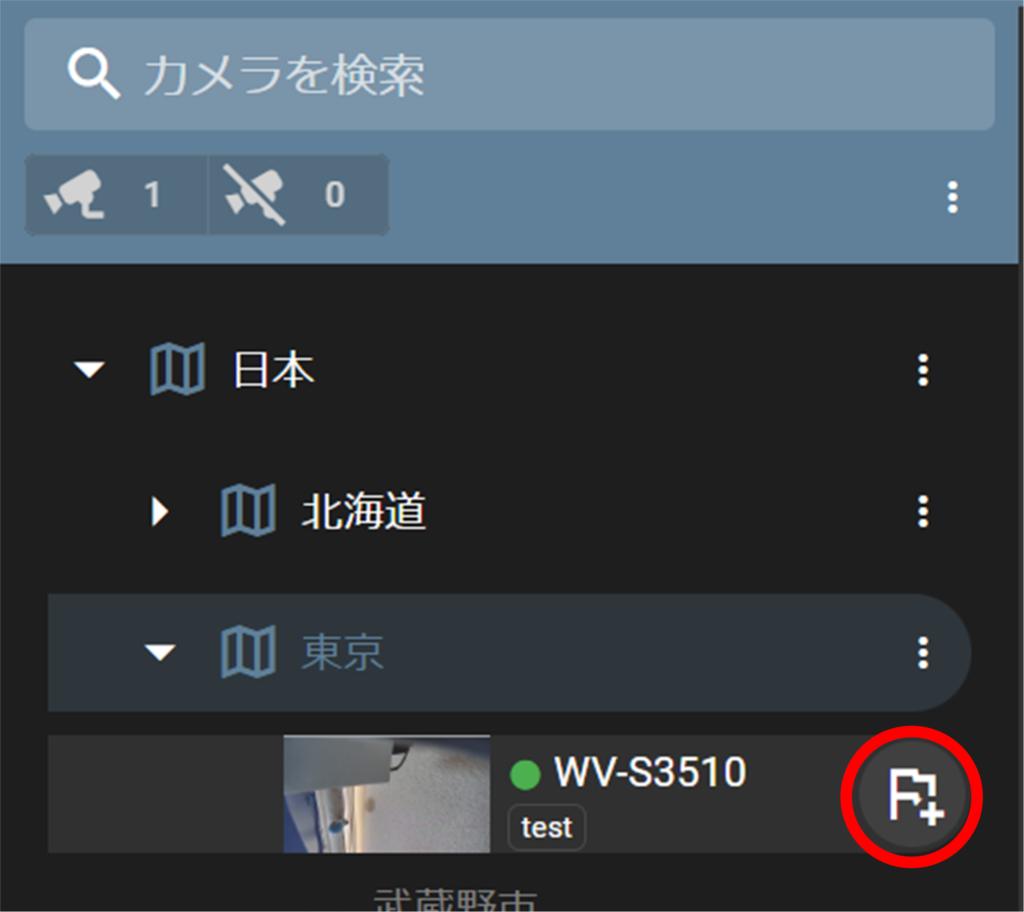
Registering a camera on a custom map #
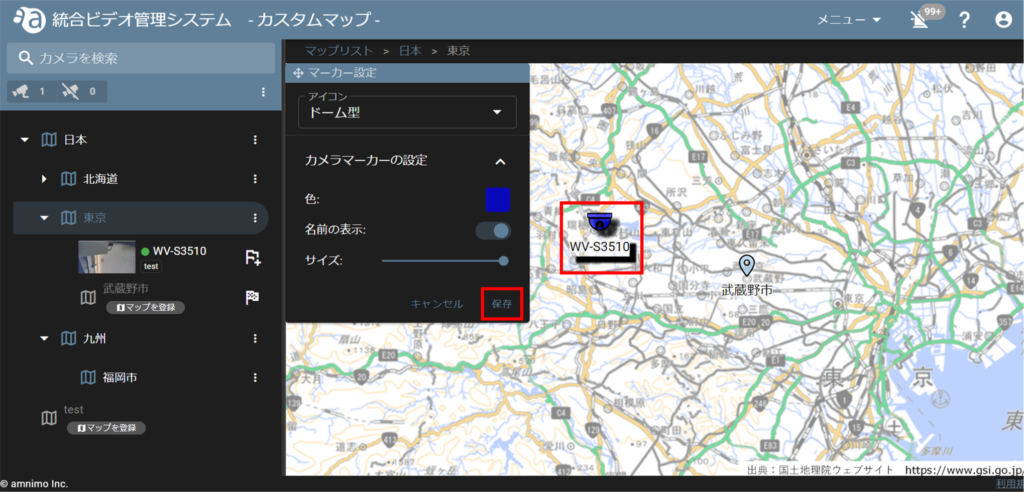
In this example, the camera is registered to a custom map named "Tokyo".
If you move a camera from the camera detail screen, the information you set (map and map markers) will be deleted, so you will need to register the map again.
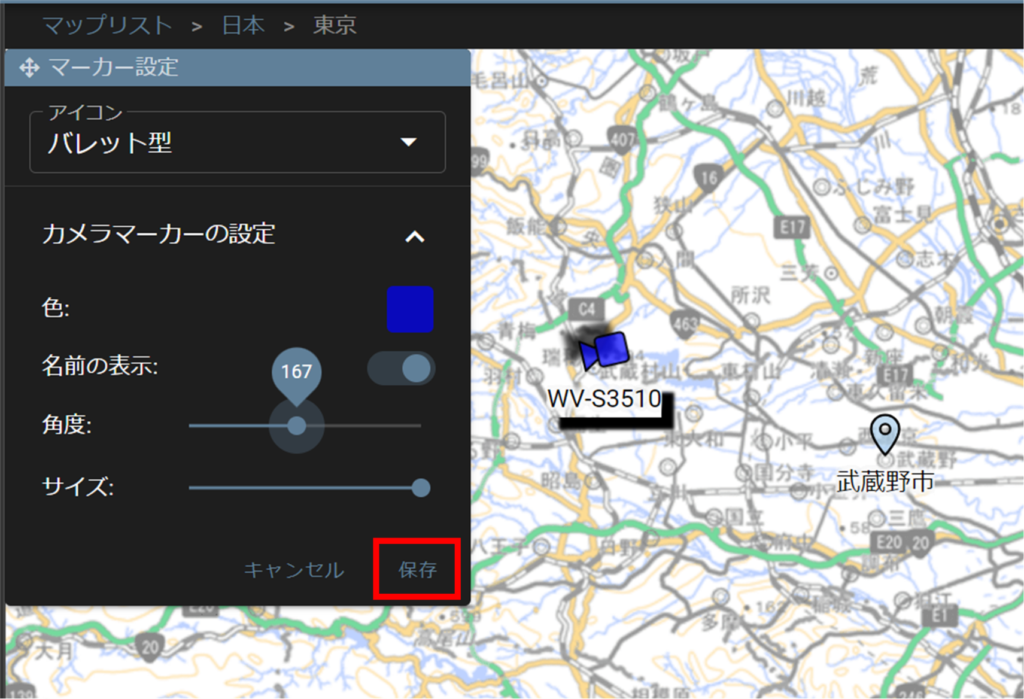
Icon: Select the marker icon from "Bullet type" or "Dome type".
Color: Select the color of the marker icon.
Show name: Select whether or not to show the name of the marker.
Angle (displayed only when the icon is "Bullet type"): Adjusts the angle of the icon.
Size: Adjust the size of the icon.
You can select a color with the color picker or enter a hexadecimal number to set the color.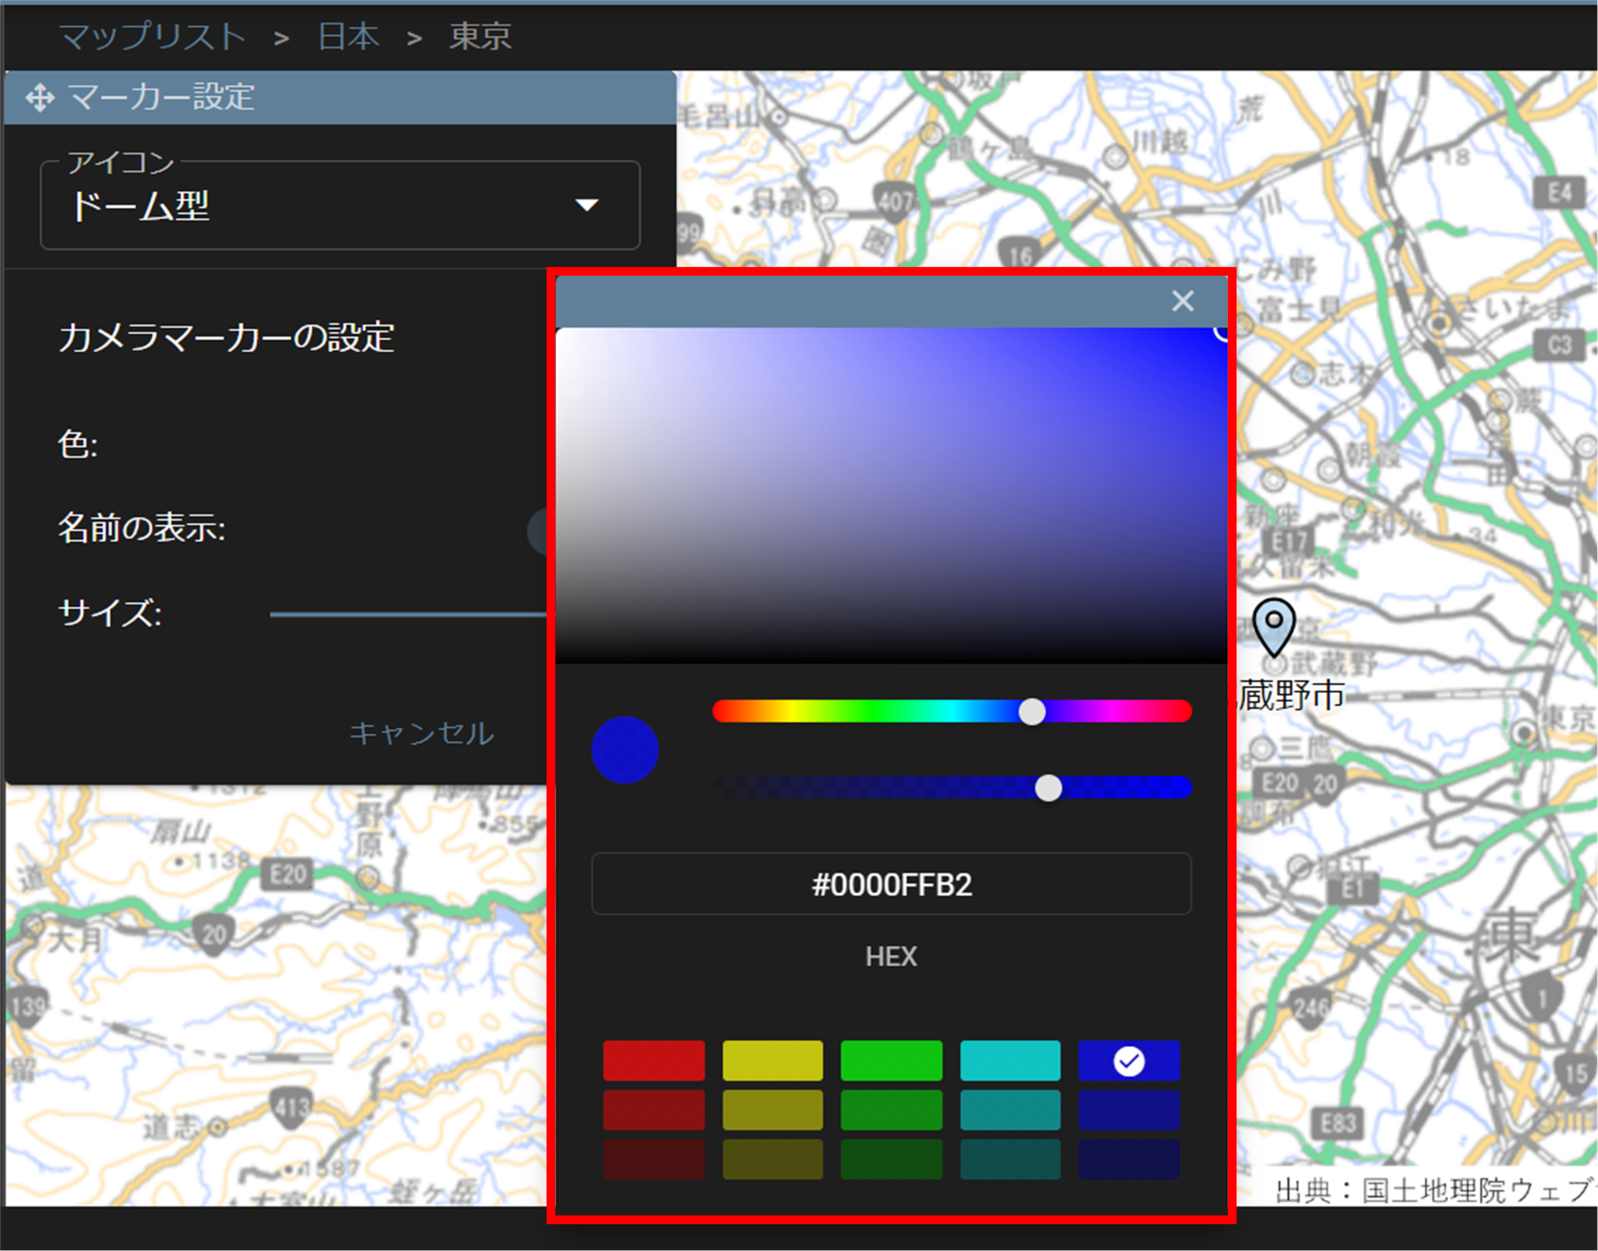
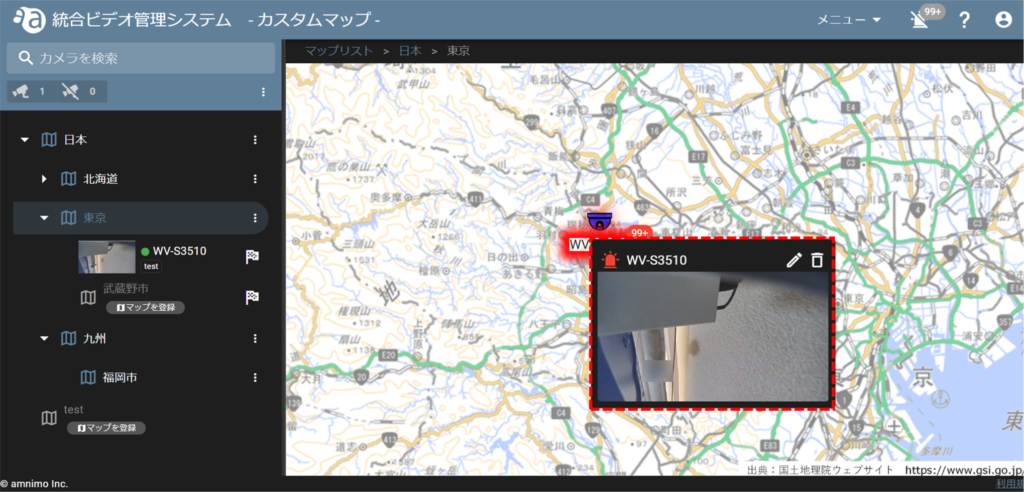
Click on a thumbnail to open the camera detail page.
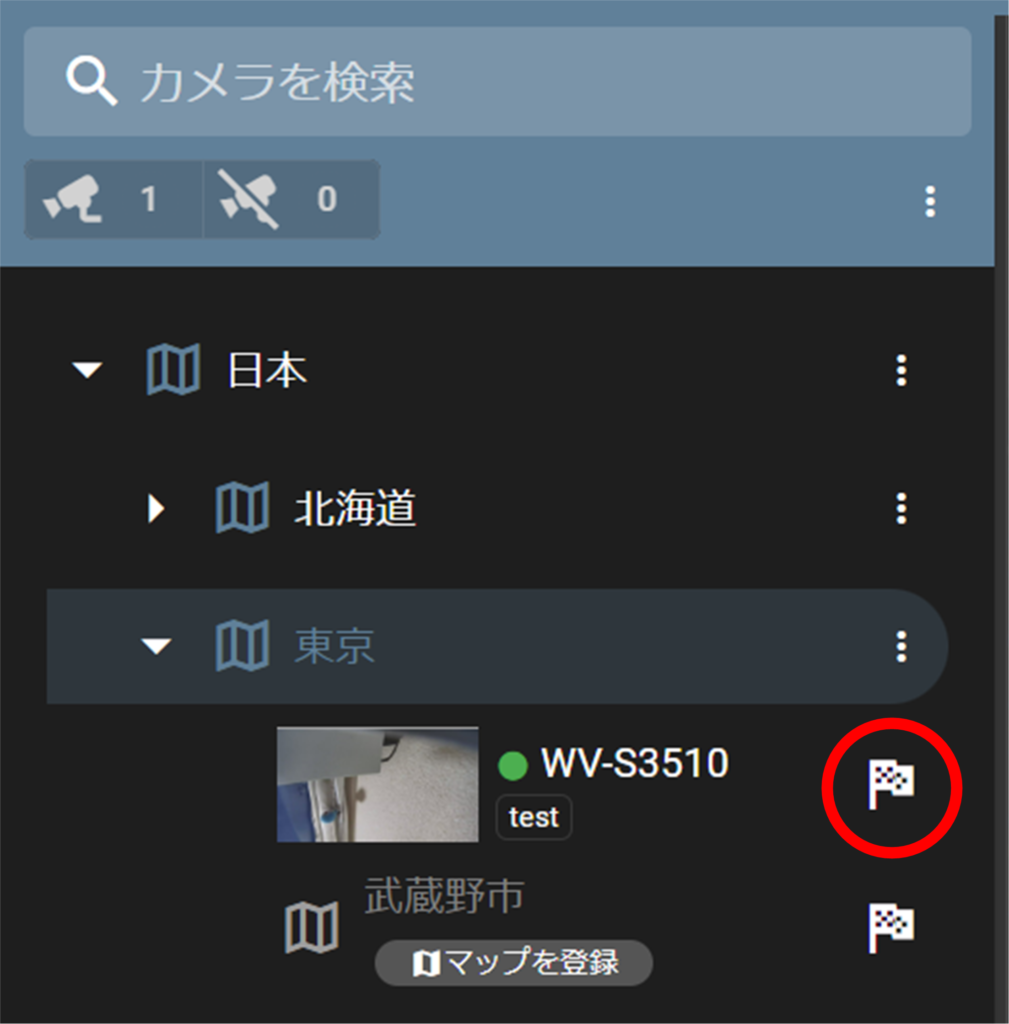
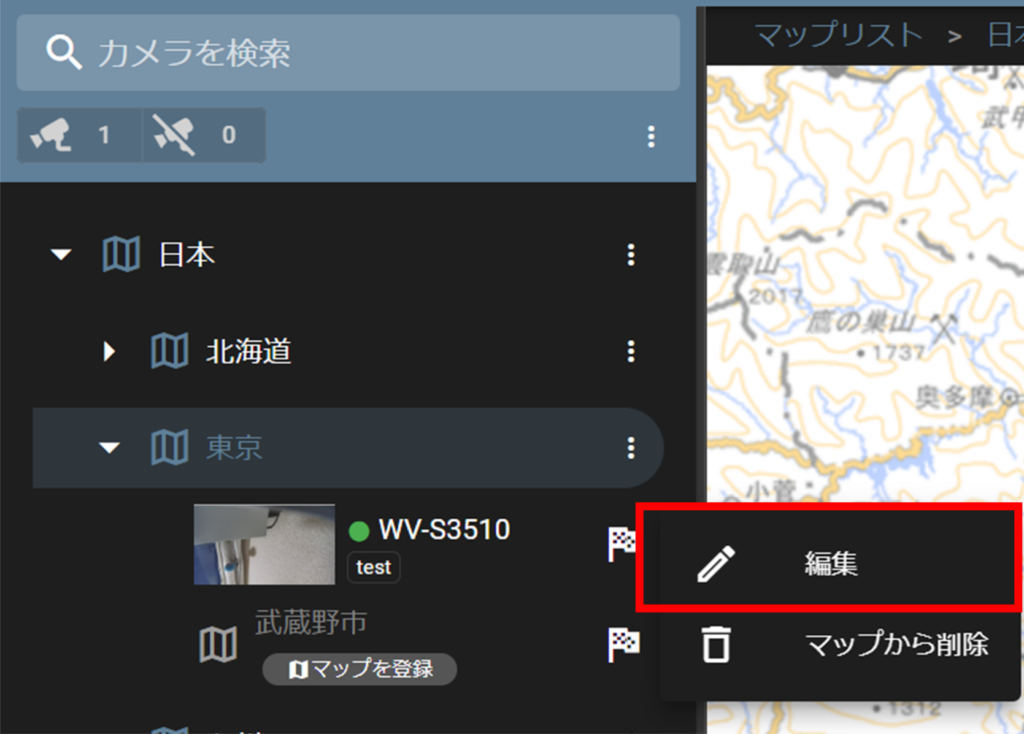
Change/delete cameras from the map #
Click on the flag icon of the camera you want to change or delete.
Change the camera icon #
Icon: Select the marker icon from "Bullet type" or "Dome type".
Color: Select the color of the icon.
Show name: Select whether or not to show the name of the marker.
Angle (displayed only when the icon is "Bullet type"): Adjusts the angle of the icon.
Size: Adjust the size of the icon.
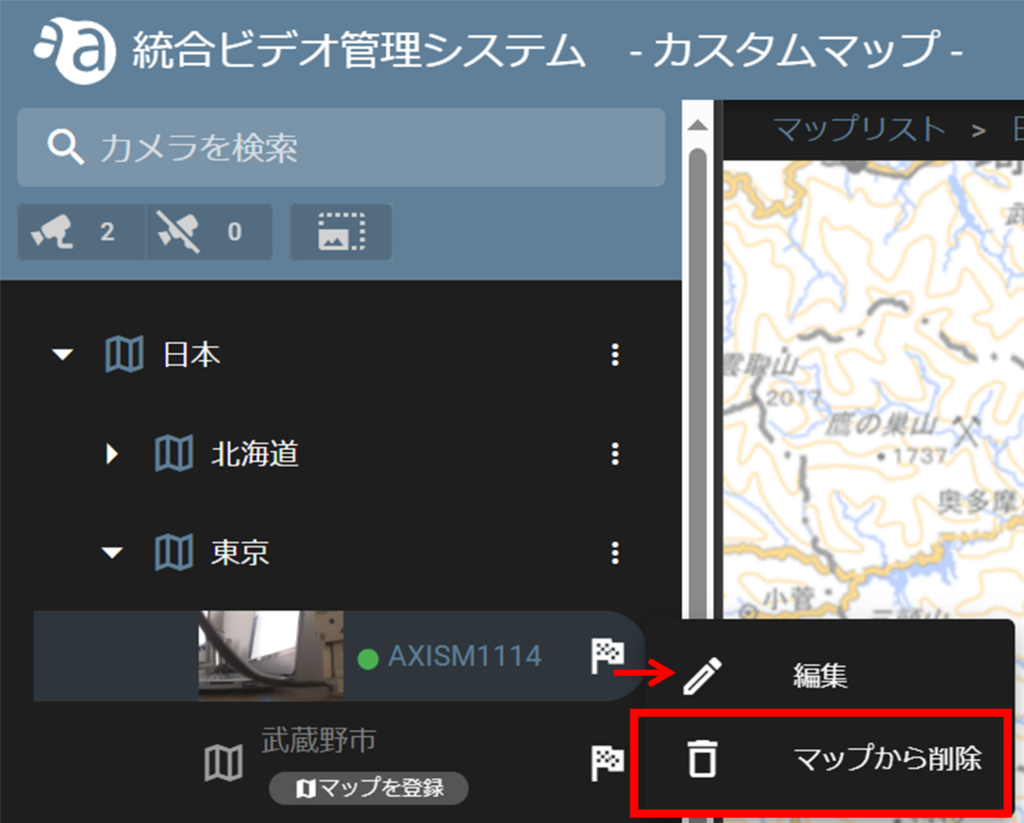
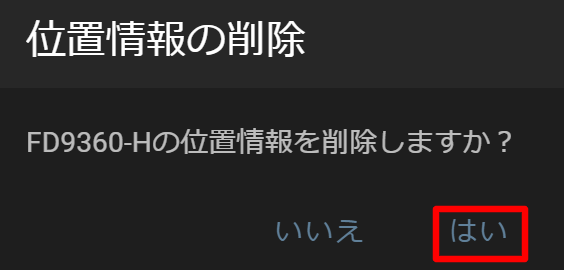
Delete the camera icon #
Change/delete custom map images #
Click on the three dots icon of the custom map you wish to modify/delete.
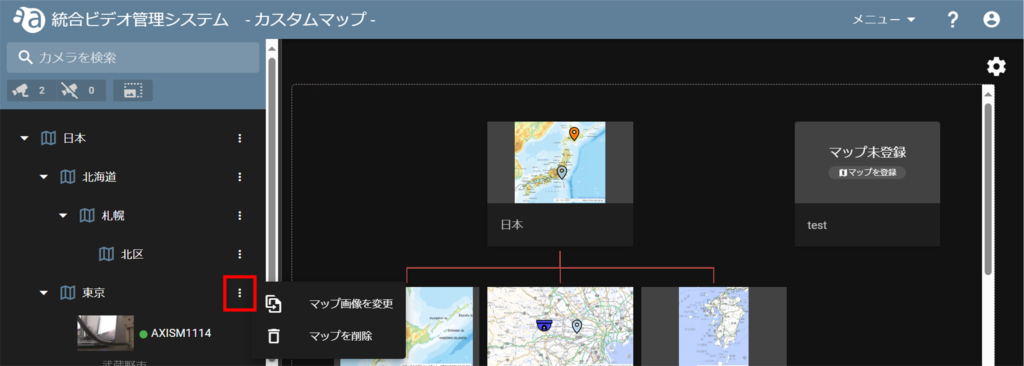
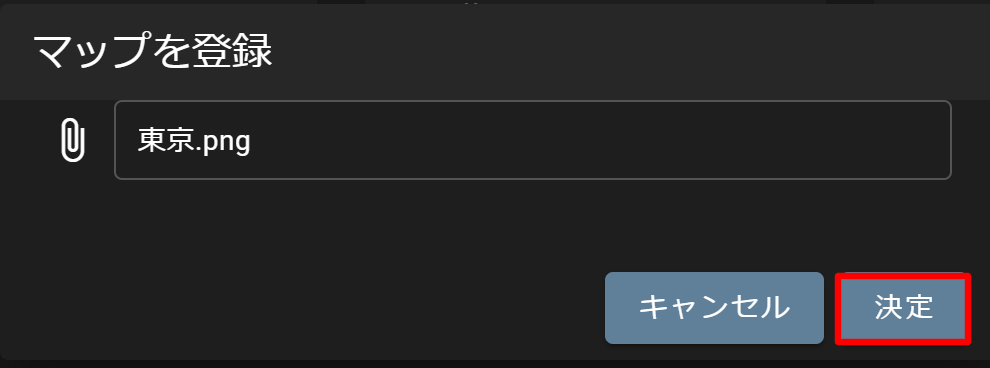
Change Map Image #
[After clicking Change Map Image, the Register Map screen will appear, select an image and click Decision.
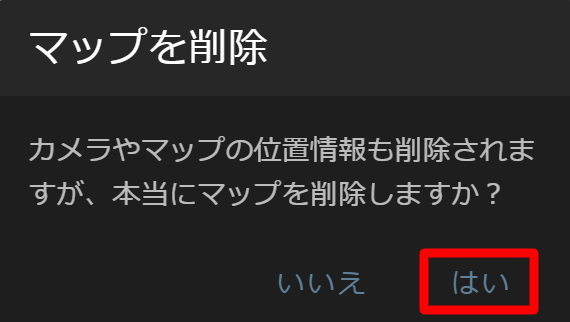
Delete map image #
[Click [ Delete Map ] and a confirmation window will appear, click Yes.