
On the custom map page, you can register an original map image and place a camera icon on it for viewing.
Custom maps are available upon request.
The custom map view has a hierarchical structure. This mirrors the folder structure of the "Standard" view in the sidebar of the camera detail screen.
Map images can be registered in each corresponding folder.
Camera detail screen

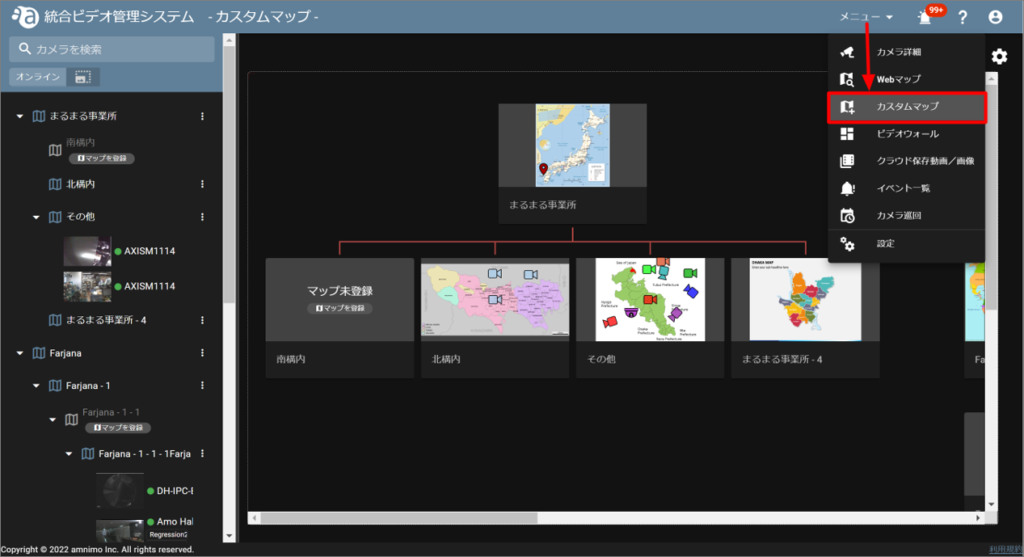
Custom Map Screen

- Folders cannot be added from the Custom Map screen.
- If you want to add a folder, please refer to the following page to add a folder and then move the target camera under the folder.
➡ "Create Folder".
Register a custom map #
- Refer to " Creating Folders " and add folders from the camera detail screen.
- Open the Custom Map screen and click on "Register Map" from the sidebar or main screen.

- When the following screen appears, click the clip icon or text box, select the map image you wish to register, and click [ Determination ].
This procedure registers a "Hokkaido.png" image in the "Hokkaido" folder. (*.jpg or *.png file formats can be registered. The maximum image file size is 10 MB)
- Confirm that the map has been registered as shown in the figure.

Similarly, other maps are registered.
Registering a camera on a custom map #
In this example, the camera is registered to a custom map named "Tokyo".
If you move a camera from the camera detail screen, the information you set (map and map markers) will be deleted, so you will need to register the map again.
- Refer to "Creating Folders" and add the camera to the Tokyo folder.
- Click on the "Tokyo" custom map.
- Click
 next to the camera icon belonging to the "Tokyo" folder and select the camera icon and color.
Icons can be selected from "barrette type" or "dome type".
- After setting the position of the camera icon by dragging, click Save.

- Move the cursor over the camera icon to confirm that the thumbnail of the registered camera is displayed.
Also, click on a thumbnail to open the camera detail page.
Change/delete cameras from the map #
Click on the flag icon of the camera you want to change or delete.

Change the camera icon #
- [Click Change Location.
- [The Marker Settings screen will appear, allowing you to change the camera icon and color, as well as the location of the icon on the map.
- [Click Save.

Delete the camera icon #
- [Click Remove from Map.
- Click "Yes" when the confirmation screen appears.

Change/delete custom map images #
Click on the three dots icon of the custom map you wish to modify/delete.

Change Map Image #
[After clicking Change Map Image, the Register Map screen will appear, select an image and click Decision.

Delete map image #
[Click [ Delete Map ] and a confirmation window will appear, click Yes.
