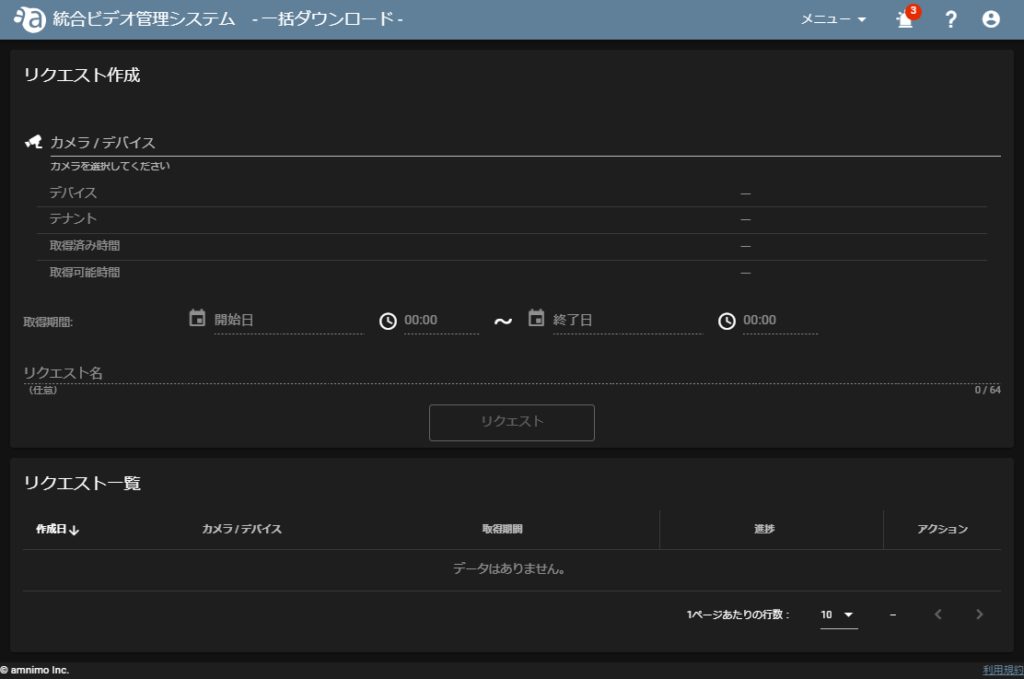
Open the batch download screen.

Select the cameras you wish to batch download.
- Click on the camera selection field.

- Click the Tenant Selection column (①) and click the name of the tenant to which the camera you wish to select belongs in the pull-down menu (②).

- Click the name of the camera you wish to select.

NOTE
After selecting a camera, the name of the camera's parent unit, the name of the tenant to which the camera belongs, and the acquired and available time for the tenant are displayed.
Each is blank until a camera is selected.
Select the acquisition period. [You can select the date from the "Start Date" and "End Date" options, or the time from the clock icon.

取得時間について
Click on the time to display the clock. You can also select the time by turning the mouse wheel.
| Click at the positive hour position you wish to set. | Next, click on the number of minutes you wish to set. |
|---|---|
 |  |
[Click Request to create a request.
The request name is optional.

リクエスト一覧にて、映像ファイルをダウンロードしたいリクエストの  アイコンをクリックします。

The video file is downloaded as a zip file.
NOTE
The zip file consists of hourly MP4 files split into separate MP4 files.

