
First, activate remote.it for the device using the Graphic User Interface (hereinafter referred to as GUI).
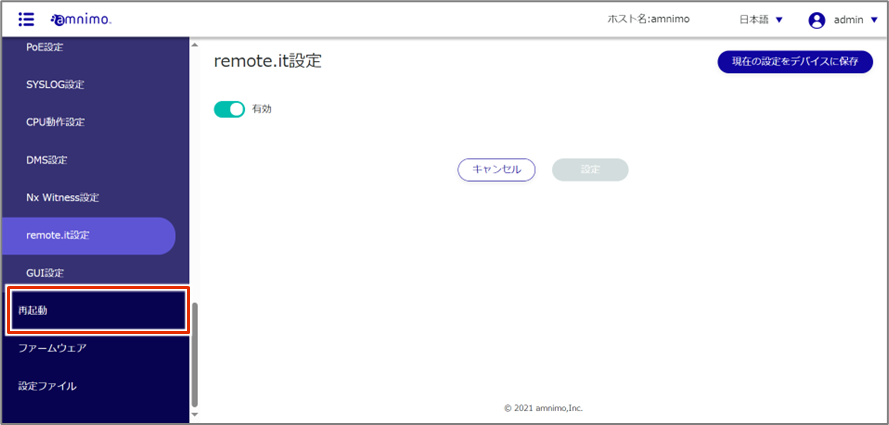
Enable remote.it #
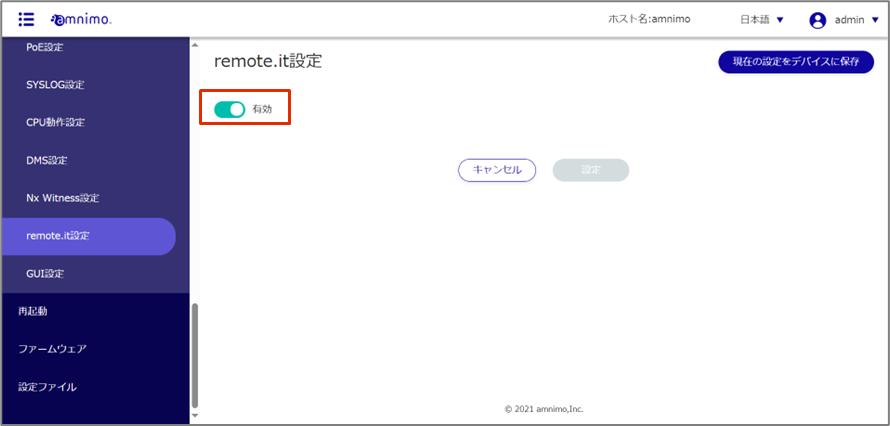
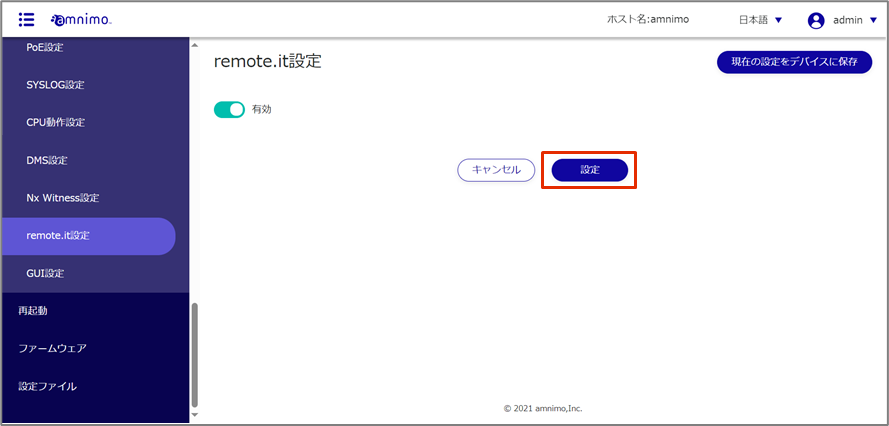
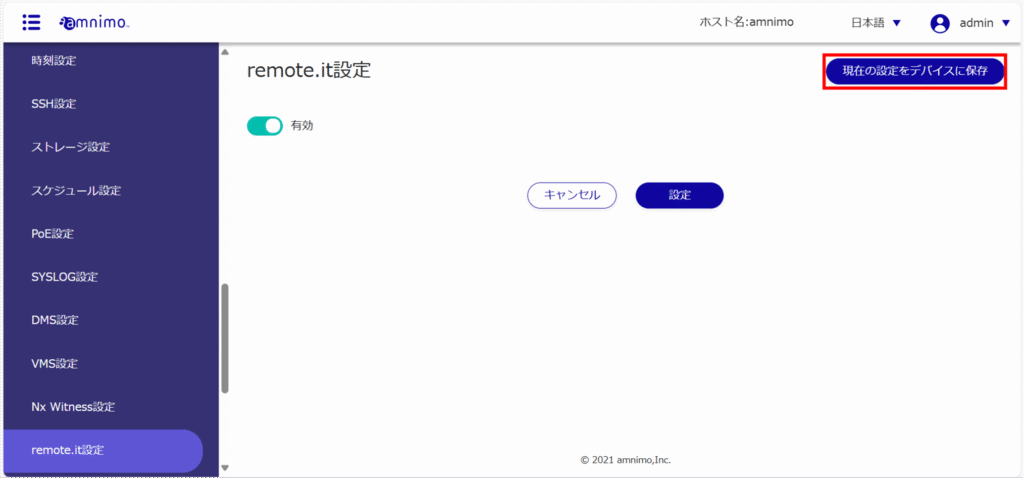
Enable remote.it to use remote.it.
Before using remote.it, please make sure that the following settings have been made
- Device is connected to the Internet. Device's DNS settings are configured.
- If simple configuration was done in Step 2, DNS settings are enabled.
- Time is set correctly.
「remote.it設定」画面が表示されます。
Register a device #
The setting method changes depending on whether or not you are using the Device Management System. Please set up remote.it according to your environment.
If you are using Device Management System #
Device Management SystemIf you are using the "remote.it", follow the procedure in the manual below to register the device.
⇒ " Device Management Systemmanual- remote.it "
If you are using the Device Management System, do not register devices or services from the Command Line Interface (CLI). You will not be able to configure remote.it from Device Management System.
If you are not using Device Management System #
If you are not using a Device Management System, register devices using the Command Line Interface (CLI).
- For detailed CLI usage and settings, please refer to the following FAQ.
⇒ " Making Initial Settings for remote.it (AG/AR) Registering Devices "
- It is also possible to connect via a serial console for CLI operation. please refer to the following manual for details on how to use the IoT router and its settings.
⇒"Chapter 1 CLI Basics" in the " CLI User's Manual ".
Register your service #
Register your service using the remote.it desktop app.
- The application can be downloaded from the following site
⇒https://ja.remote.it/download
- For detailed installation instructions, please refer to the following page
⇒https://support.remote.it/hc/ja/articles/4420541365773
