
Compact router settings can be operated using the Graphical User Interface (GUI). This step describes a simple configuration using the GUI.
The following settings can be made on the "Simple Settings" screen.
- Mobile Communication Settings
- Interface Settings
- Enable/Disable DNS
- filter (esp. camera)
- Enable/Disable DMS (Device Management System)
Note that the DNS and filtering settings are automatically applied when the simple settings are made. The DNS and filtering settings that are automatically applied are as follows
| Feature | (data) item | Default setting |
|---|---|---|
| Domain Name System | enable/disable setting | validity |
| Filtering input settings | Input default policy related established invalid input interface | Discard Permit Permit Discard Permit |
| Filtering forwarding settings | Transfer Default Policy | permit |
| Filtering output settings | Output Default Policy | permit |
For detailed settings, please refer to the following manuals.
- Configuring Filter Settings " and " Configuring DNS Settings " in the GUI User's Manual.
Simple setup procedure #
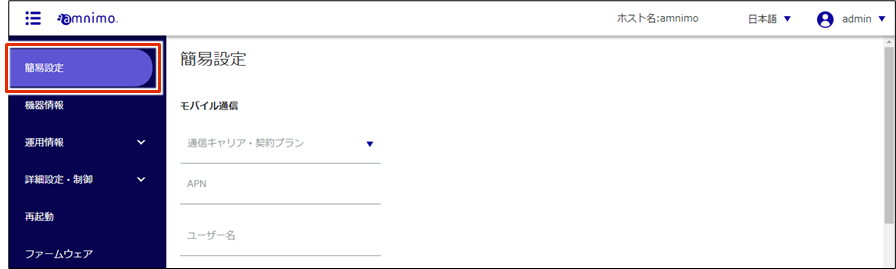
The "Simple Settings" screen appears.
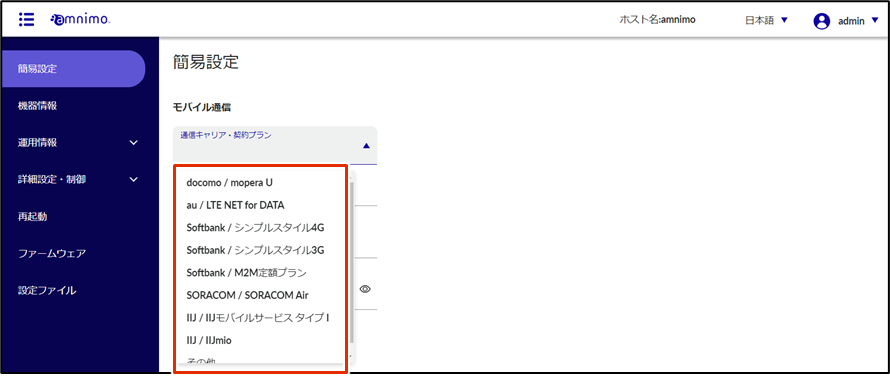
The "APN Name", "Account", "Password", and "Authentication Method" will be automatically set according to the selected carrier or subscription plan.
If the carrier/contract plan to be used is not registered in "Carrier/Contract Plan", select [Other]. When using a SIM that does not require authentication, uncheck both [PAP] and [CHAP] in [Authentication Method].
Incorrectly configured mobile settings may cause the compact router to reboot due to the failsafe feature.
- When setting up, be sure to set the correct user name and password.
- If the compact router repeatedly reboots, see the following page.
- The device repeatedly reboots after each reboot. Device repeatedly reboots ' "
Mobile connection settings are also explained in a video on the following page.
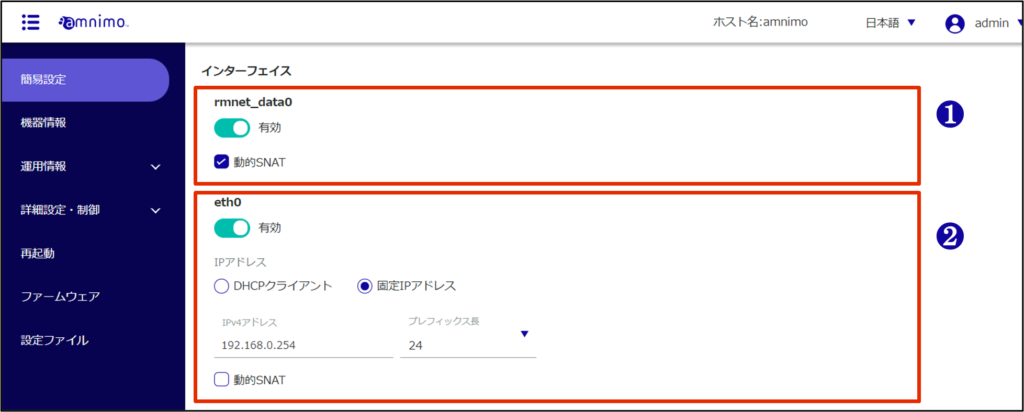
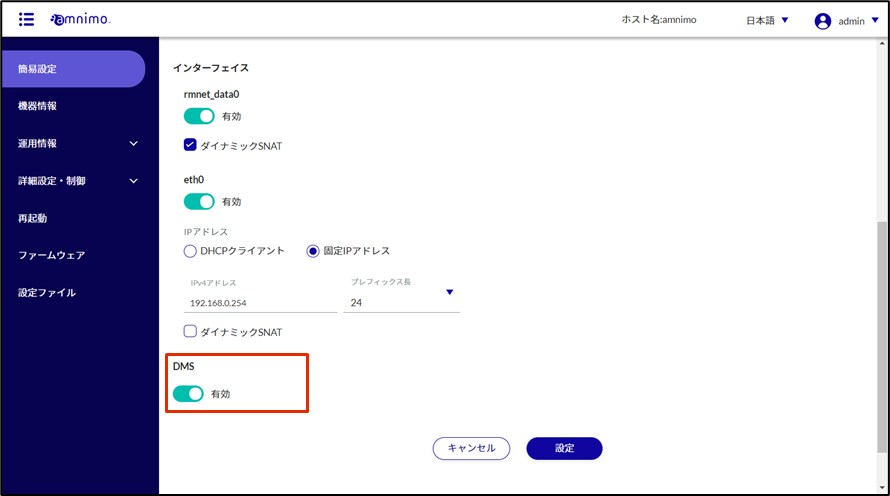
❶ Set "rmnet_data0" required for mobile communication.
Click the toggle to enable or disable.
Also check "Dynamic SNAT" if necessary.
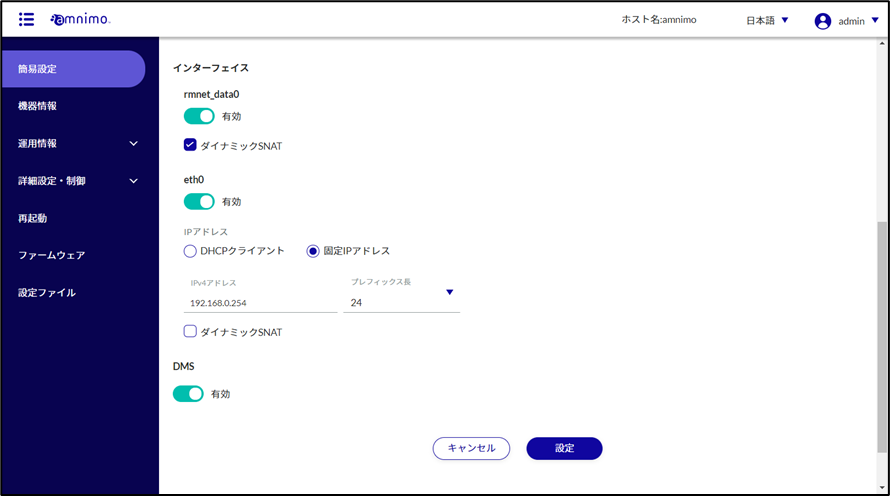
❷ Configure the required interface settings for LAN connections.
Click the toggle to enable or disable.
Select "DHCP Client" or "Fixed IP Address" as the method for assigning "IP Address. If you select "Fixed IP Address," you will need to enter the "IP Address" and "Netmask.
Also, check "Dynamic SNAT" if necessary.
Compact router indoor type screen (interface "eth0")
Screen of compact router with wireless LAN (interface "br0")
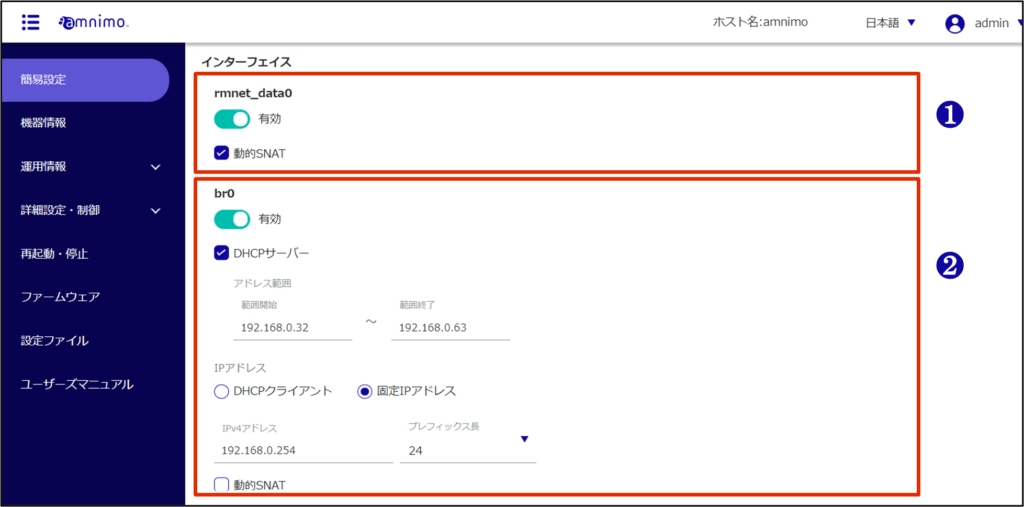
This function is available only on compact routers with wireless LAN.
Click the toggle to enable or disable.
Specifies the range of IP addresses to lease.
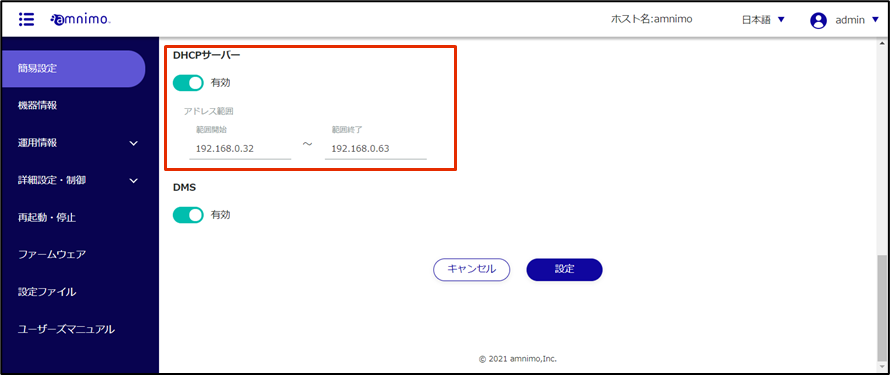
A separate application is required to use the DMS (Device Management System).
A confirmation screen for the settings will appear.
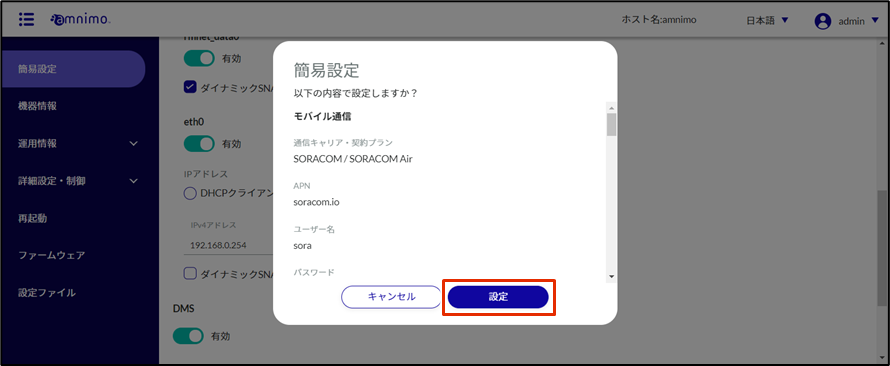
The contents specified in the simple setting screen are set in the main unit.
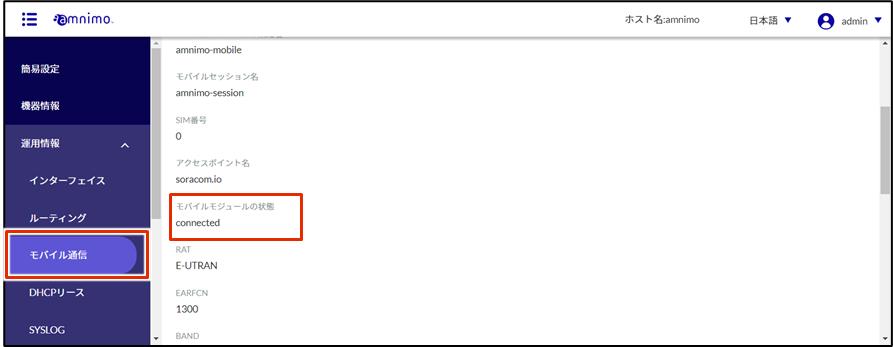
| Mobile Module Status | meaning |
|---|---|
| dialing connected disconnected | Connection is being processed Connection status Disconnection status |
If the connection is not correct, such as if there is an error in the mobile settings, the device may automatically reboot due to the fail-safe feature. Please be aware of this.
Select [Advanced/Control] - [GUI Settings] from the GUI side menu to change the protocol and port number used in the GUI settings.
- See the GUI User's Manual for details.