
This manual describes how to connect a PC and an IoT router via LAN cable to a LAN in the following network configuration, and how to perform the initial setup via GUI operation.
It also explains how to connect a PC to the IoT router via SSH and configure detailed settings via CLI operation. Please refer to the IoT Router User's Manual if you wish to use a console connection for CLI operations.
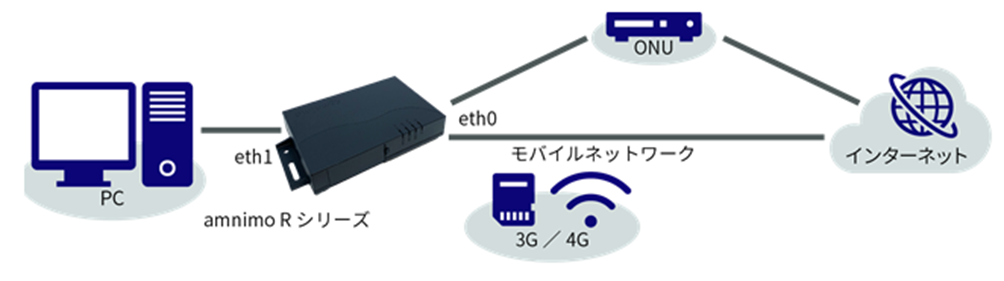
In order to sign in and configure the GUI configuration screen, the IoT router and PC must belong to the same network. Please change the IP address of your PC to match the IoT router's eth1 IP address "192.168.0.254".
- Please refer to your OS manual or other documentation for information on how to change the IP address.
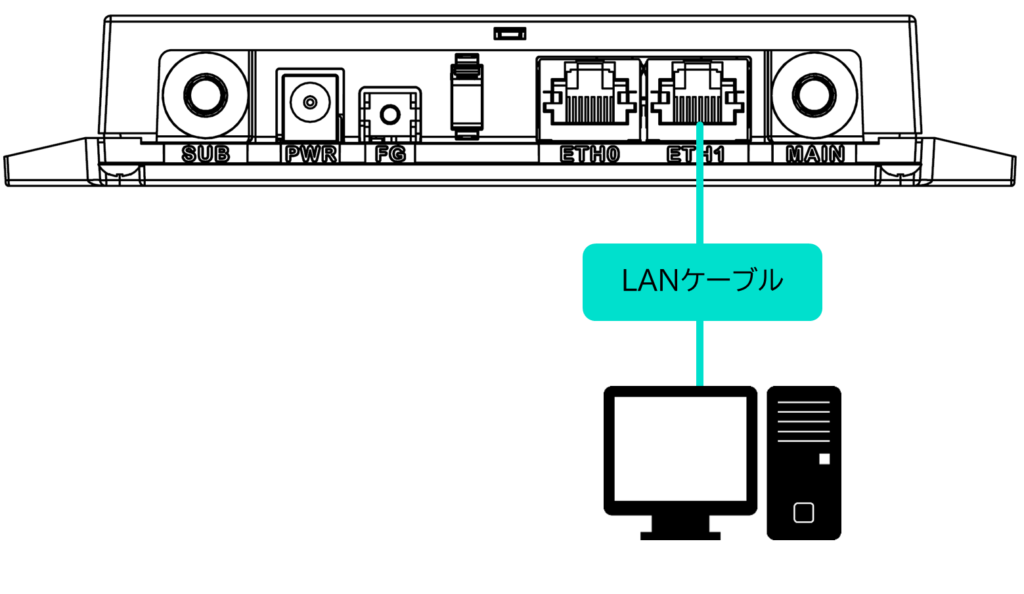
Connect PC and IoT router with LAN cable #
Connect the PC to the IoT router.
Use of a SIM size conversion adapter is deprecated as it may cause damage to the SIM slot.


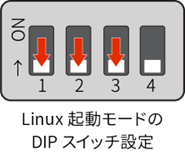
| DIP Switch | Description. |
|---|---|
| ON state | |
| OFF state |
Activate the IoT router #
Activate the IoT router.
The power turns on automatically and the IoT router starts up.
For AR10-000JP models, the notation changes: ANT becomes OPT2, MOB becomes OPT1, and is uncontrolled.
- Since IoT routers are intended to operate 24 hours a day, they have the ability to automatically recover from a shutdown in the event of a failure.
- Therefore, if the IoT router is shut down using the method described in this section, but power is still supplied from the power connector, it will reboot.
- If you want to put the IoT router in a power-off state, shut it down and pull the power plug after the LEDs are in the power-off ready state (power LED lit red).