- When configuring remote.it, the firmware version of the Edge Gateway/IoT Router must be 1.2.3 or higher.
- To configure remote.it from Device Management System, you need to sign a subscription agreement with amnimo for remote.it in advance. If you wish to use remote.it, please contact your amnimo sales representative.
- If you are applying for remote.it after applying for Device Management System, please contact amnimo customer support with your company name, customer name, email address used in your remote.it account, device name, and the completion date of the setup after the remote.it account is created. Please contact amnimo customer support with your company name, customer name, email address used in your remote.it account, device name, and setup date.
- The AC series cannot control remote.it from Device Management System.
- Amnimo Portable is not available for remote.it.
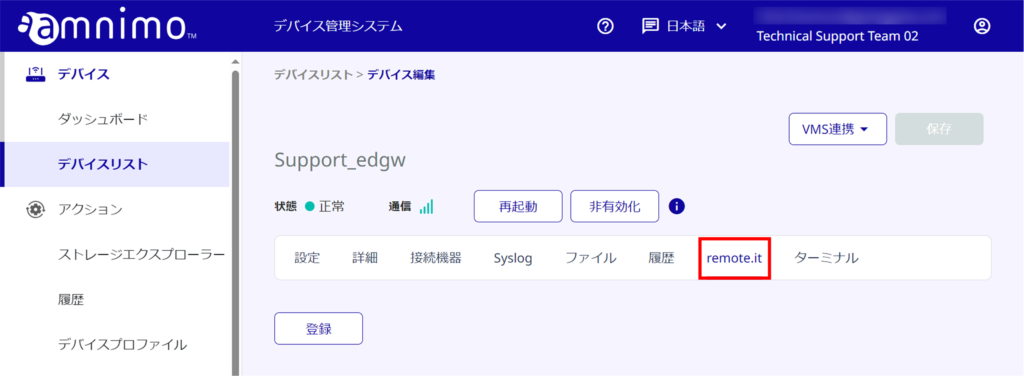
You can configure the target device for remote.it in the device management system.
- Please activate remote.it in advance. For detailed instructions, please refer to the FAQ below.
⇒" Enabling remote.it (CLI) - Do not register remote.it devices or services from the CLI. You will not be able to configure remote.it from Device Management System.
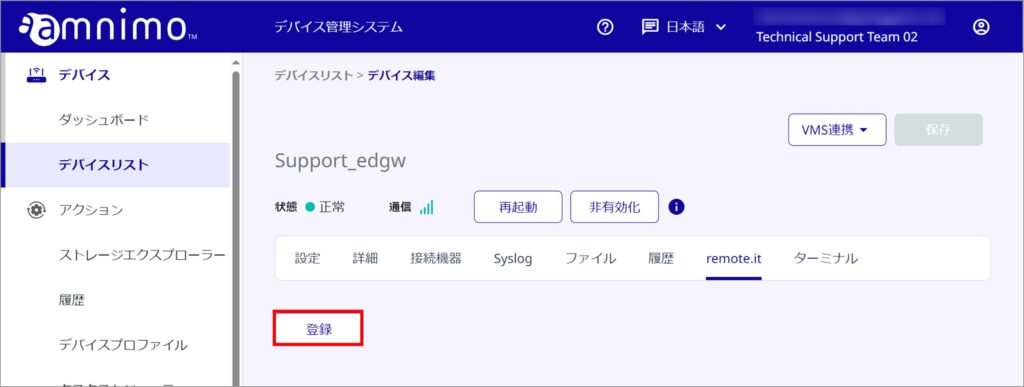
Register a device #
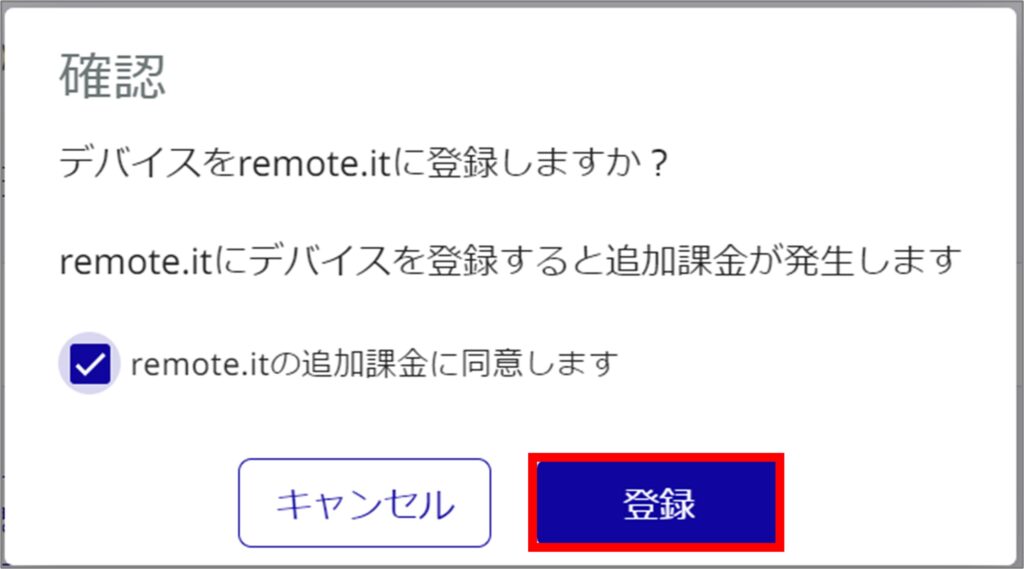
This section describes how to register a device with remote.it.
- When you register devices to remote.it, you will be charged for the use of remote.it based on the number of devices you have registered.
- Please make sure that you are using the correct device for remote.it before executing it.
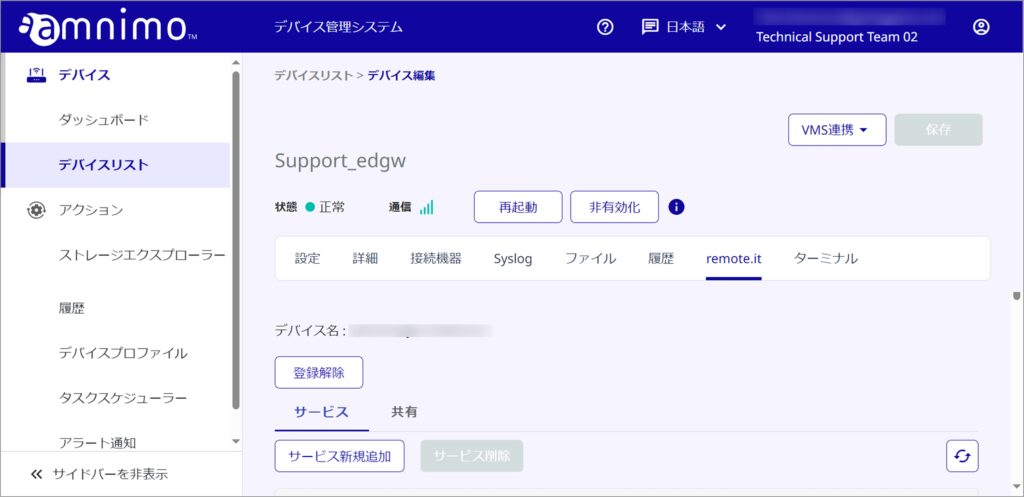
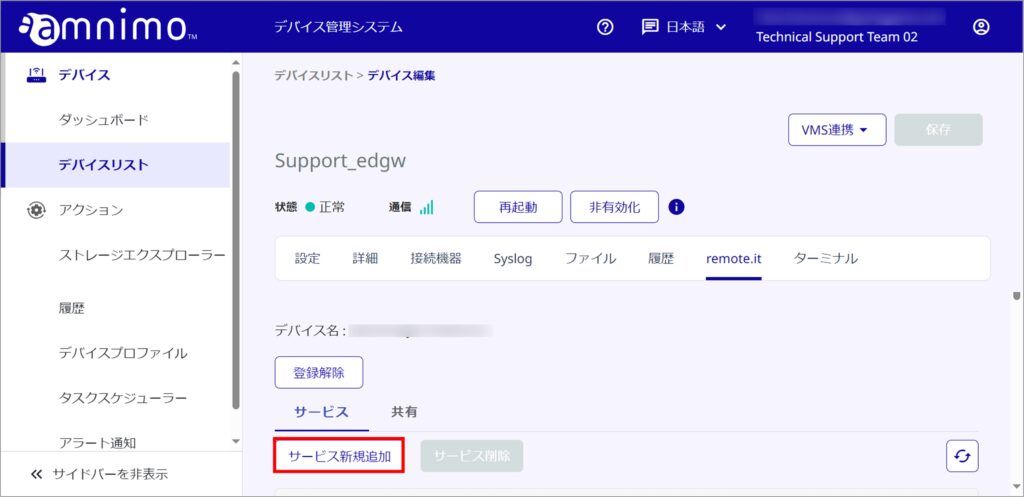
Adding Services #
Learn how to add the services you use (SSH and NxWitness).
< Default port number table
| type | default port number |
|---|---|
| TCP | 0 |
| VNC | 5900 |
| RDP | 3389 |
| Hypertext Transfer Protocol | 80 |
| HTTPS | 443 |
| SSH | 22 |
| SMB/CIFS | 445 |
| NxWitness | 7001 |
| Nextcloud | 443 |
| OpenVPN | 1194 |
| Minecraft | 25565 |
| Admin Panel | 29999 |
| Terraria | 7777 |
| UDP | 0 |
| WireGuard | 51820 |
| Minecraft Bedrock | 19132 |
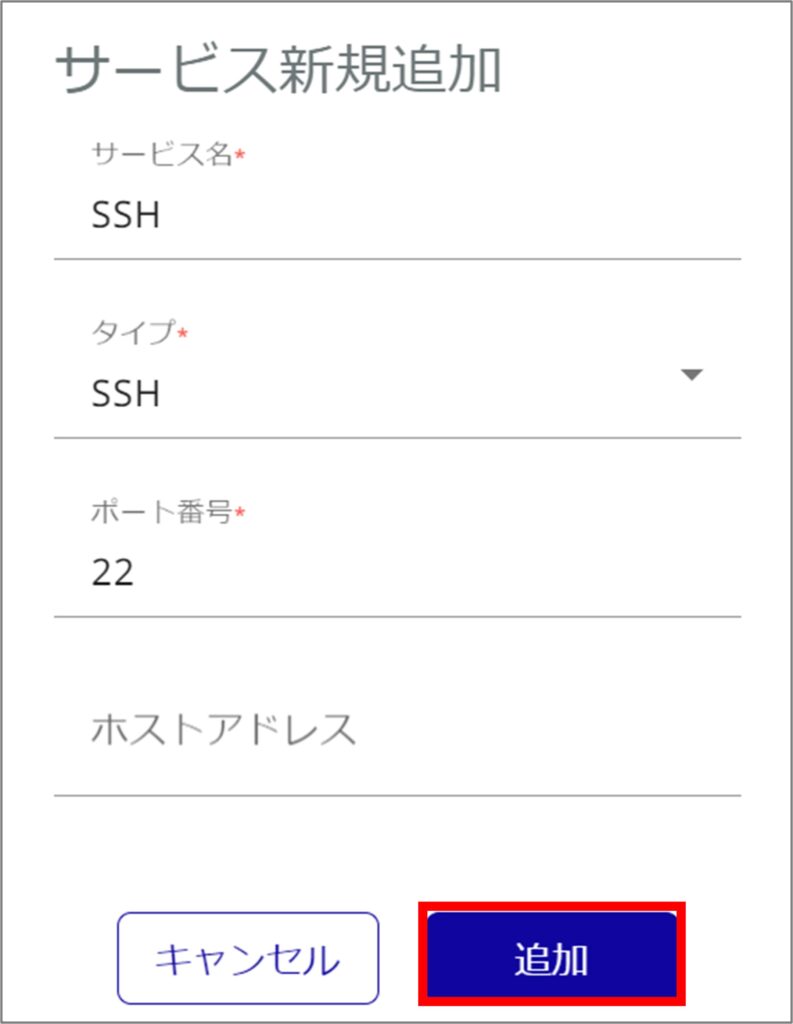
- For the host address, leave blank if you are connecting to an edge gateway / IoT router. If left blank, the loopback address (127.0.0.1) will be automatically applied.
- When the type is selected, the port number is automatically entered. When specifying a port number, specify any number from 1 to 65535.
- Since the default port number for TCP and UDP types is 0, change the number from 0 to any number other than 0 after specifying the type.
When connecting to a device (e.g. camera) connected to the Edge Gateway / IoT Router, enter the IP address of the device (e.g. camera) to connect to.
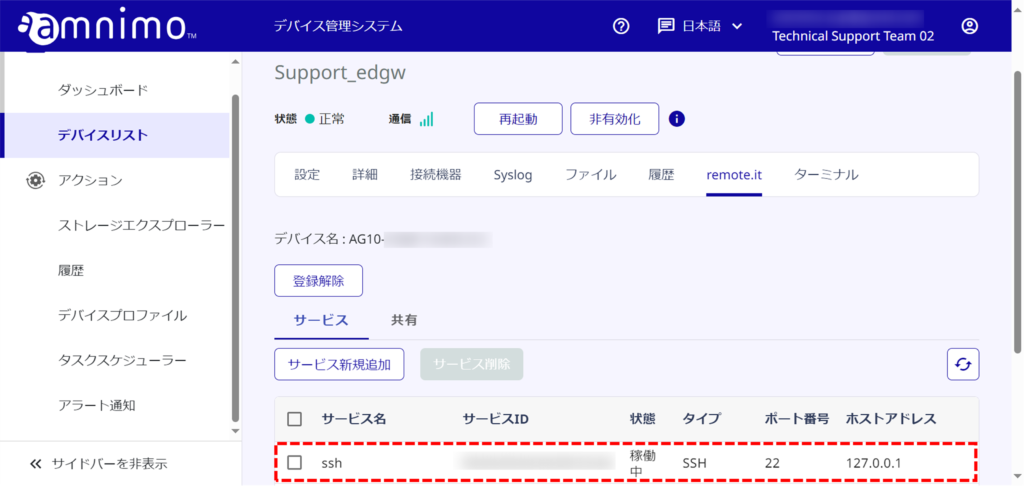
Immediately after adding a service, the status may be "Stopped" until the latest status is reflected.
If this is the case, please click the Refresh List button some time after the service is added.

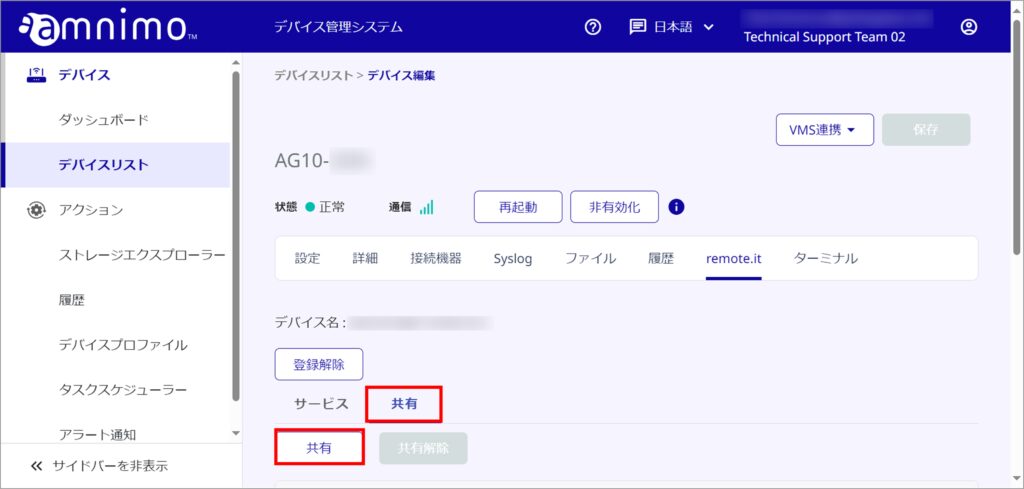
Share Services #
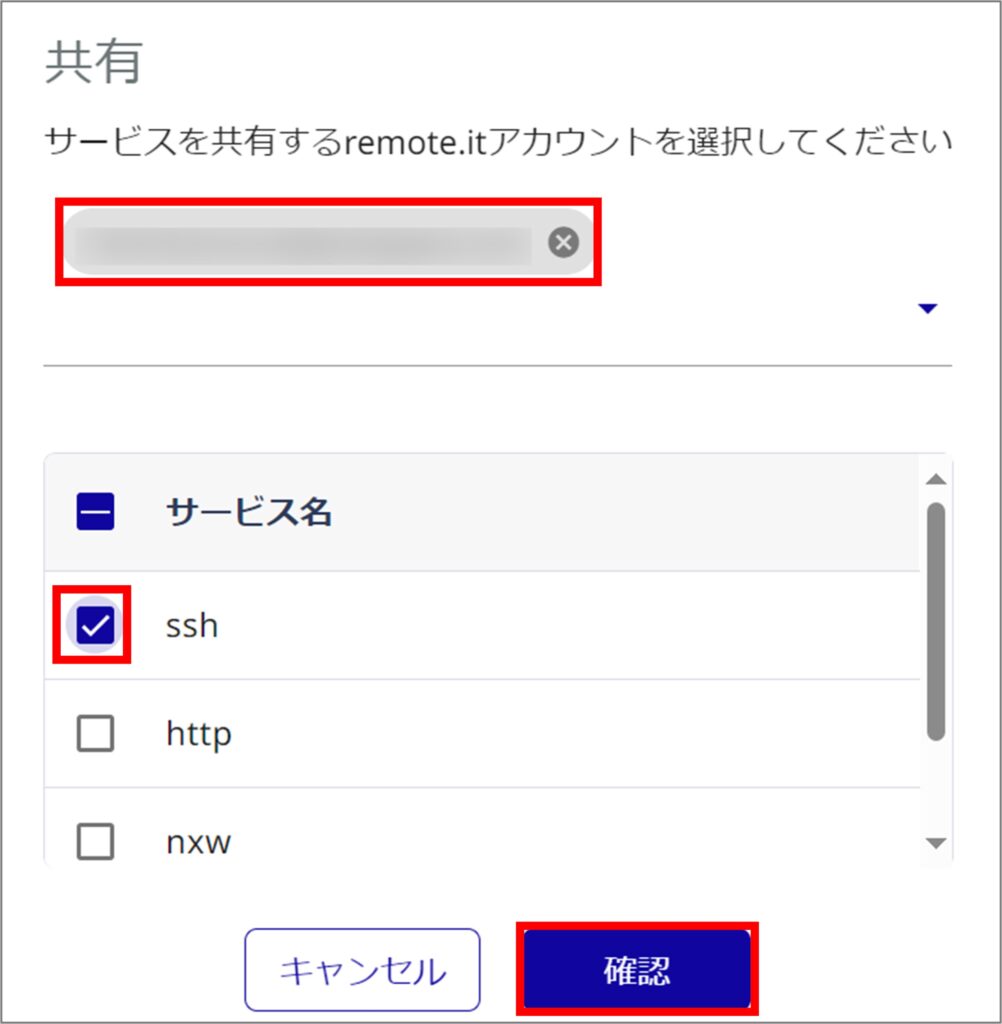
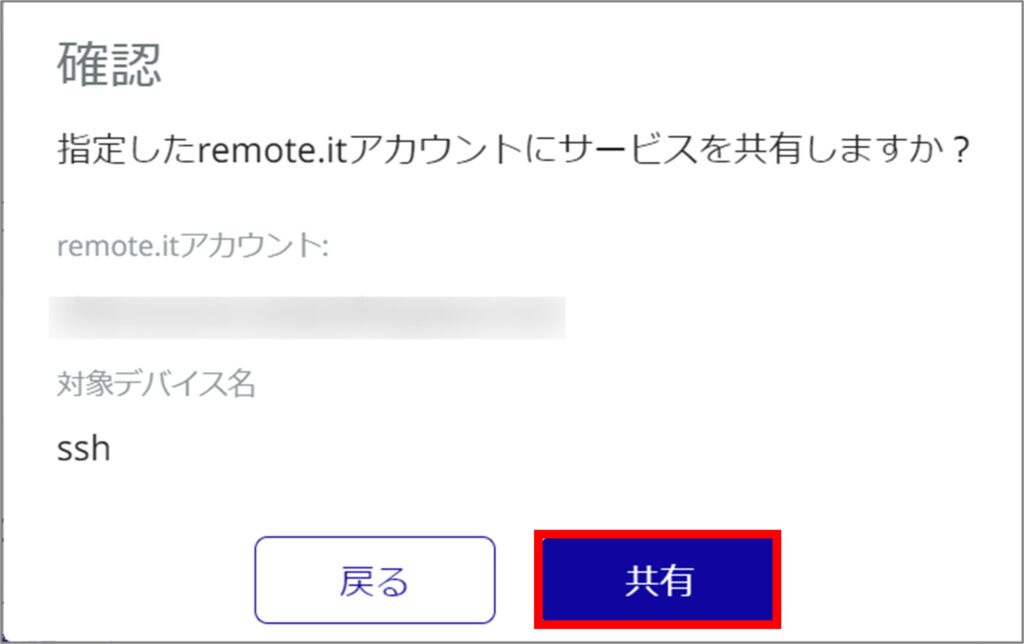
Once device registration and service addition are complete, continue with service sharing.
Service sharing allows the shared remote.it account to connect to the service.
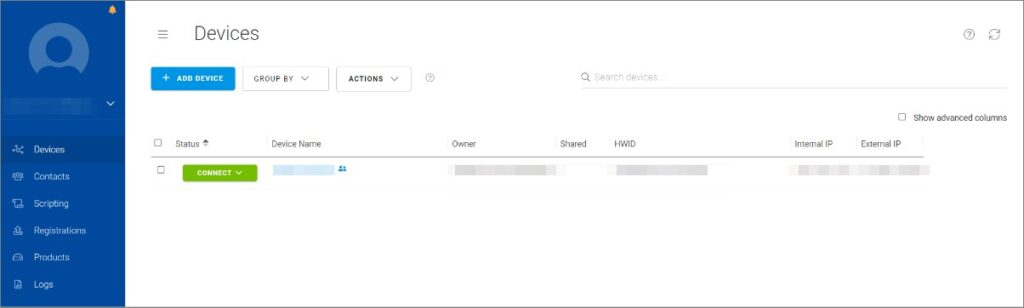
Failure to do so will result in the remote.it desktop client and remote.it It will not show the device when you log in to the remote.it desktop client or the remote.it site.
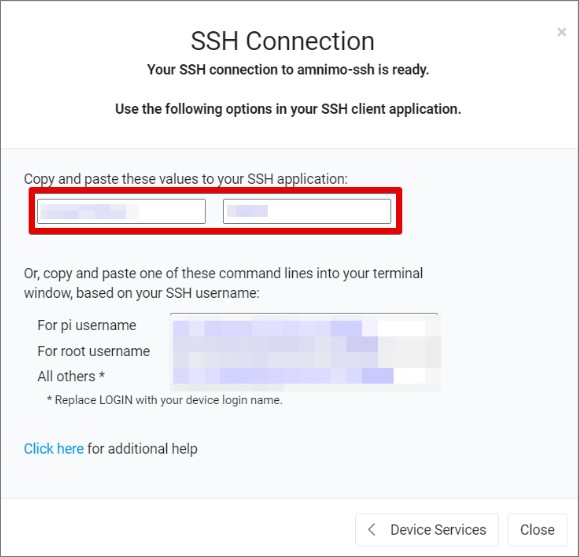
Connecting Services #
Learn how to connect to the service via remote.it.

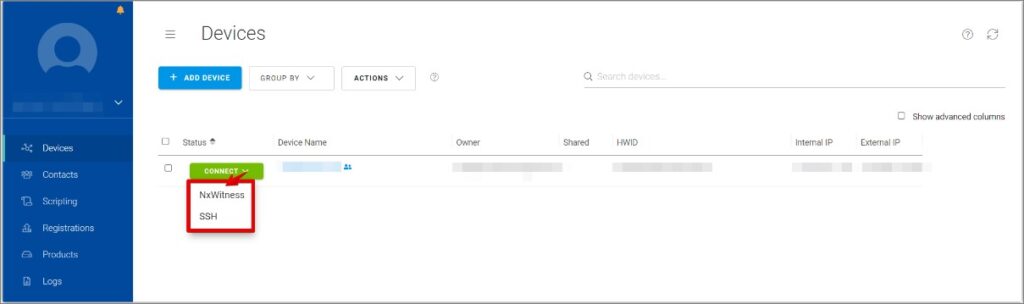
The contents displayed will vary depending on the service.
Enter each value on the appropriate application for your service and connect to the Edge Gateway / IoT Router.
When connecting via the remote.it portal site, each value is valid only once.
If a certain amount of time passes or you reconnect after opening the screen in step 4, go back to the service selection in step 3 and connect in the same way.