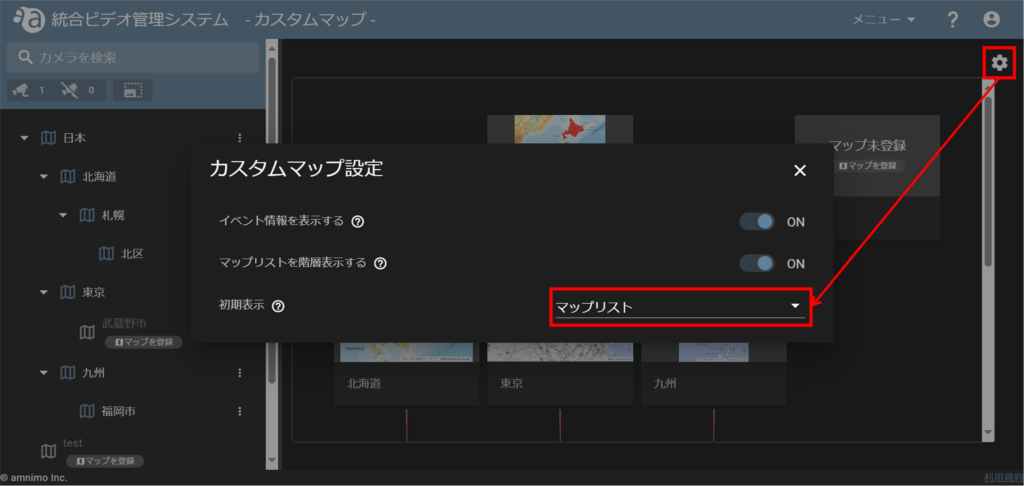
Switching the display of event information #
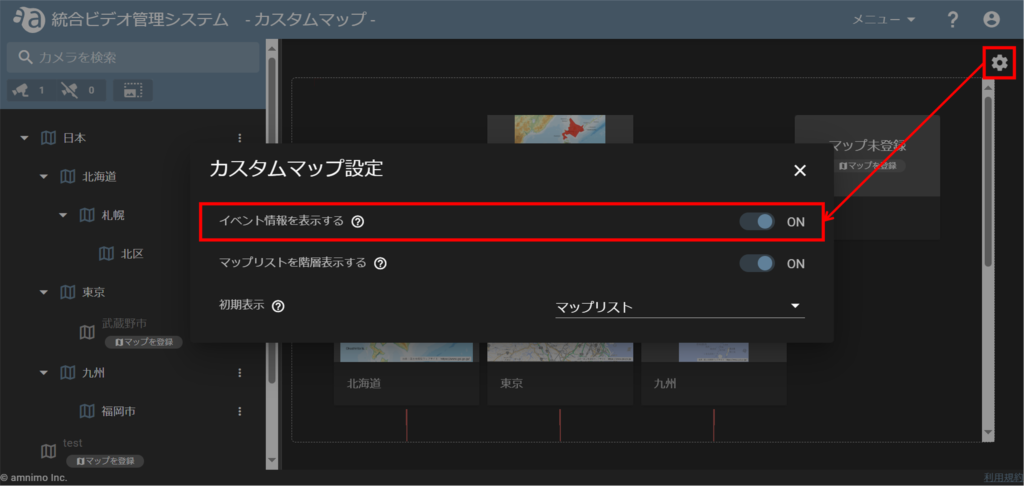
If you enable the display of event information in the Custom Map Settings, the corresponding camera icon will blink on the Custom Map when an event occurs, allowing you to check the status of the event.
This section describes how to enable the display of event information.
To disable the display of event information, turn off the "Display Event Information" toggle.
Change the display format of the map list #
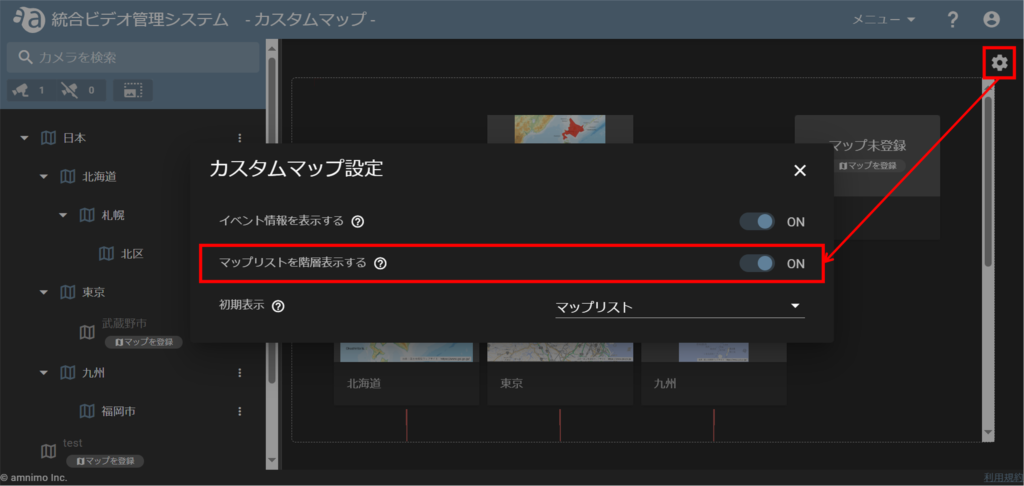
In the "Custom Map Settings" section, you can select the display format of the map list (hierarchical or list). By default, the map list is displayed in a hierarchical format.
This section describes how to display the map listings in a hierarchical fashion.
To display the map list as a list, turn off the "Display map list as a hierarchy" toggle.
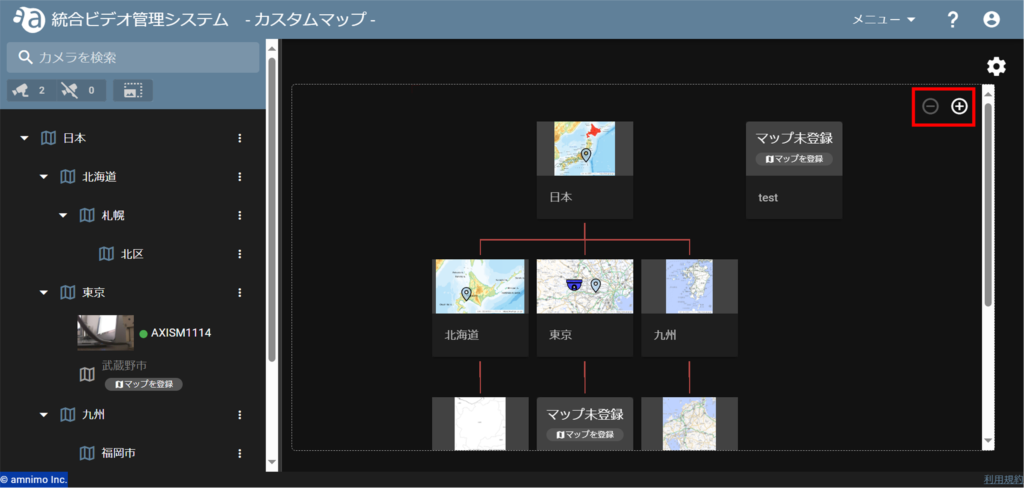
When the map list is displayed in hierarchical view, you can zoom in and out by scrolling with the mouse or using the zoom in/out buttons. You can also move the map you wish to view to the center by dragging it with the mouse.
If the image is scaled up or down to the limit, the scaling buttons will be grayed out as shown in the figure.
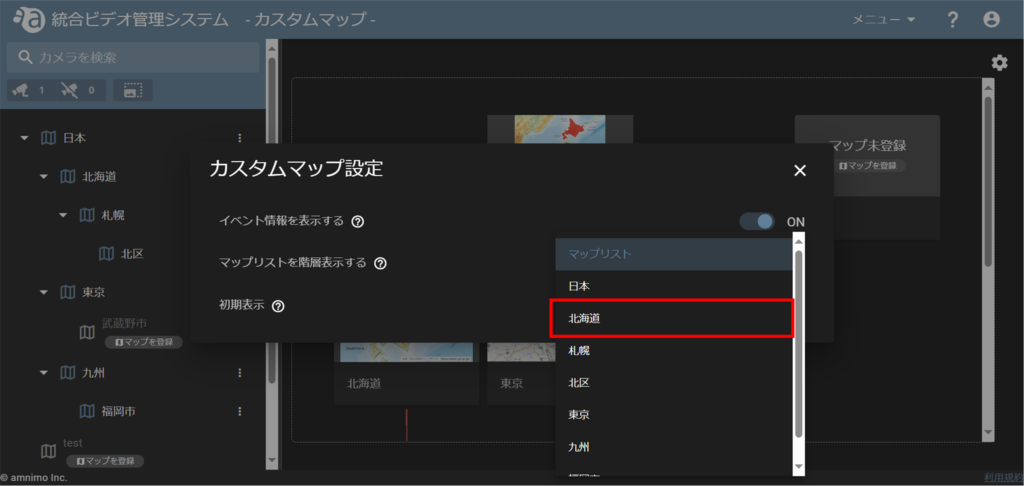
Specify the initial display screen for the custom map #
The "Custom Map Settings" allows you to specify the first map or map list that will be displayed when routing to a custom map.
