This section describes the procedure for detecting cameras from the gateway configuration.
NOTE
- If a camera is already connected to the device, the camera will be automatically detected once the device is activated.
- If a camera is detected, see "4. Go to "Configuring Camera Authentication and Recording Settings".
- Change VMS in device CLI (from Nx witness to amnimo VMS, etc., how to change) Click here If a camera is already detected (already in the camera list), delete all cameras and then re-detect the camera.
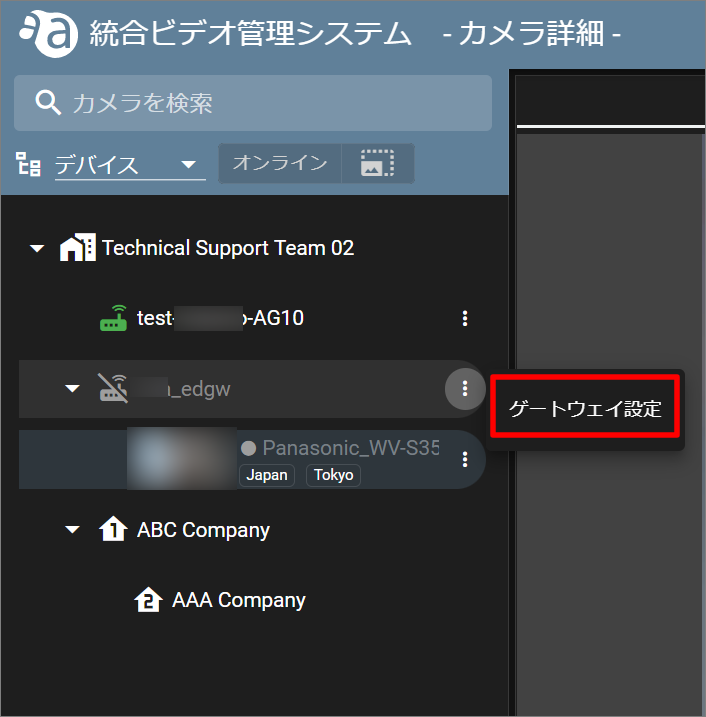
デバイスの横にある  アイコンをクリックし、[ ゲートウェイ設定 ] をクリックします。
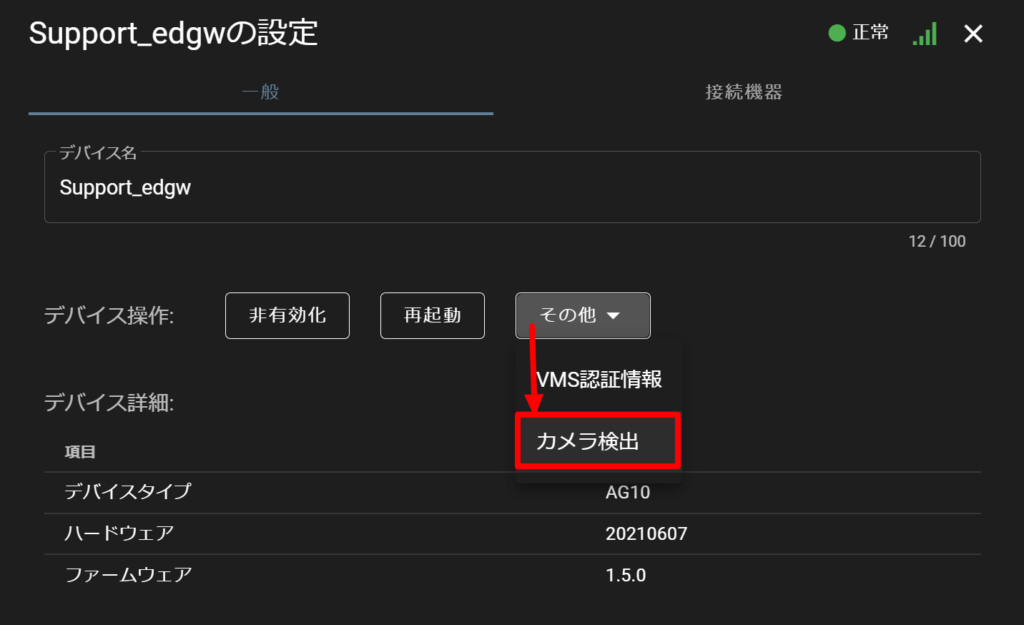
[Click on Miscellaneous and then Camera Detection.
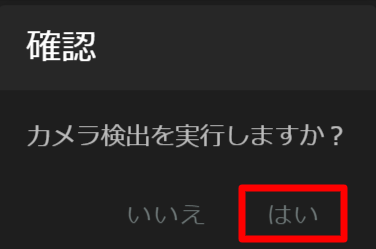
Click "Yes" when the confirmation screen appears.
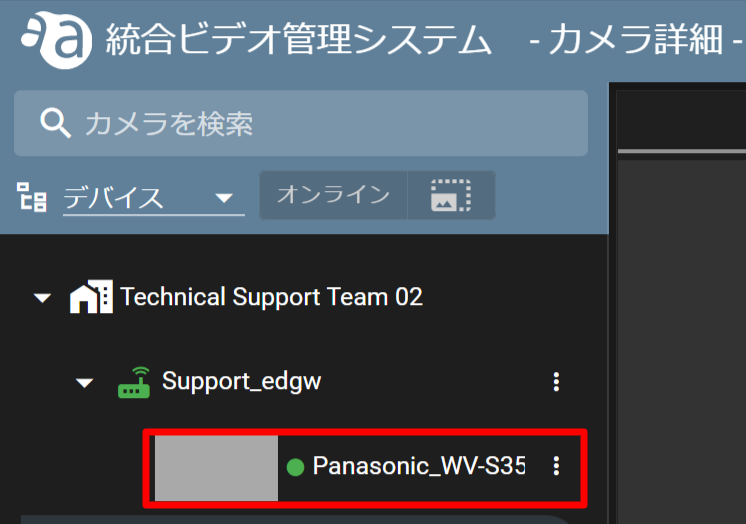
Confirm that the camera appears in the sidebar. (Thumbnails will not appear until a snapshot is taken.