This section describes the operations for adding, editing, and deleting DHCP relay settings.
Please note that the DHCP server cannot be enabled when the DHCP relay setting is enabled.
Display a list of DHCP relay settings #
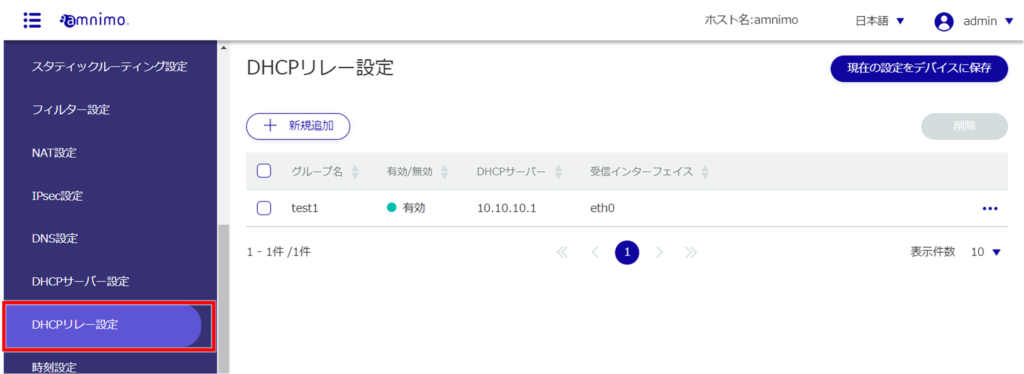
The "DHCP Relay Settings" screen displays a list of DHCP relay settings registered with the product.
By clicking tabs such as "Interface" and "Enable/Disable" in the DHCP Relay Settings list, you can sort the DHCP Relay settings in descending/ascending order for each item.

Add DHCP relay settings #

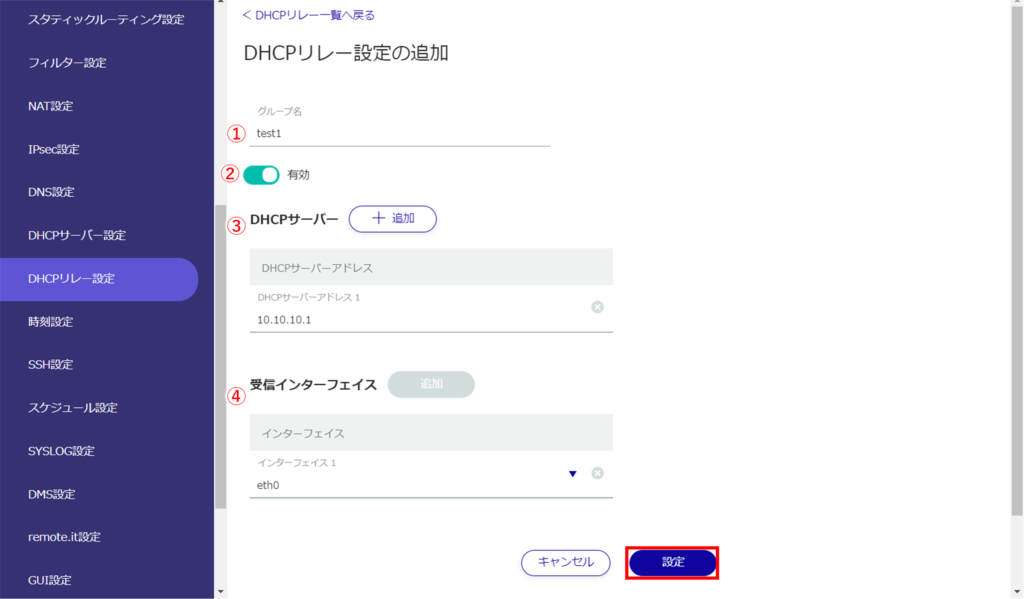
The "Add DHCP Relay Settings" screen appears.
❶ Specify a group name for easy identification.
❷ Click the toggle to enable/disable.
❸ Enter the IP address of the DHCP server. [Up to four can be specified by clicking the [+Add] button.
❹ Select the receiving interface.
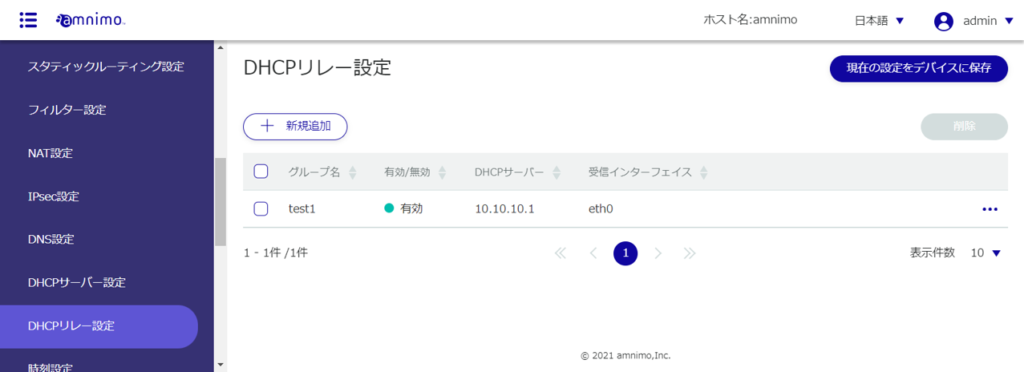
DHCP relay settings are added.
Edit DHCP Relay Settings #
Edit the registered DHCP relay settings.

The "Edit DHCP Relay Settings" window appears.
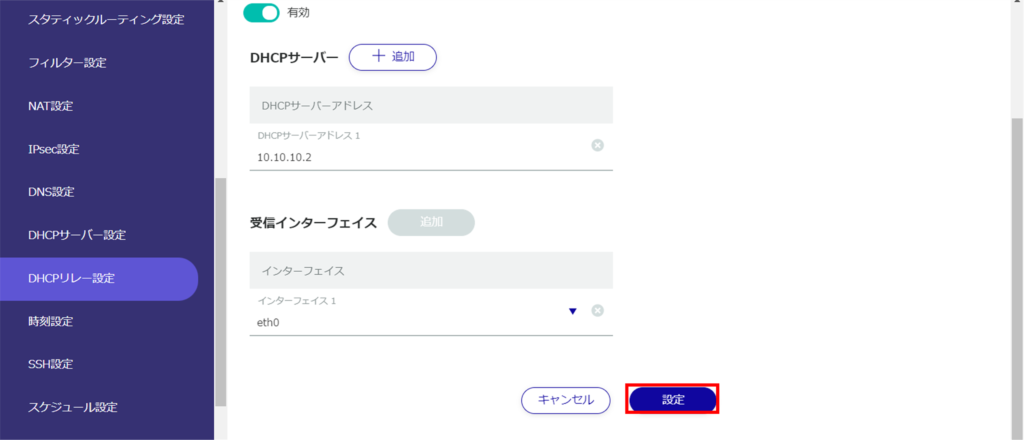
Information on DHCP relay settings will be updated and a list will be displayed.
Delete DHCP relay settings #
There are two ways to delete registered DHCP relay settings: individually from the DHCP relay settings operation menu, or by selecting all DHCP relay settings to be deleted and then deleting them.
Delete individual DHCP relay settings
This method is to select Delete from the operation menu of DHCP Relay Settings.

The "Confirmation" screen appears.
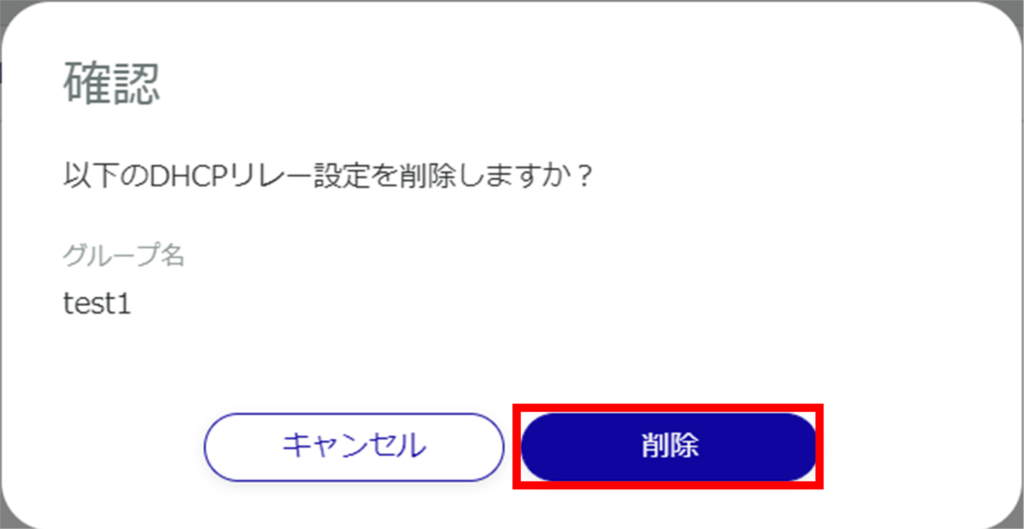
The DHCP relay setting is deleted.
Selecting and deleting multiple DHCP relay settings
This method is used to check the DHCP relay settings to be deleted and then delete them. This is useful when deleting multiple DHCP Relay settings at once; you can also select a single DHCP Relay setting to delete.

The "Confirmation" screen appears.

The selected DHCP relay setting is deleted.
