This product manages user privileges in units of groups to which the user belongs.
Set the privileges you wish to grant to an account in a group, and assign the account to the group.
⇒For details on account settings, please refer to " Configuring Account Settings ".
This section describes how to add, edit, and delete groups.
Display a list of groups #
Displays a list of groups.
The "Group Settings" screen displays a list of groups registered with the product.
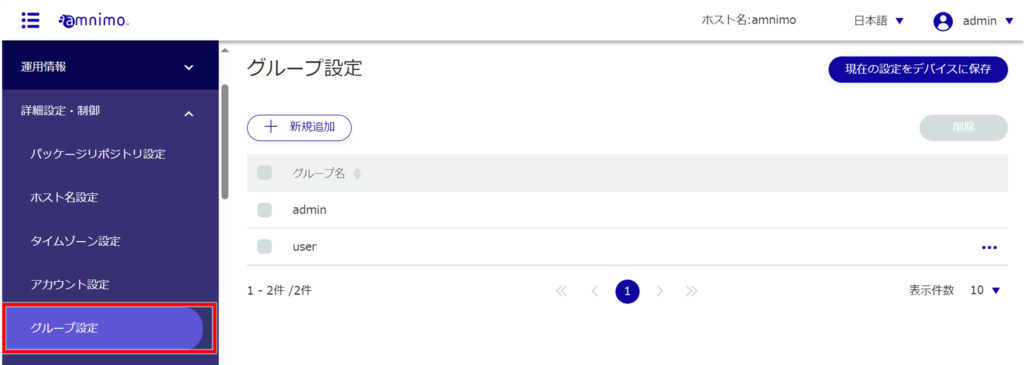
Groups can be sorted by group name in descending or ascending order by clicking on "Group Name" in the group list.

Add a group #
Add a new group.
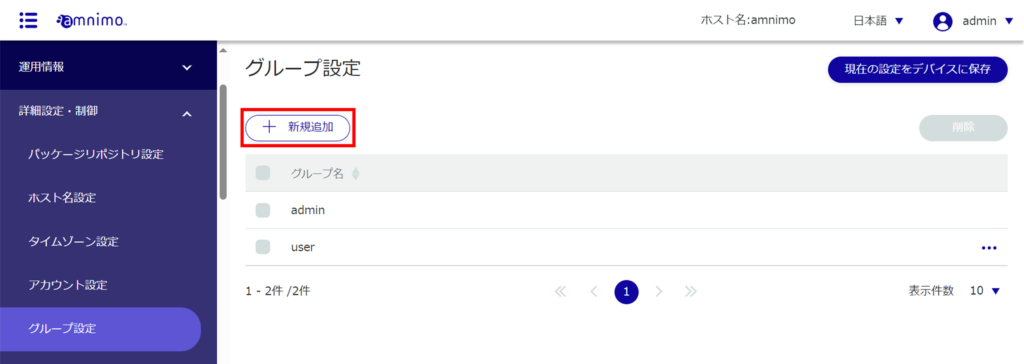
The "Add Group Settings" screen appears.
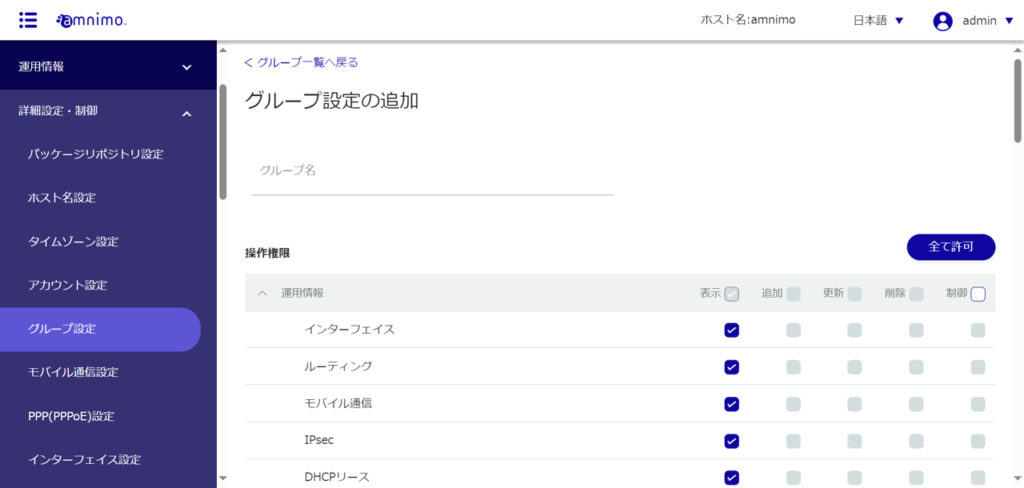
❶ Enter a group name.
❷ Select the operating privileges to be granted to the users of the group.
- Items that are grayed out are not selectable.
- Click the "Allow All" button on the right side of the screen to select all items (then switch to the "Disallow All" button).
- When using the GUI, it is essential to grant permission to view Device Information and Firmware.
(If unchecked, a message will appear asking you to authorize it.) - When uploading Amnimo configuration information, in addition to controlling the upload, control of the restart must also be allowed.
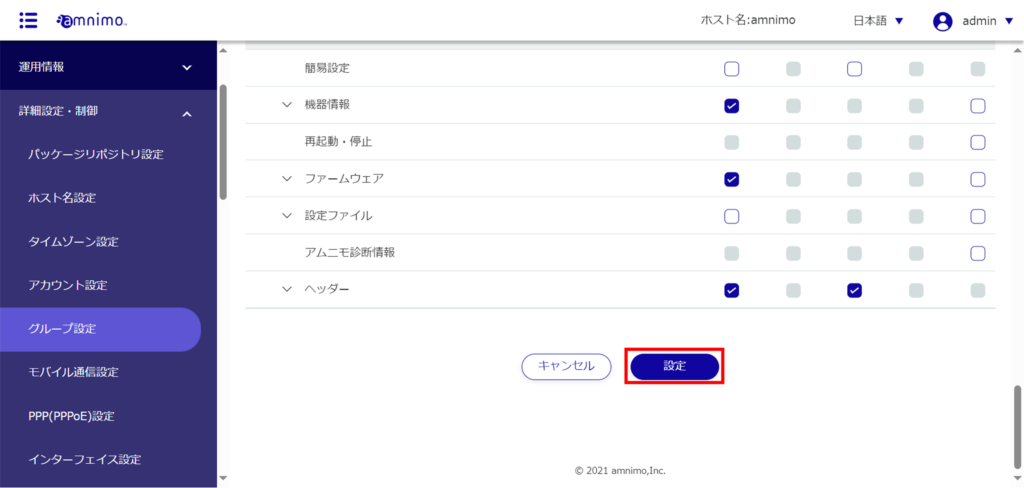
Groups are added.
Edit Group #
Edit the operating privileges of the registered group.
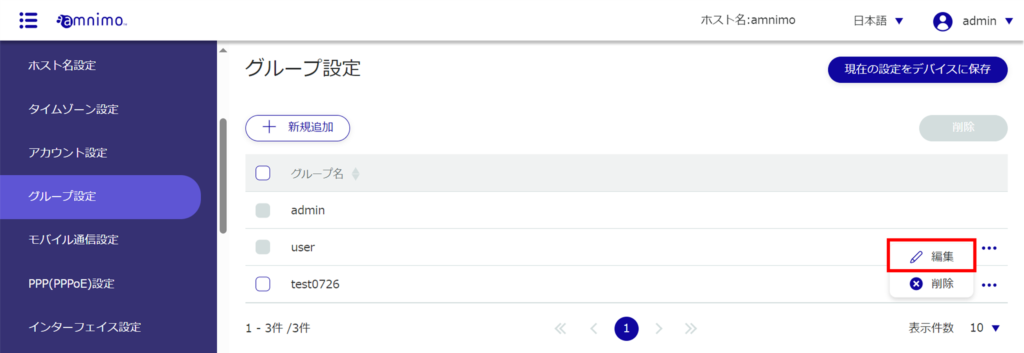
The "Edit Group Settings" screen appears.

The group information will be updated.
Delete a group #
There are two ways to delete registered groups: individually from the group's operation menu, or by selecting all groups you wish to delete and then deleting them.
- Two groups, admin and user, are set at the factory and these groups cannot be deleted.
- A group cannot be deleted while there are users belonging to it.
Delete groups individually
This method is to select Delete from the group's operation menu.
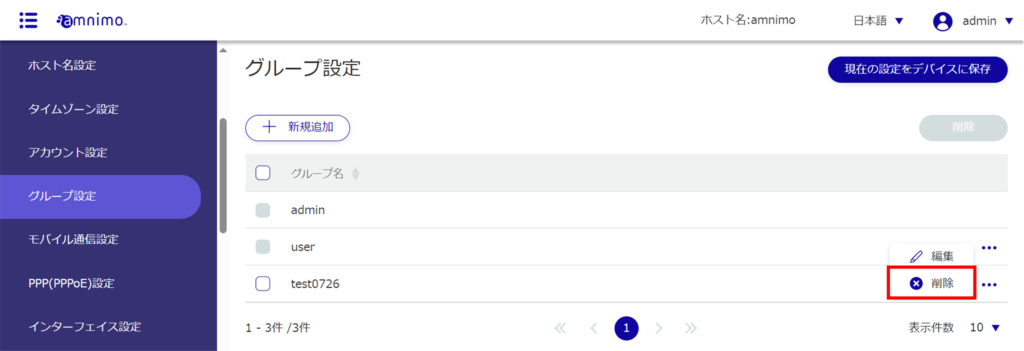
The "Confirmation" screen appears.
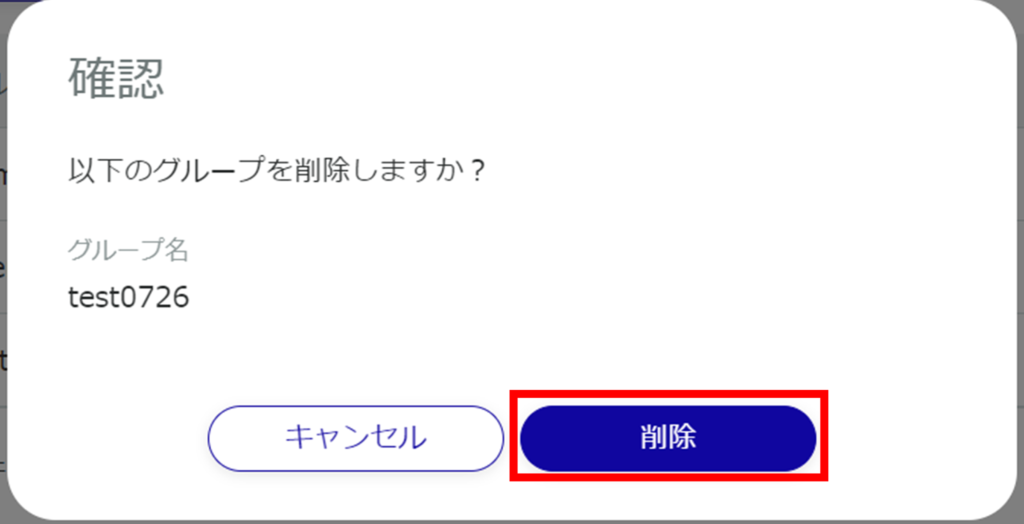
The group will be deleted.
Selecting and deleting multiple groups
This method is used to delete a group after checking the check boxes of the groups to be deleted.
This is useful for deleting multiple groups at once. You can also select a single group to delete.
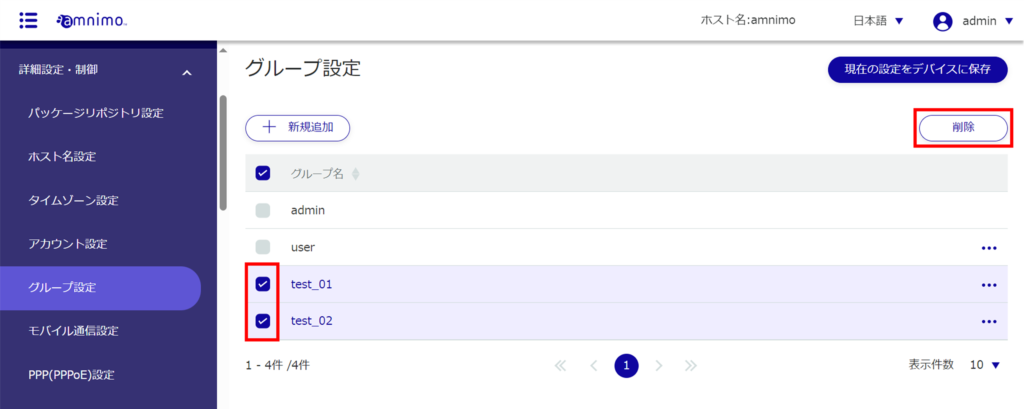
The "Confirmation" screen appears.
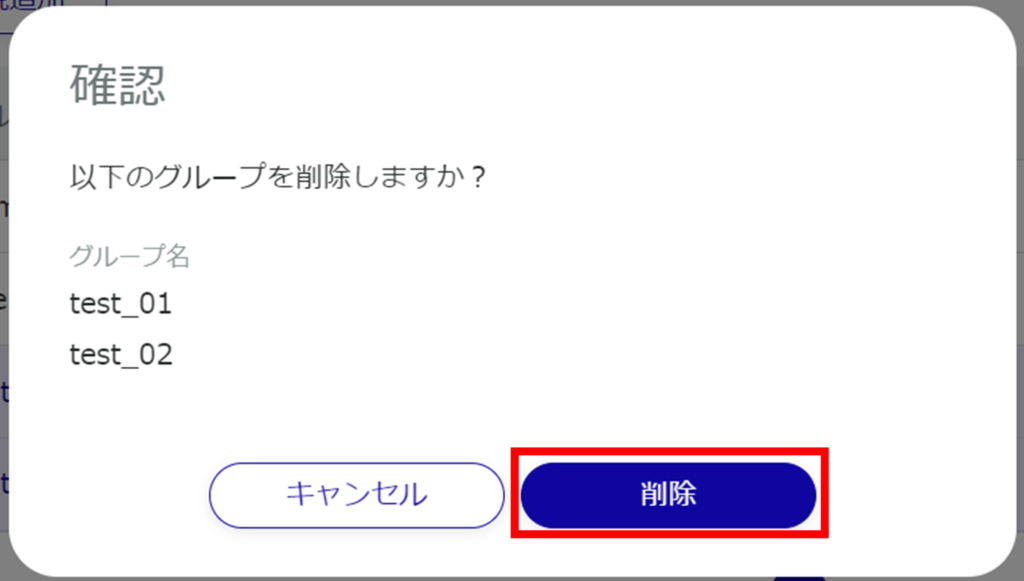
The selected group will be deleted.
