
Table of Contents
NOTE
- The VMS described in this page refers to amnimo VMS.
- IoT routers (amnimo R series) and compact routers (amnimo C series) do not have this feature.
Configure amnimo VMS settings for this product.
Display VMS settings #
Displays VMS settings.
Click [Advanced Settings/Controls] - [VMS Settings] in the side menu.
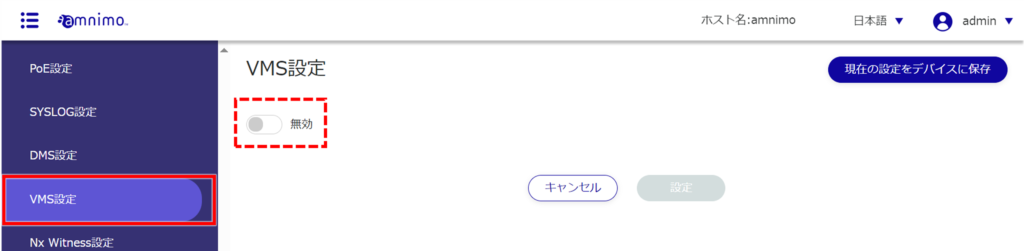
The "VMS Settings" screen displays the current VMS settings.
Enable VMS settings #
Enable VMS settings.
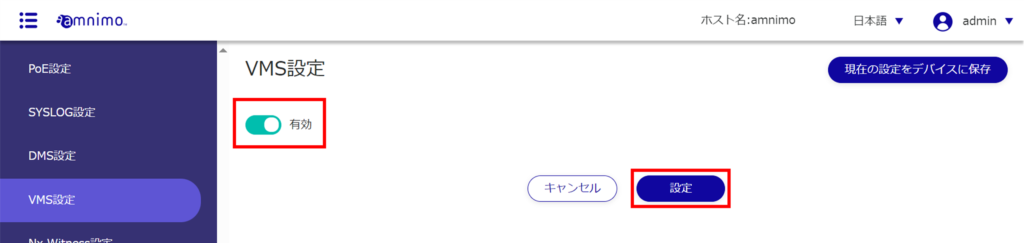
On the "VMS Settings" screen, click the toggle to change the setting to "Enable" and click the "Setup" button.
If VMS is enabled while NxWitness is enabled, click [ Configure ] when the following appears.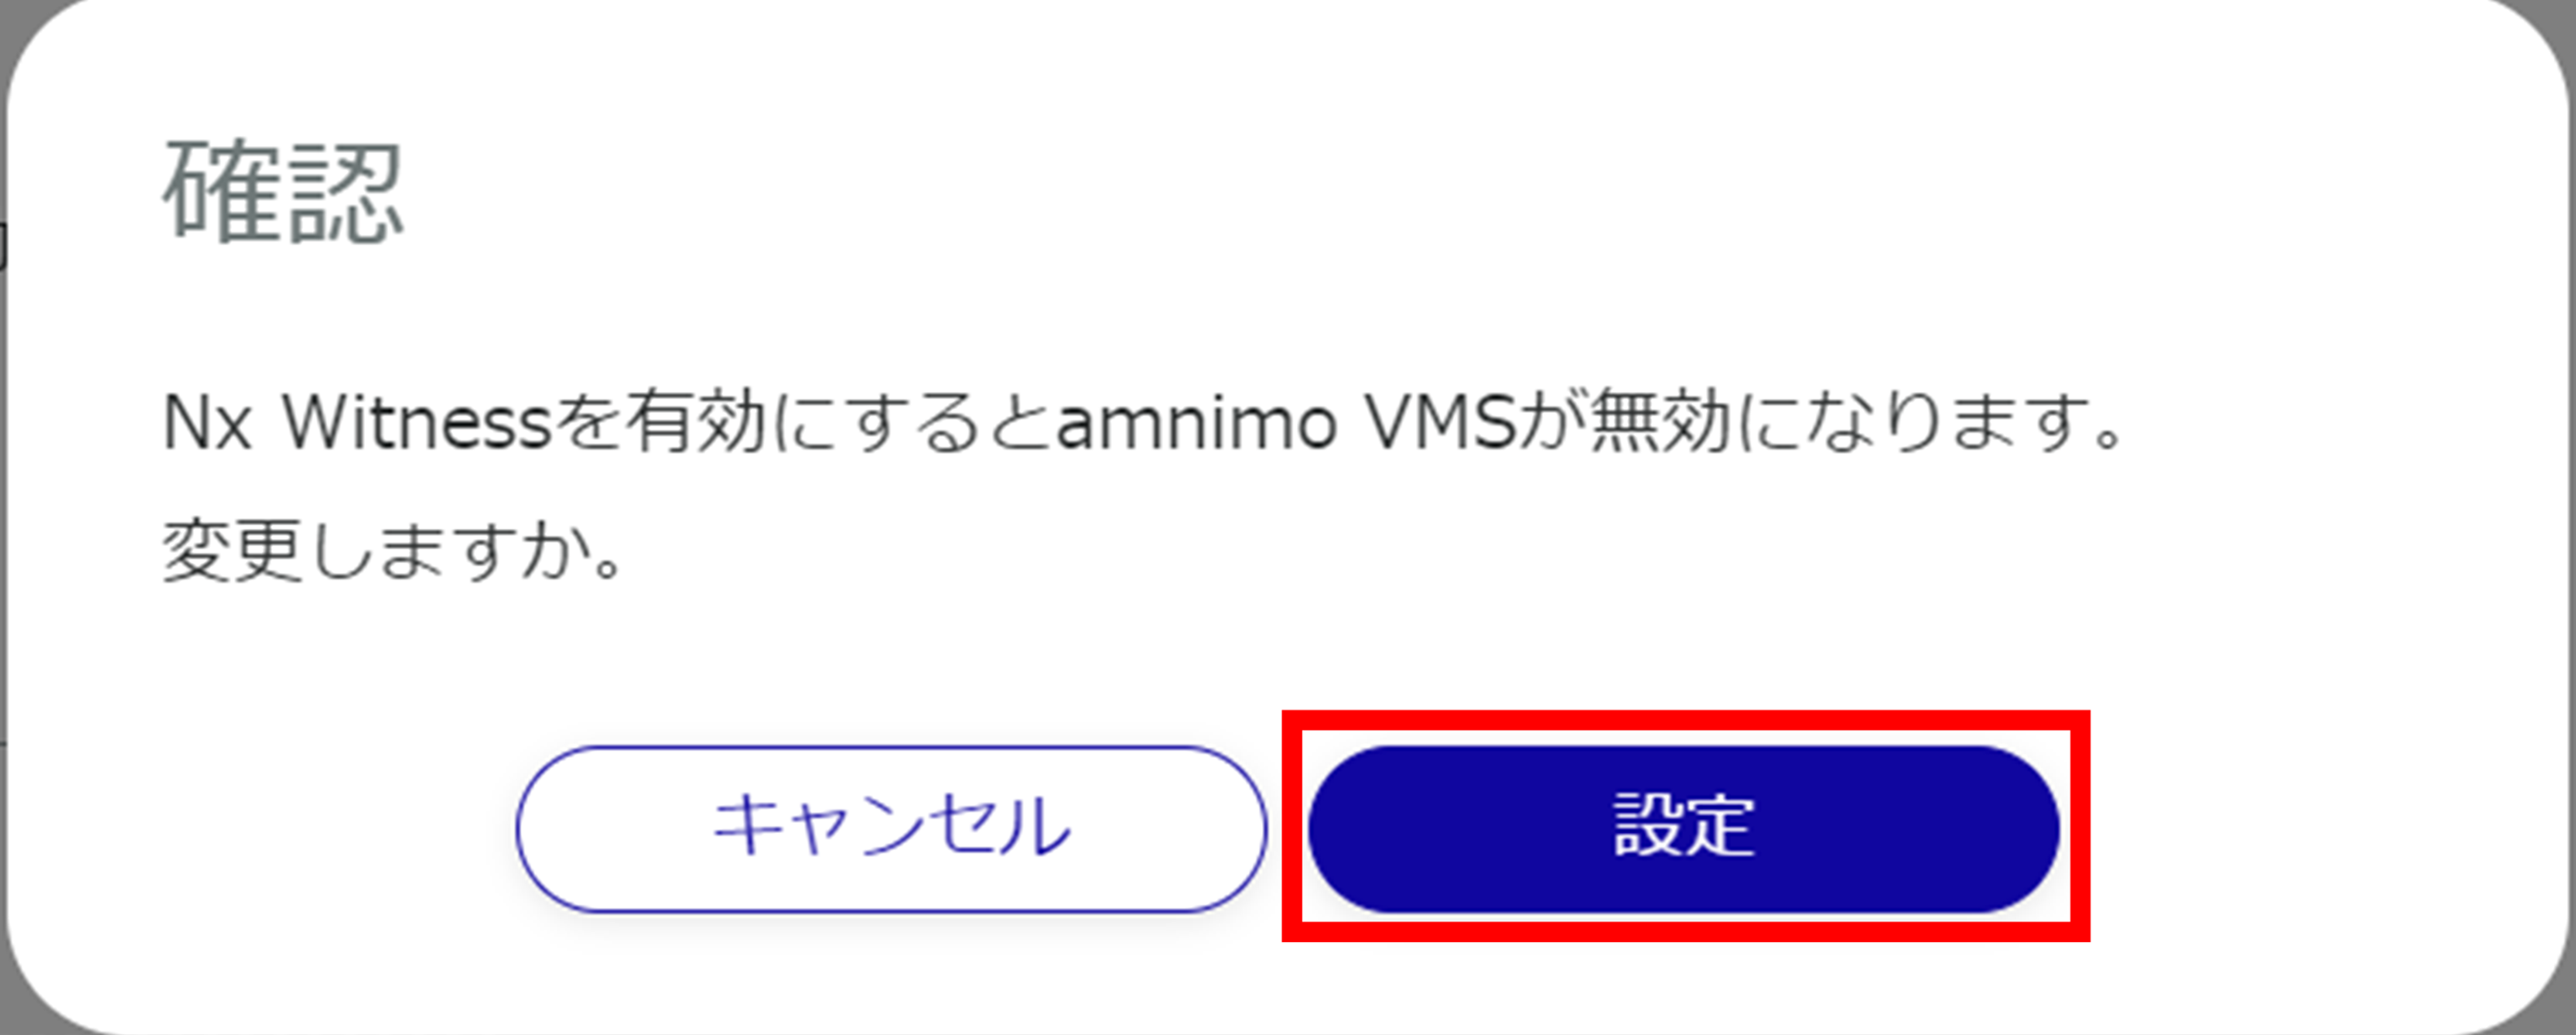
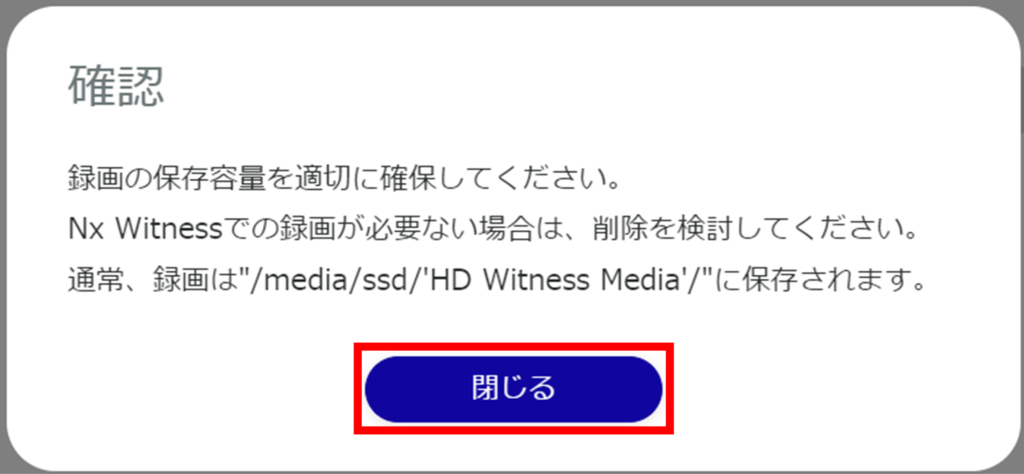
Information on VMS settings will be updated.
Confirm the contents and click the [ Close ] button.
Disable VMS settings #
Disable VMS settings.
In the "VMS Settings" window, click the toggle to change the setting to "Disable" and click the "Setup" button.
Information on VMS settings will be updated.