AI Edge Gateway (amnimo X series), Edge Gateway (amnimo G series), IoT Router (amnimo R series) and Compact Router Indoor Type (AC10) do not have this function.
This section describes the operations for adding, editing, and deleting new wireless LAN settings.
Configure WPS #
View and change WPS settings.
- WPS can be used to connect a compact router with wireless LAN when it is operating in "Access Point Mode". It cannot be used to connect to other access points in "Station Mode.
- When using the "PIN code method," a pre-generated PIN code must be entered at the station connected to the wireless LAN compact router.
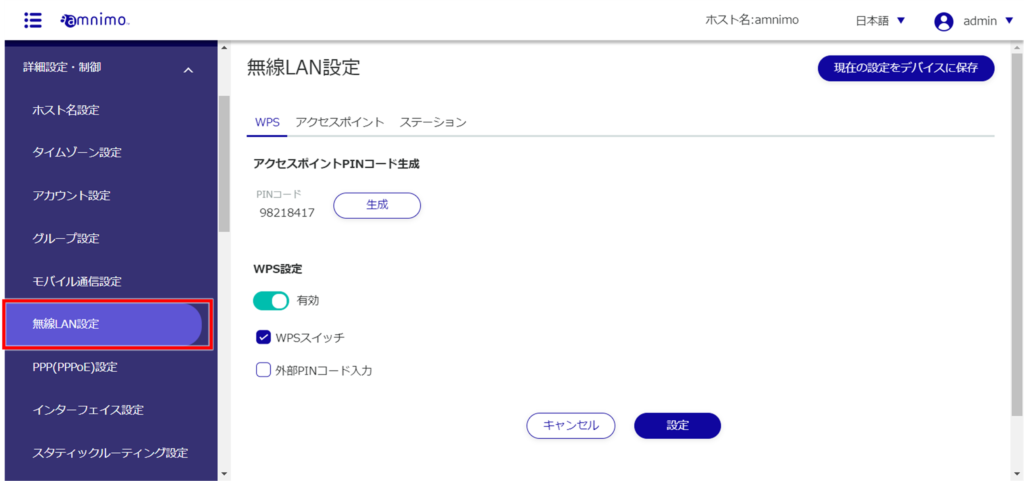
The "Wireless LAN Settings" screen appears.
[Click Generate to regenerate the PIN code.

If necessary, the use of "WPS switch" or "external PIN code input" can be restricted.
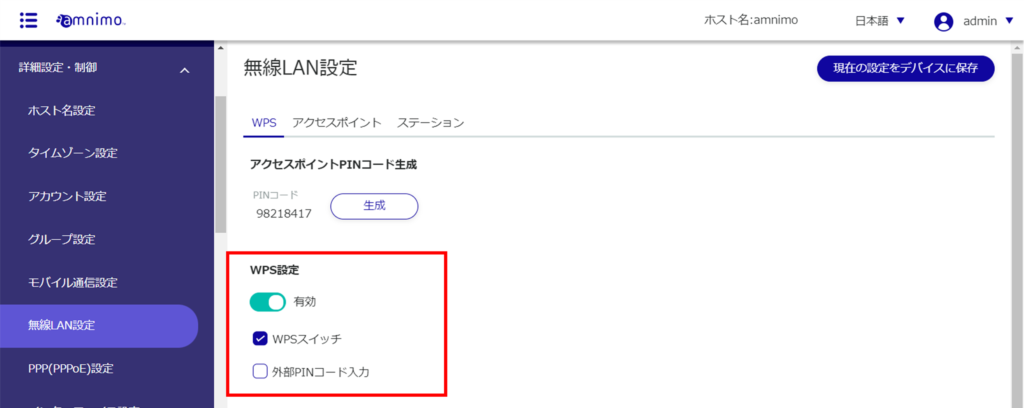
Refer to the " amnimo C Series Compact Router Startup Guide " for information on how to connect using WPS.
Display a list of access point settings #
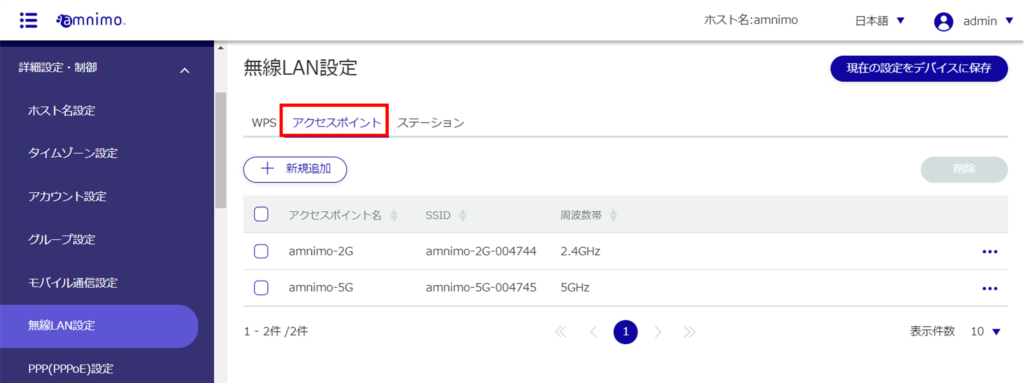
Displays a list of access point settings.
A list of registered access point settings is displayed.
The factory-installed compact router with wireless LAN starts operating as a wireless LAN access point as soon as it is connected to the Internet The two default values for the SSID name are
- amnimo-2g-xxxxxxxx
- amnimo-5g-xxxxxxxx
Add access point settings #
Add access point settings.
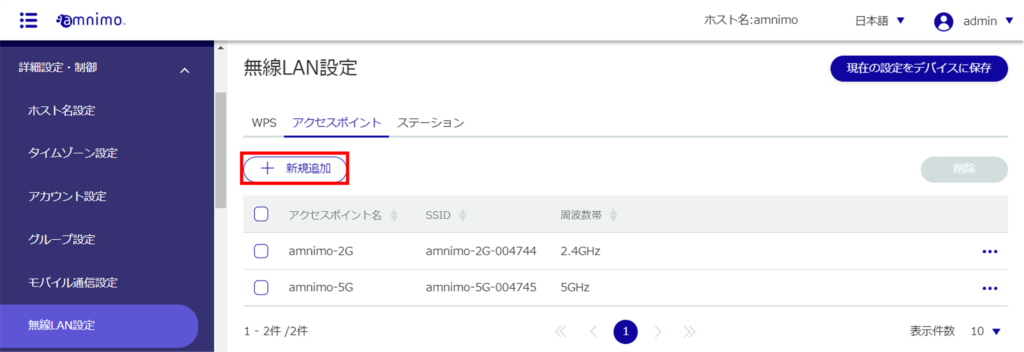
❶ Enter the access point name.
Click the ❷ toggle to enable.
❸ Select the frequency band.

❹ Enter the SSID, authentication method, and passphrase.

❺ Check SSID stealth, quarantine function, and MAC address filter if necessary.

❻ If necessary, specify the MAC addresses to be allowed to connect.

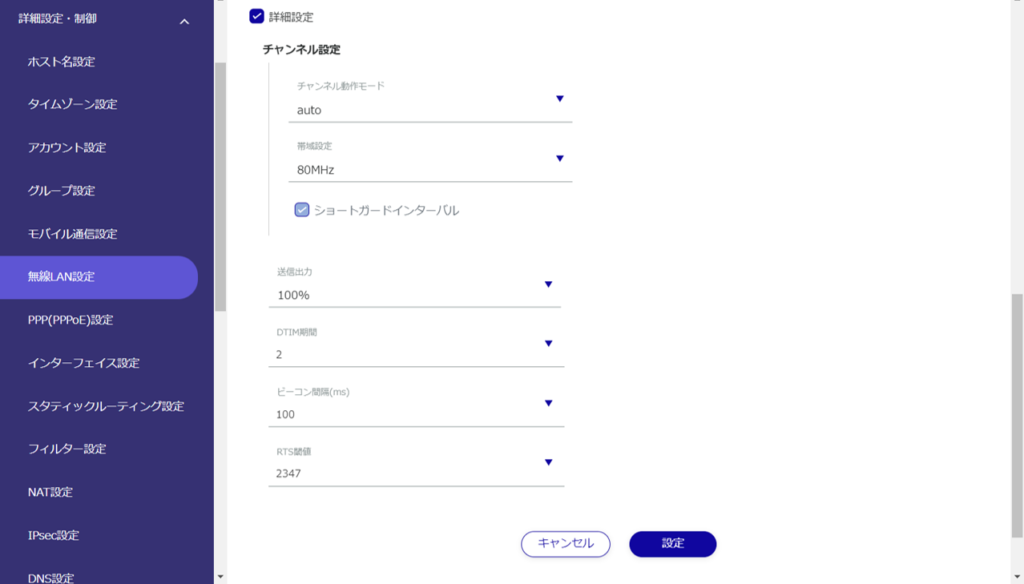
❼ Check [Advanced Settings] for even more detailed settings.

Edit access point settings #
Edit the registered access point settings.
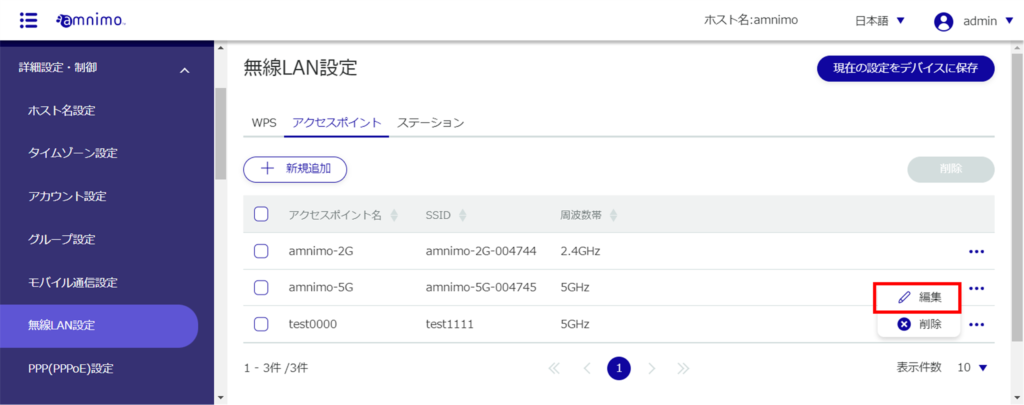
The "Edit Access Point Settings" screen appears.
Compact routers with wireless LAN have the br0 DHCP server enabled by default, which prevents changing the interface used by br0. Since wlan0 is also used as the br0 interface, it is not possible to change the following access points used by wlan0.
- amnimo-2g-xxxxxxxx
- amnimo-5g-xxxxxxxx
Before editing access point settings, set br0 to disabled from the DHCP server settings screen. See " Editing DHCP Server Settings " for information on editing DHCP server settings.

Information on access point settings is updated and a list is displayed.
Delete access point settings #
To delete registered access point settings, you can either delete them individually from the access point settings operation menu, or you can delete them after selecting all the access point settings you wish to delete.
Delete individual access point settings
This method is to select Delete from the operation menu of the access point settings.
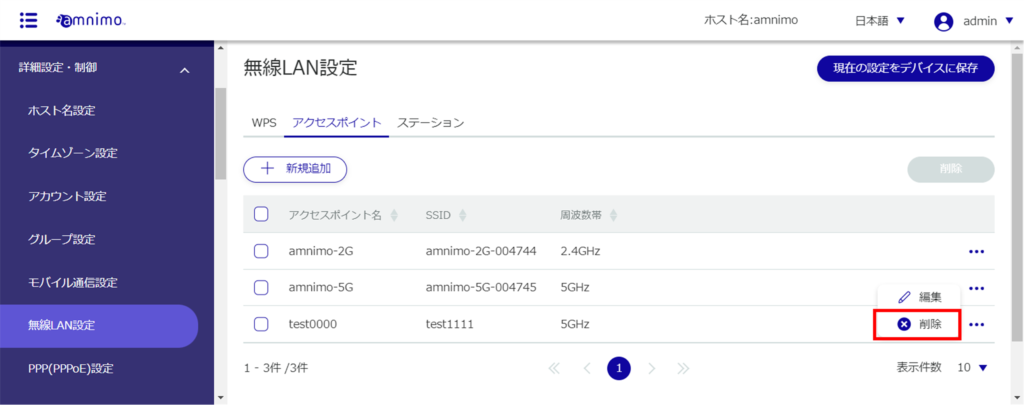
The "Confirmation" screen appears.

Access point settings are deleted.
Selecting and deleting multiple access point settings
This method is used to delete access point settings after checking the check boxes for the access point settings you wish to delete. This is useful for deleting multiple access point settings at once. You can also select a single access point setting to delete.
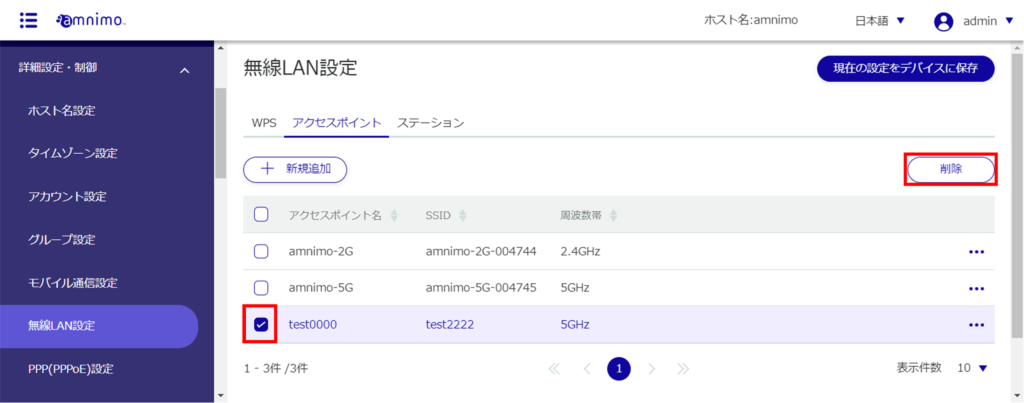
The "Confirmation" screen appears.

The selected access point setting is deleted.
View a list of station settings #
Displays a list of station settings.
The factory-installed compact router with wireless LAN starts operating as a wireless LAN access point immediately after power-on, so no station settings are registered.
To operate in station mode, several steps must be taken. Please refer to the " amnimo C Series Compact Router Startup Guide " for detailed instructions.
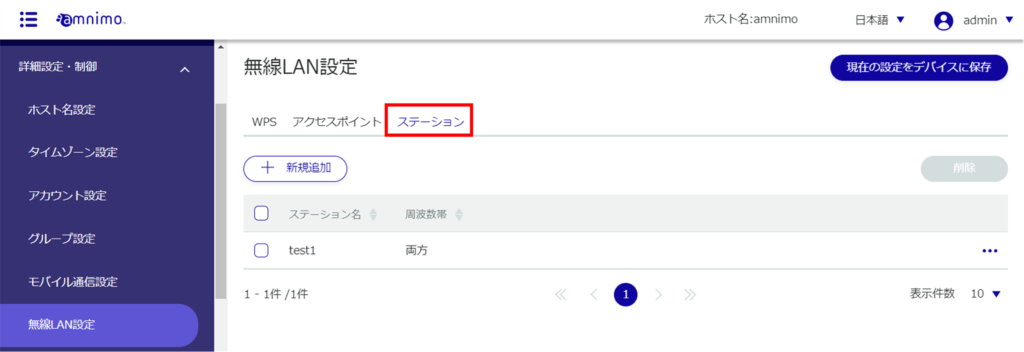
A list of registered station settings is displayed.
Adding station settings #
Add station settings.
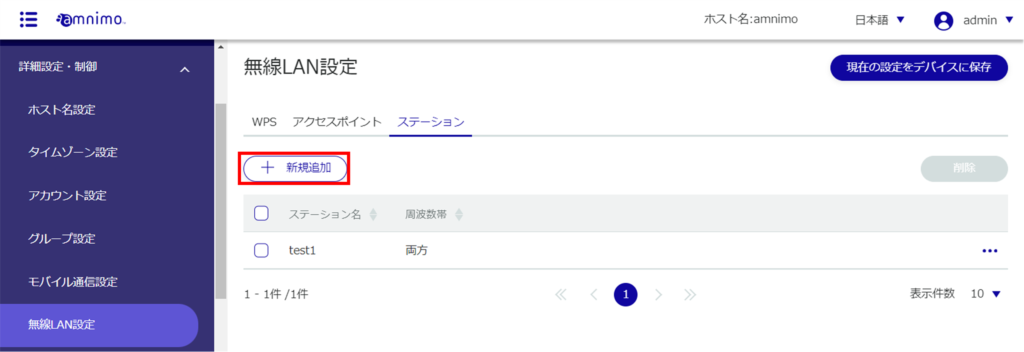
❶ Enter the station name.
Click the ❷ toggle to enable.

❸ Enter the SSID, authentication method, and passphrase. Set the user name and password.

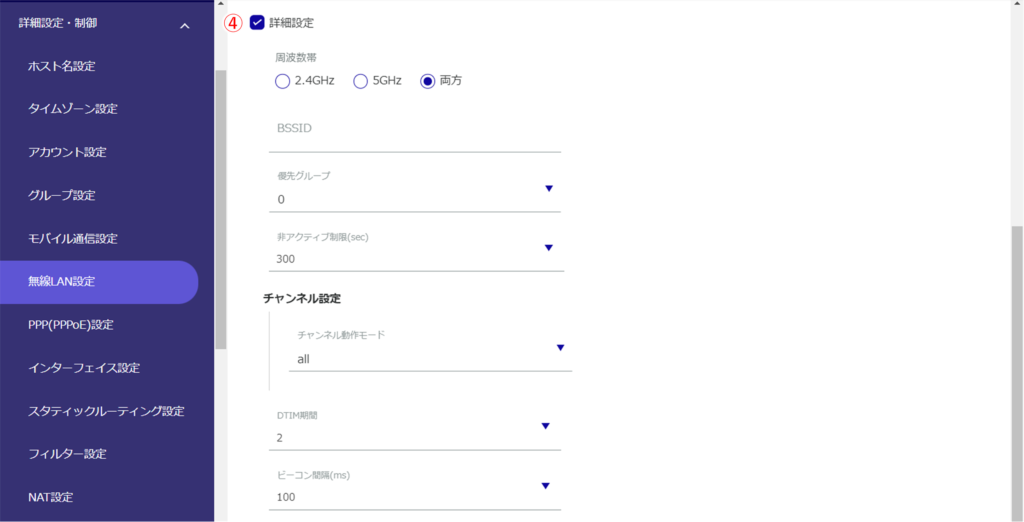
❹ Checking the [Advanced Settings] checkbox allows for even more detailed settings.

Edit Station Settings #
Edit registered station settings.
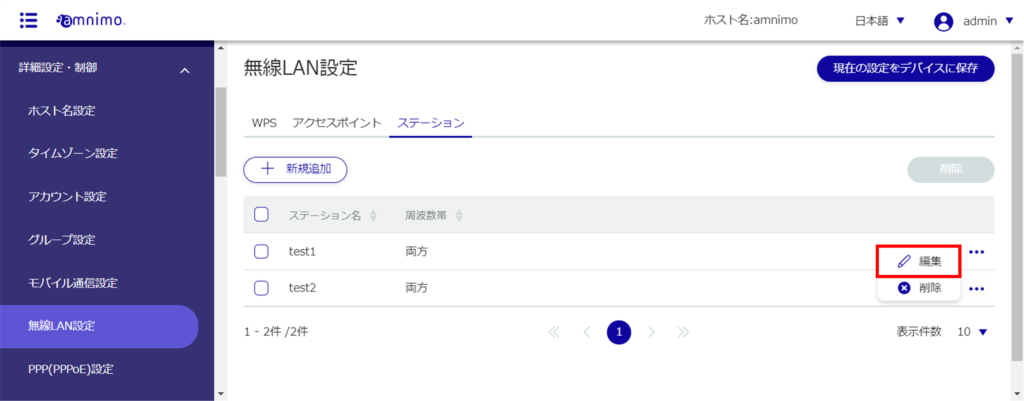
The Edit Station Settings screen appears.
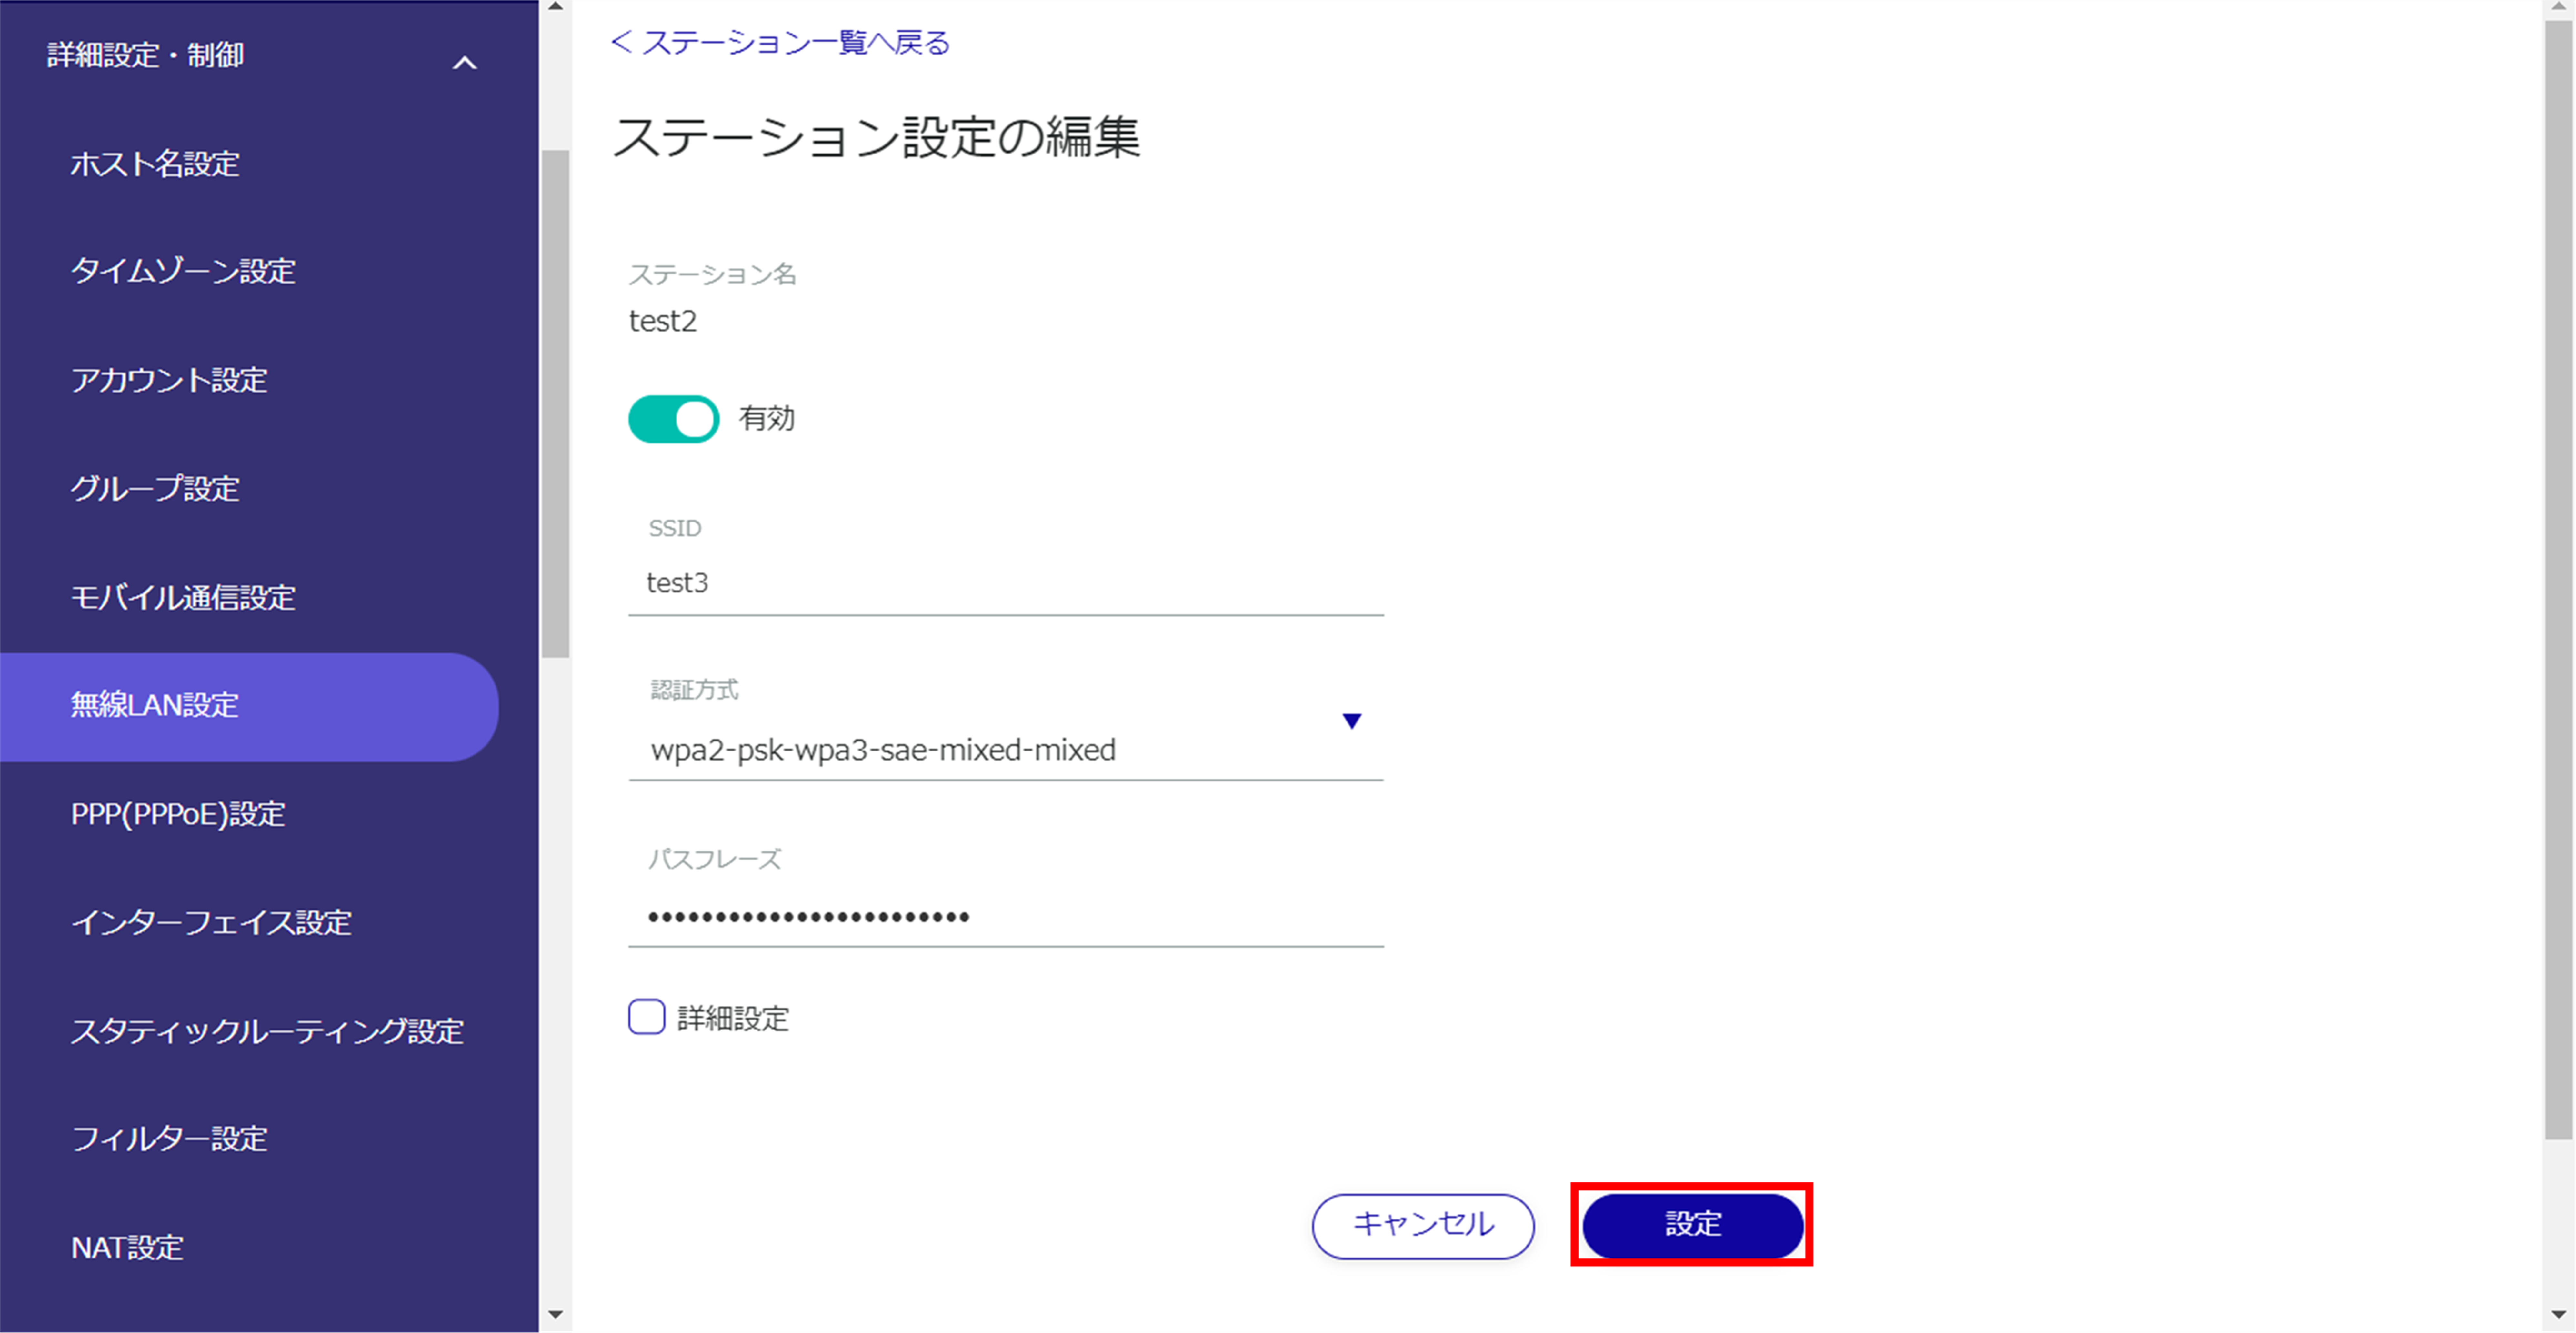
Information on station settings will be updated and a list will be displayed.
Delete station settings #
To delete registered station settings, you can either delete them individually from the station settings operation menu, or you can delete them after selecting all the station settings you wish to delete.
Delete individual station settings
This method is to select Delete from the operation menu of the station setup.
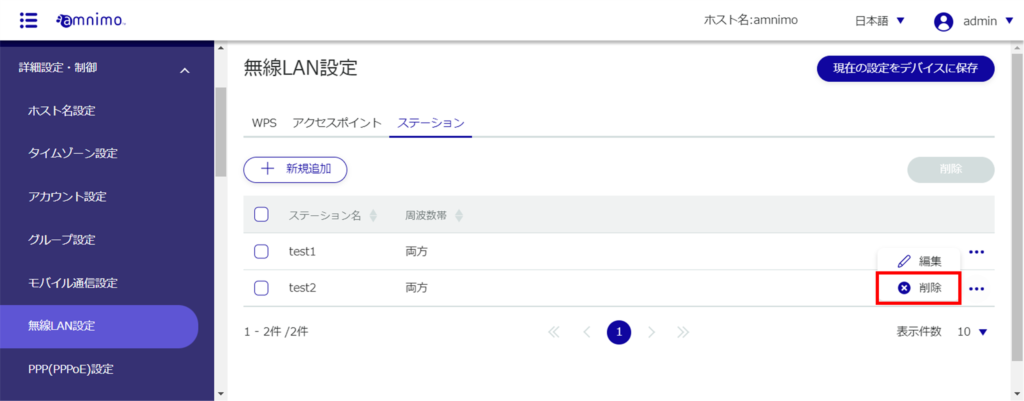
The "Confirmation" screen appears.
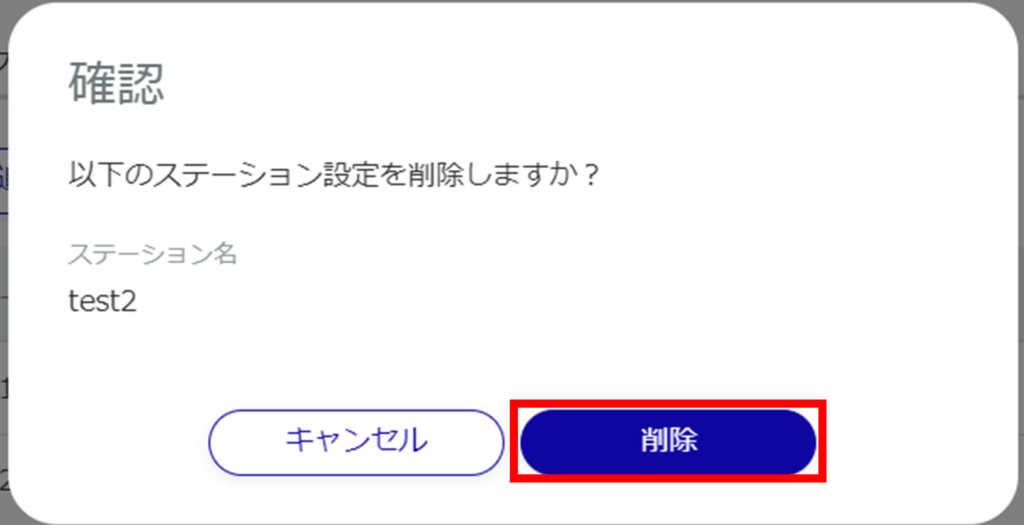
Station settings are deleted.
Delete multiple selections of station settings
This method is used to check the station settings you wish to delete before deleting them. This is useful for deleting multiple station settings at once. You can also select a single station setting to delete.
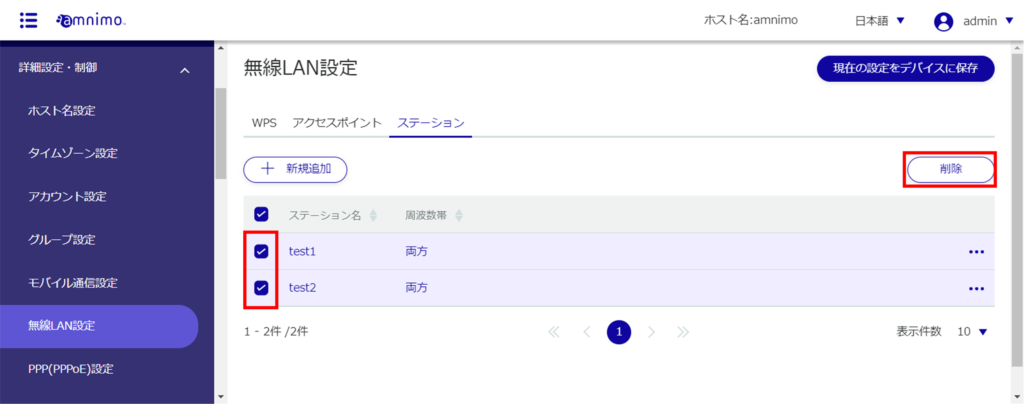
The "Confirmation" screen appears.
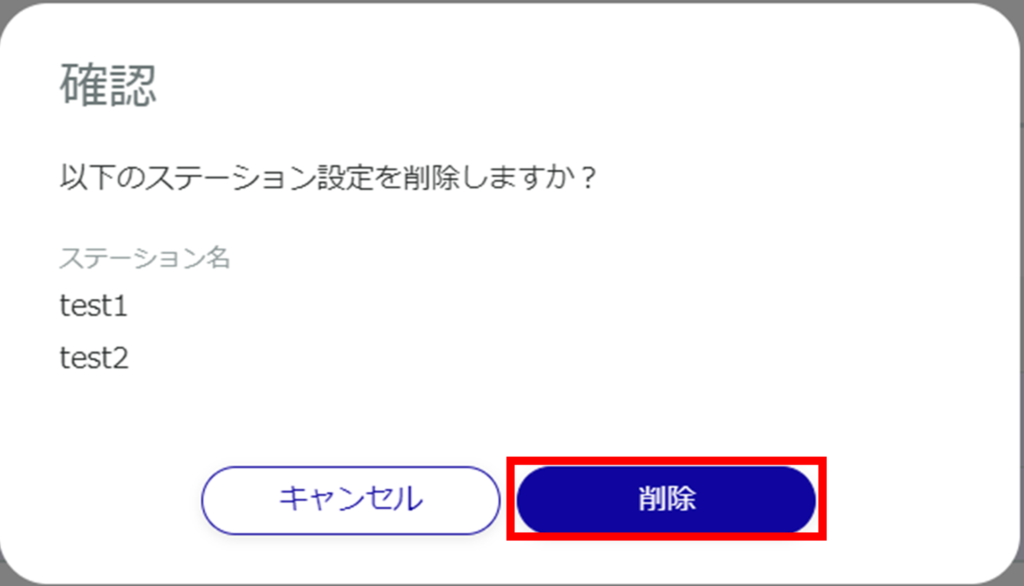
The selected station settings will be deleted.
