Tabs that are not authorized in the group settings will not be displayed.
Configure NAT settings for this product.
This section describes the operation of dynamic SNAT, static SNAT, and DNAT.
Display a list of NAT settings #
Displays a list of NAT settings.
The "NAT Settings" screen displays a list of registered NAT settings.
The "Dynamic SNAT," "Static SNAT," and "DNAT" tabs at the top of the screen allow you to navigate to each setting's screen (the "Dynamic SNAT" screen is shown below).
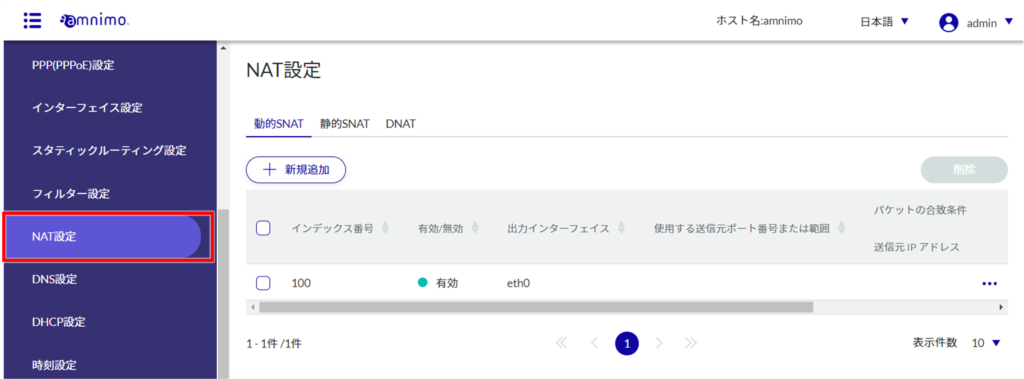
By clicking tabs such as "Index Number" and "Enable/Disable" in the NAT settings list, you can sort the NAT settings in descending/ascending order for each item.

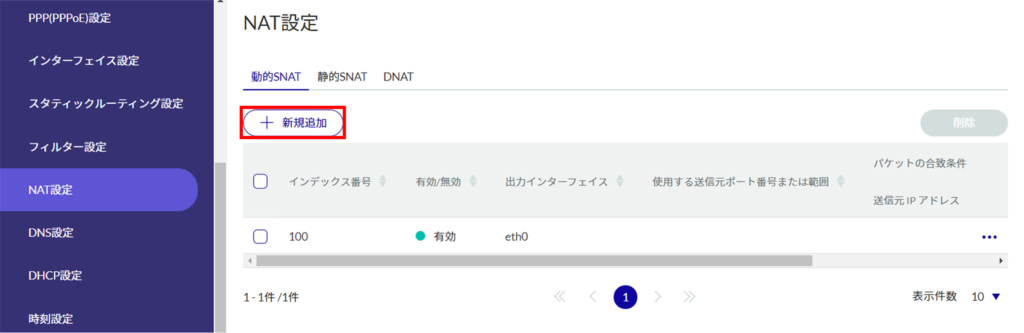
Add NAT settings #
Configure dynamic SNAT, static SNAT, and DNAT. Dynamic SNAT is used as an example here.
❶ Specify the index number.
The index number is specified in the range of 1 to 1000.

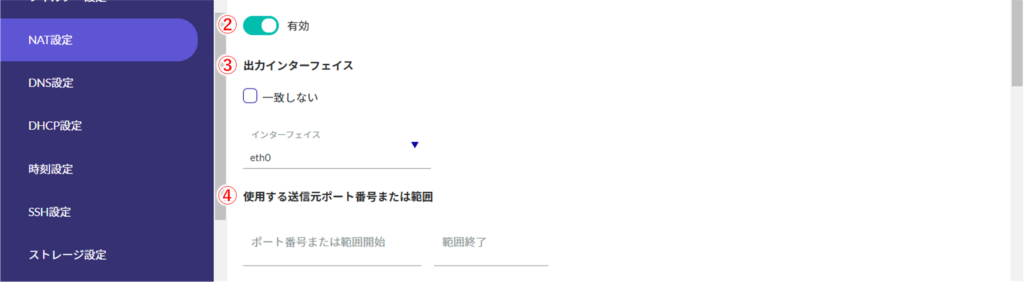
Click the ❷ toggle to enable/disable.
❸ Set the source interface to which each NAT is applied.
❹ Set the source port number for each NAT, or set the range by IP address.
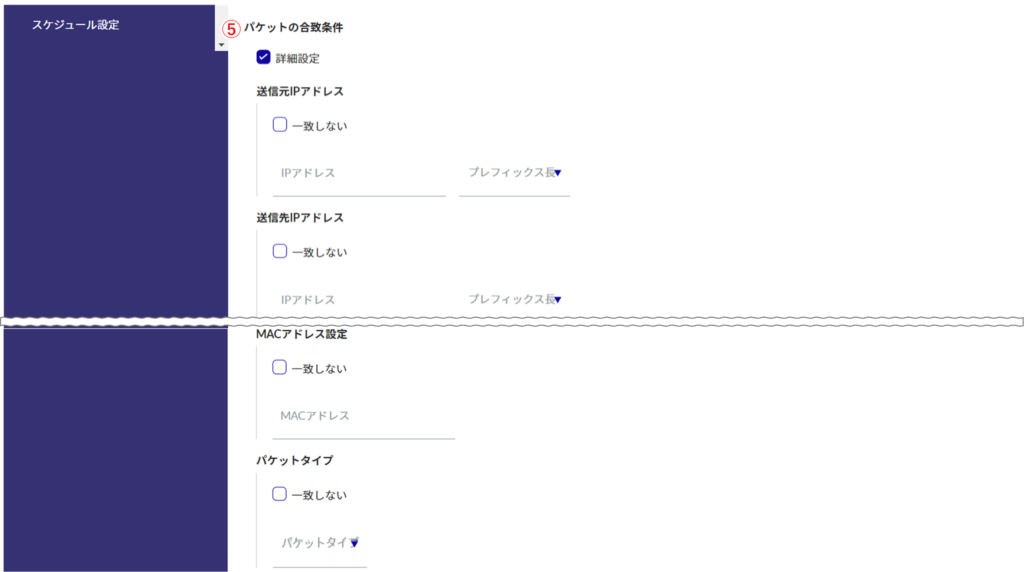
❺ Set packet match conditions.
The example below shows the [Advanced] checkbox checked.
❻ Set log output.
Select the log output level and specify the string to be appended to the beginning of the log.

Edit NAT settings #
NAT設定を編集します。
動的SNAT、静的SNAT、DNATのそれぞれで編集することが可能です。ここでは動的SNATを例に説明しています。

The Edit Dynamic SNAT Settings screen appears.
The information is updated and the list is displayed.
Delete NAT settings #
There are two ways to delete registered NAT settings: individually from the operation menu of each NAT setting, or by selecting all NAT settings to be deleted and then deleting them.
Delete individual NAT settings
This method is to select Delete from the operation menu of each NAT setting.

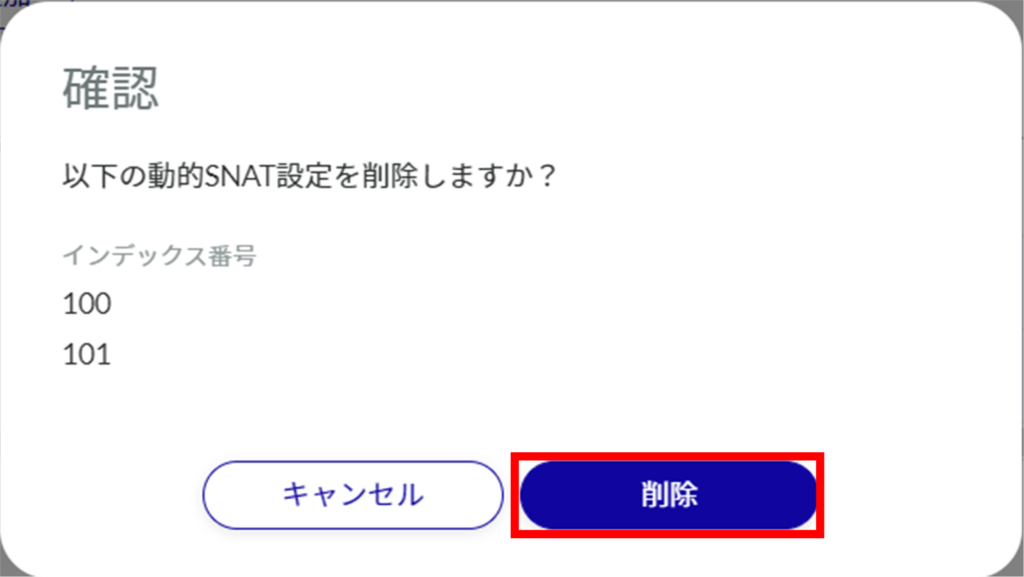
The "Confirmation" screen appears.
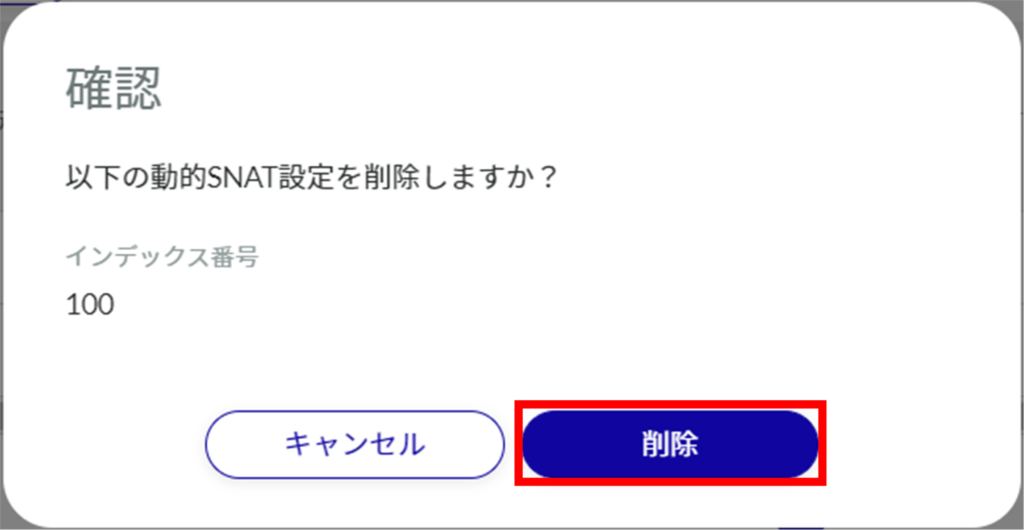
NAT settings are deleted.
Selecting and deleting multiple NAT settings
This method allows you to check the NAT settings you wish to delete and then delete them. This is useful for deleting multiple NAT settings at once, or you can select a single NAT setting to delete.

The "Confirmation" screen appears.