This section describes how to add, edit, and delete accounts.
View a list of accounts #
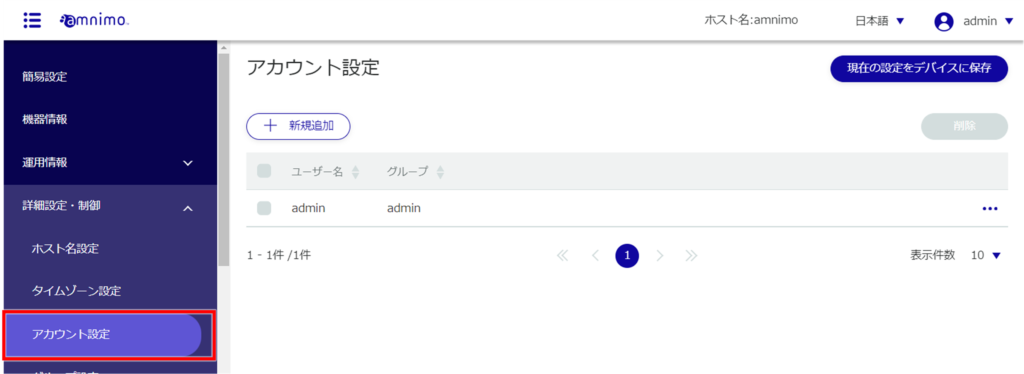
The "Account Settings" screen displays a list of accounts registered with the product.
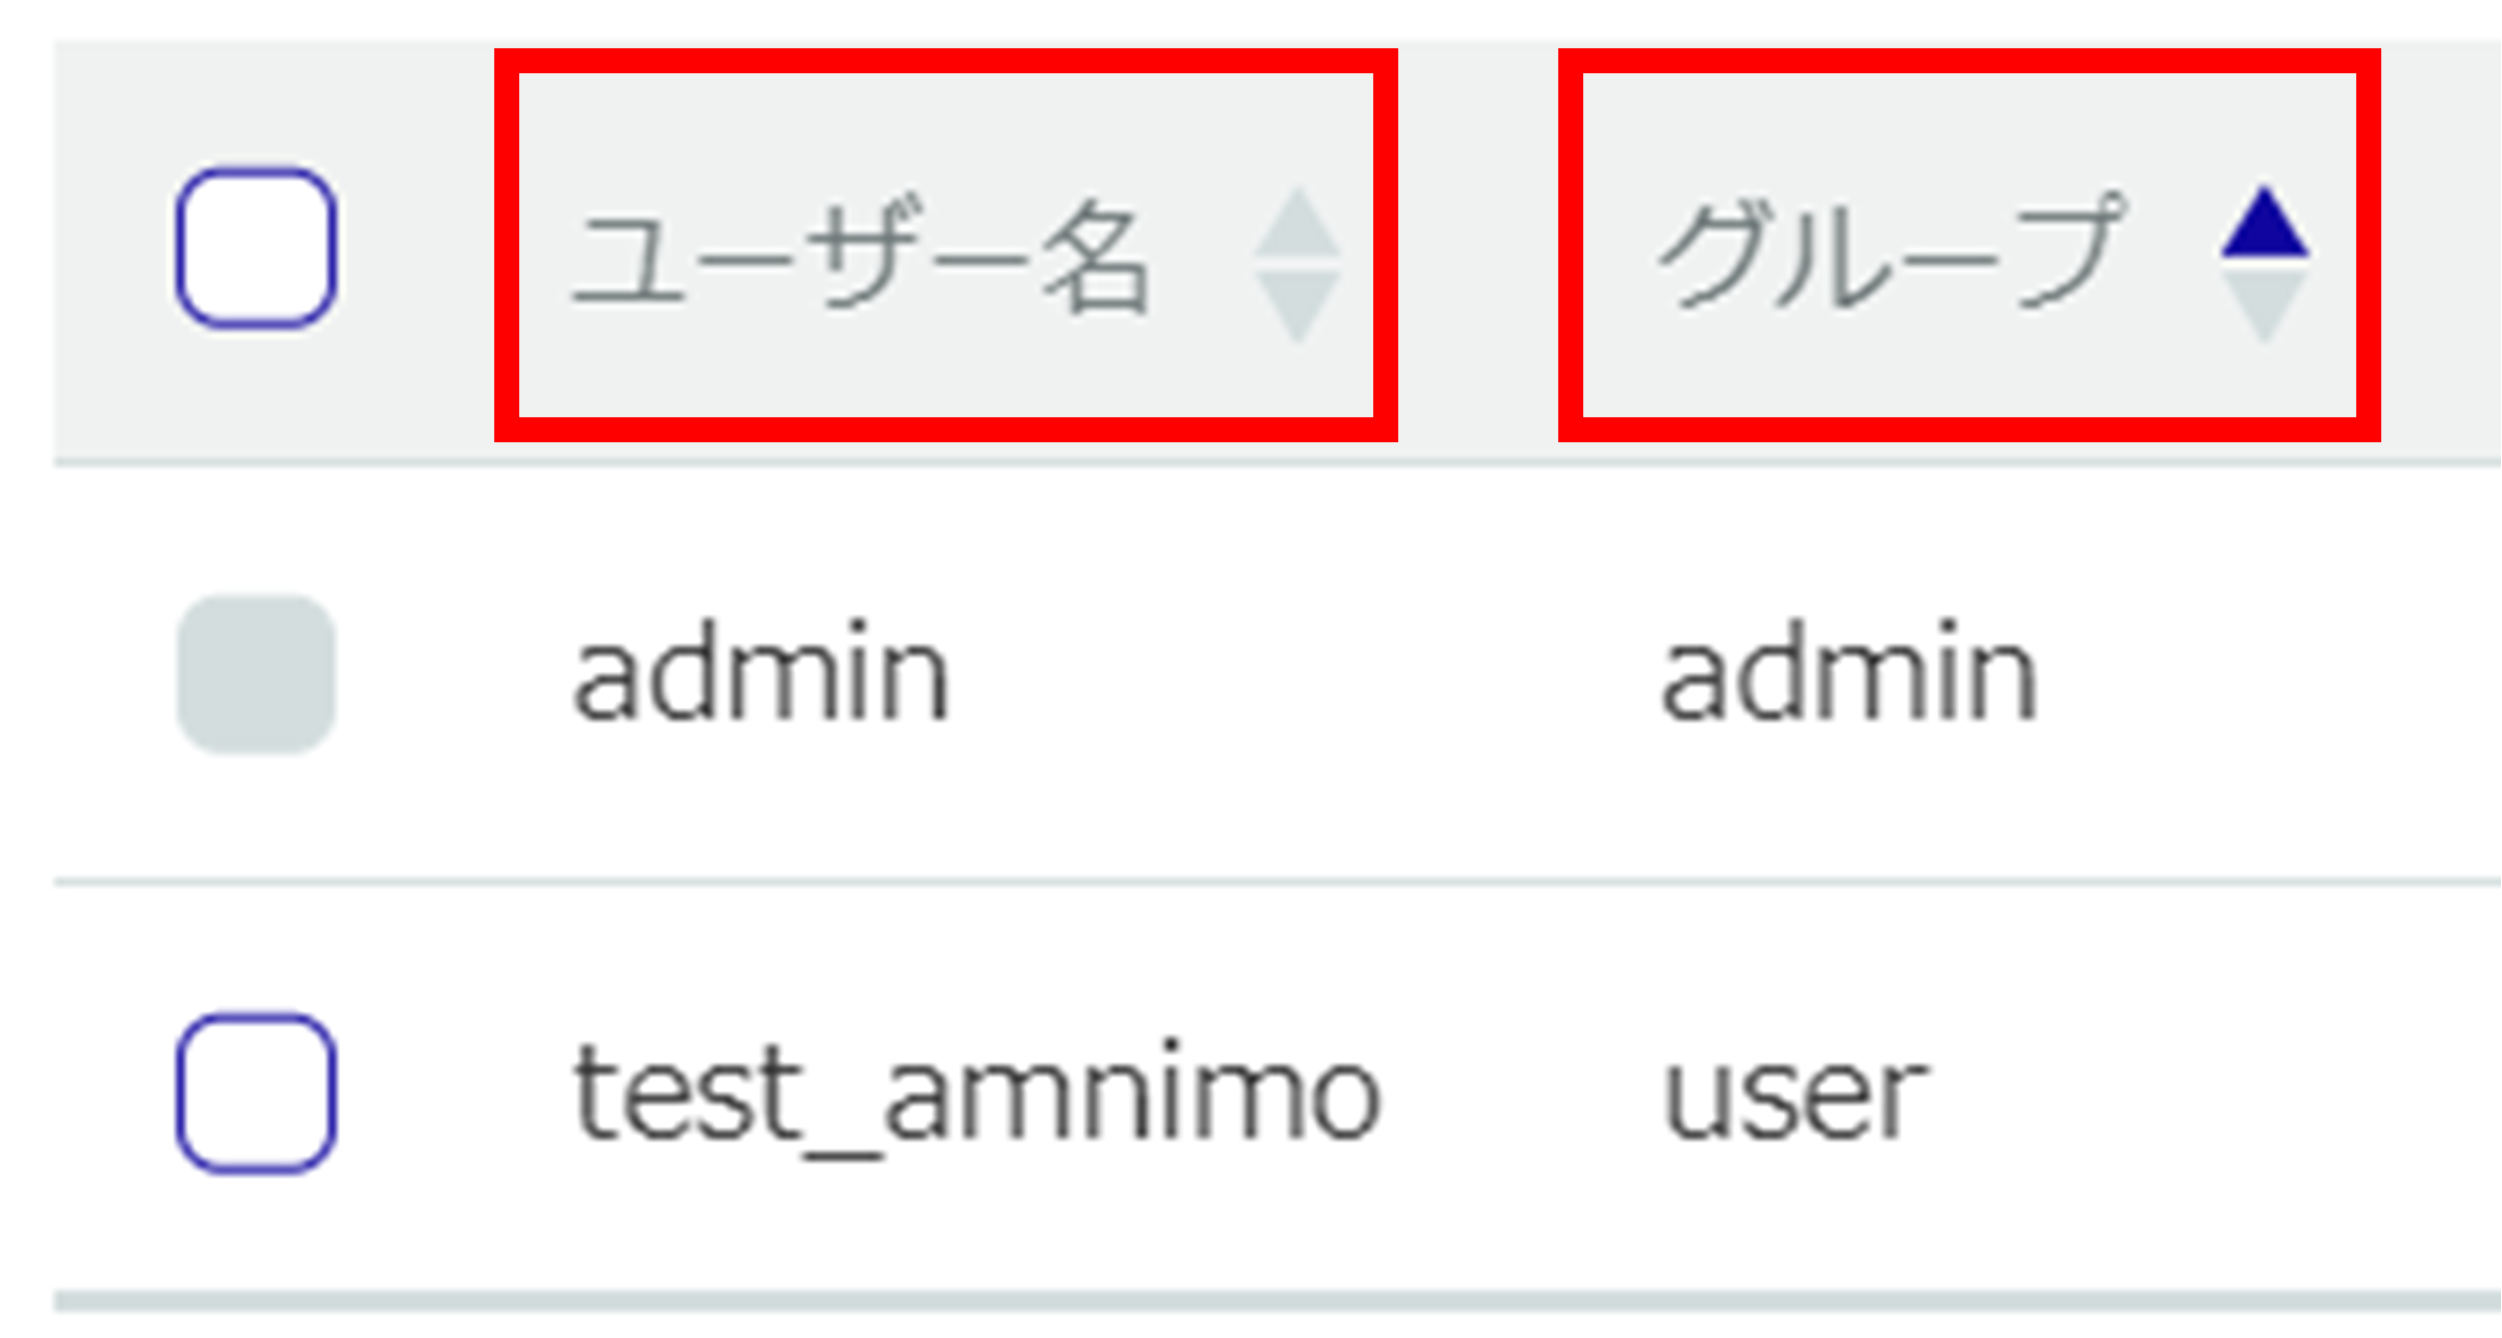
Accounts can be sorted in descending/ascending order by user or group name by clicking on "User Name" and "Group Name" in the account list.
Add an account #
Add a new account.

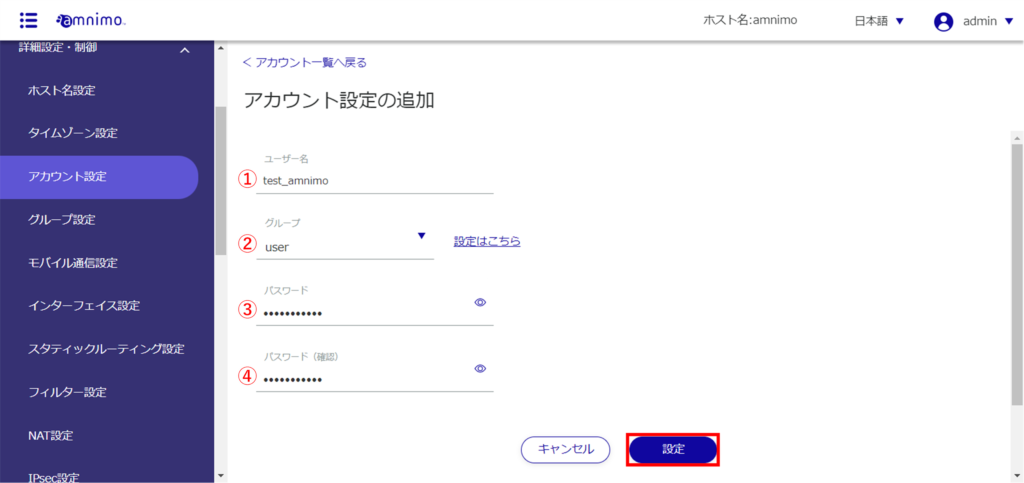
The "Add Account Settings" screen will appear.
❶ Enter a user name.
❷ Select the group to which the account belongs.
Two groups, admin and user, are available at the factory, but new groups can also be created. See " Configuring Group Settings " for information on setting up groups.
❸ Enter the password for your account.
Enter the same password as in ❸ for confirmation.
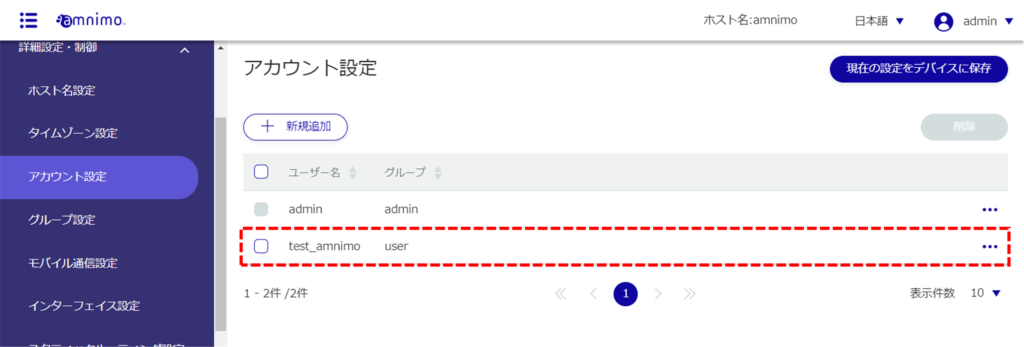
An account will be added.
Edit your account #
Edit the information of the registered account.

The "Edit Account Settings" screen will appear.
On the screen, the password is displayed in encrypted form.
If you want to change your password, you must erase everything and re-enter it.
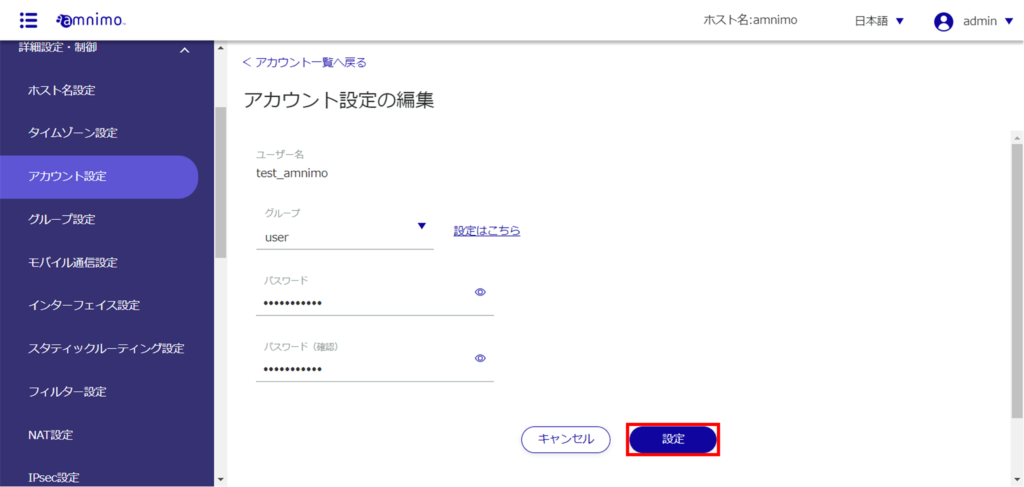
The account information will be updated and a list of accounts will be displayed.
Delete account #
There are two ways to delete registered accounts: individually from the account operation menu, or by selecting all accounts you wish to delete and then deleting them.
It is not possible to delete the admin account, which is set by default.
A group to which a user belongs cannot be deleted.
Delete individual accounts
This is how to select Delete from the account operations menu.

The "Confirmation" screen appears.
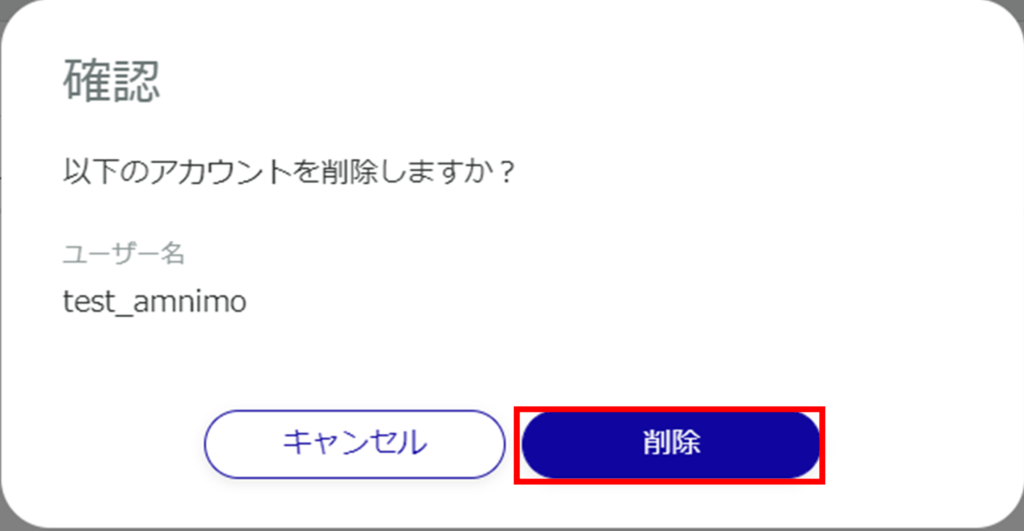
The account will be deleted.
Select multiple accounts to delete
This method is used to delete accounts after checking the accounts you wish to delete. This is useful for deleting multiple accounts at once. You can also select a single account to delete.
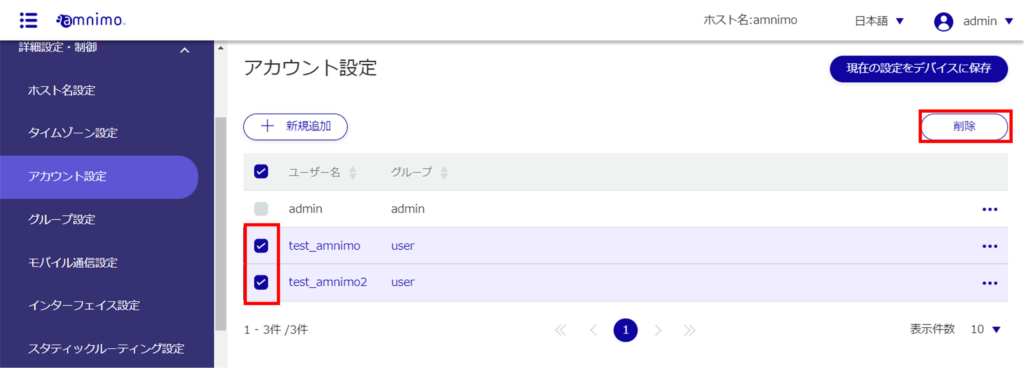
The "Confirmation" screen appears.
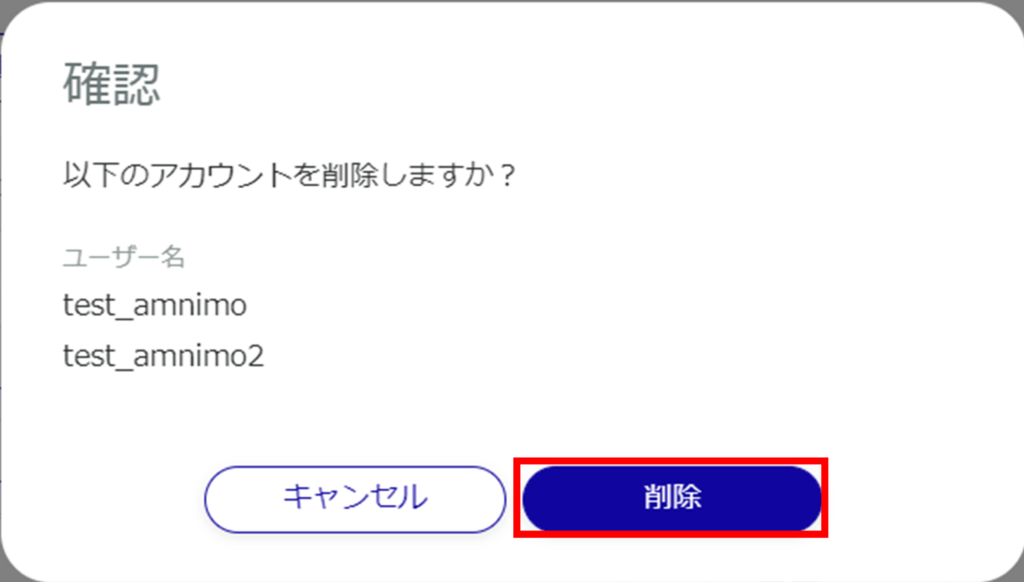
The selected account will be deleted.
