
This section describes the operation of the "Filters" screen.
Here you can configure filter settings for the device.
The filter settings set policies for packet input, output, and forwarding, including the conditions under which packets are matched and how the packets will be handled if they are matched.
A combination of matching conditions and policies is called a rule. If multiple rules are set, they are checked in order of decreasing index. If a rule is applied, the rules at subsequent indexes are not checked. If none of the rules apply, the default policy is applied.
Click [Network] > [Filters] in the side menu to open the "Filter Settings" screen.
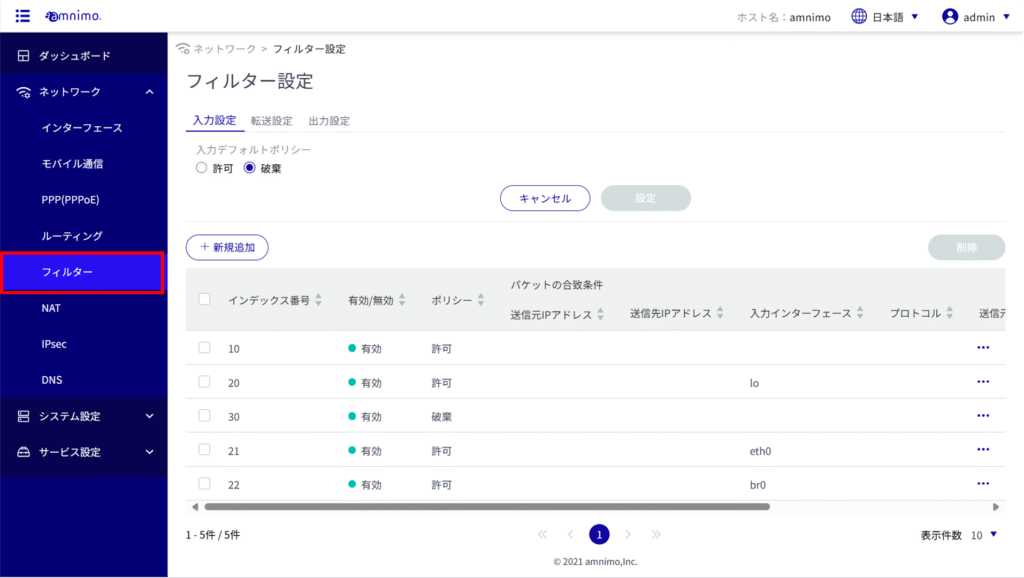
Display a list of filter settings #
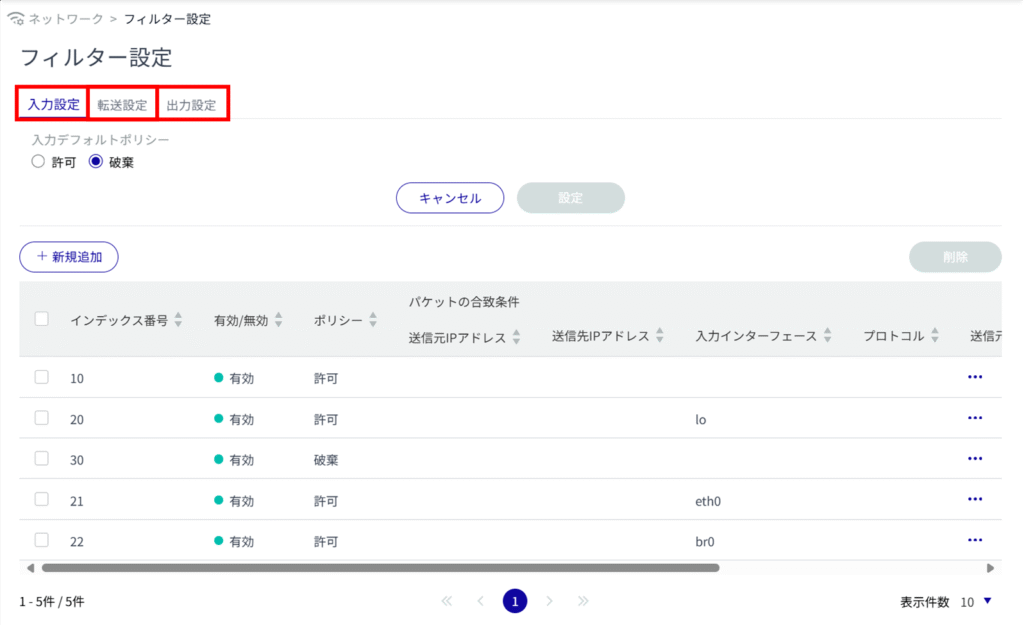
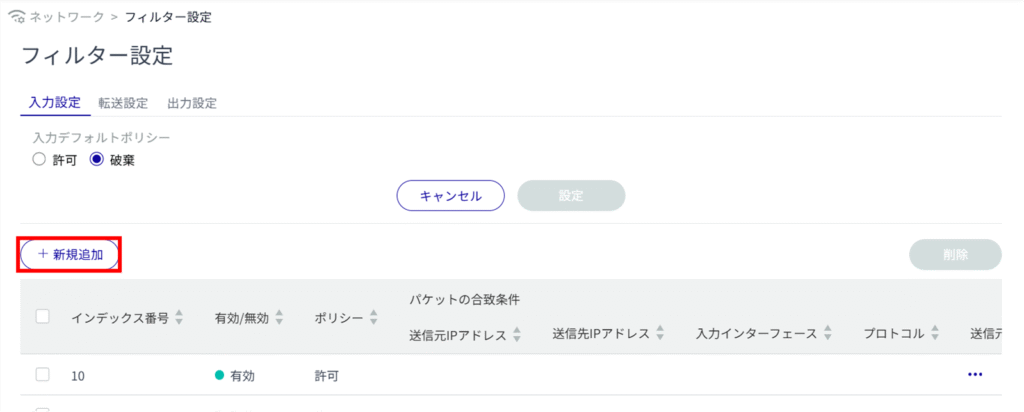
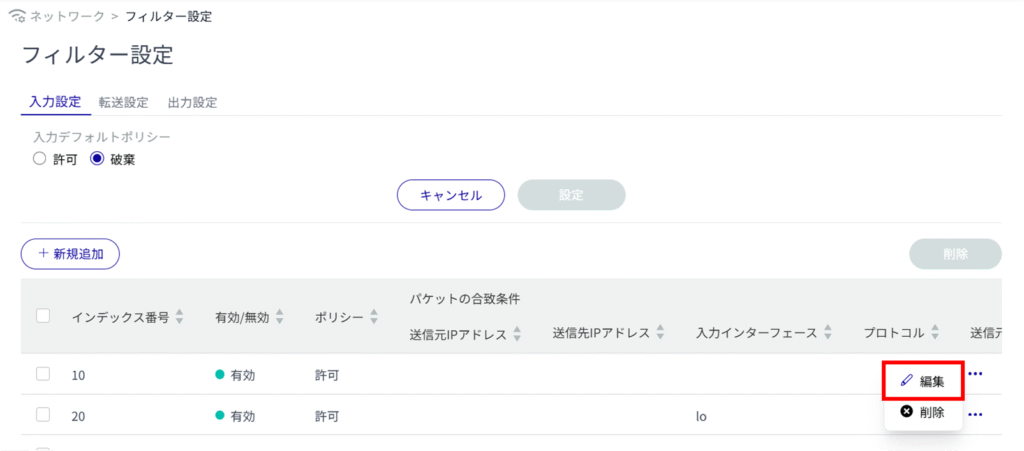
The "Filter Settings" screen displays the status of the default policy settings and a list of rules.
The "List of Input Settings," "List of Transfer Settings," and "List of Output Settings" tabs at the top of the screen allow you to navigate to each setting's screen (the "List of Input Settings" screen is shown below).
Set default policy #
Sets the default policy for packet filtering.
It can be set for input, forwarding, and output. The input setting is used as an example here.
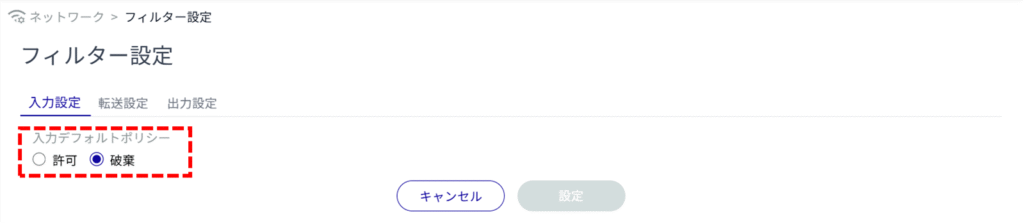
If the default policy is set to [Discard] in the Input Settings or Output Settings list, packets will be blocked if no HTTP / HTTPS permission rules are set, so the configuration may not continue.
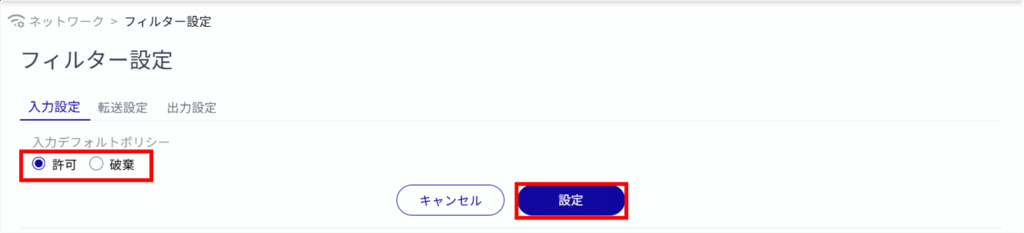
Default policy is set.
Add packet filtering rules #
Add packet filtering rules.
You can configure each of the input, forwarding, and output settings. The input setting is used as an example here.
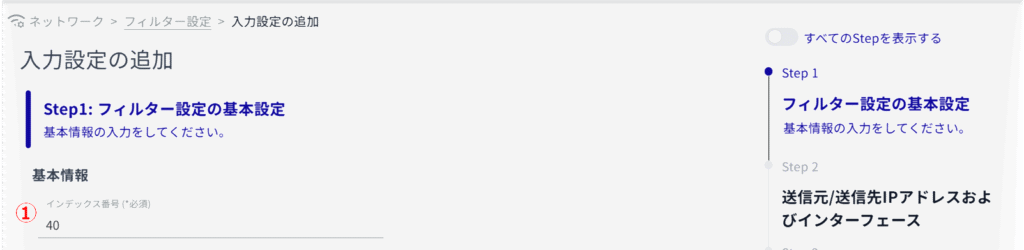
The "Add Input Settings" screen appears.
Specify the index number.
The index number is specified in the range of 1 to 1000.
Click the toggle to enable/disable.

(3) Set the policy for packets.
If "Reject" is selected, an error response is made, so the response content is also selected.

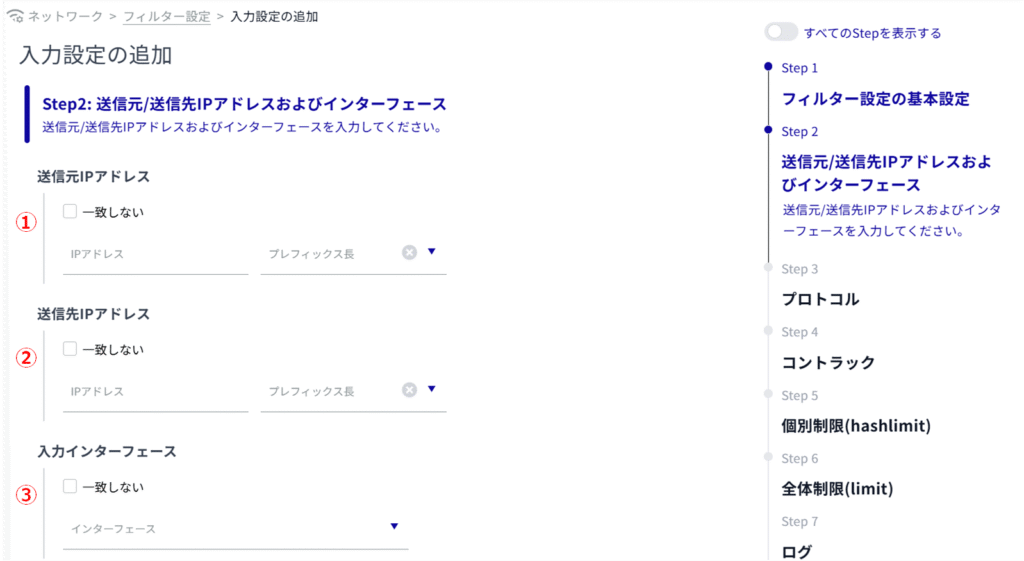
Set the source IP address.
Set the destination IP address.
Set the input interface.
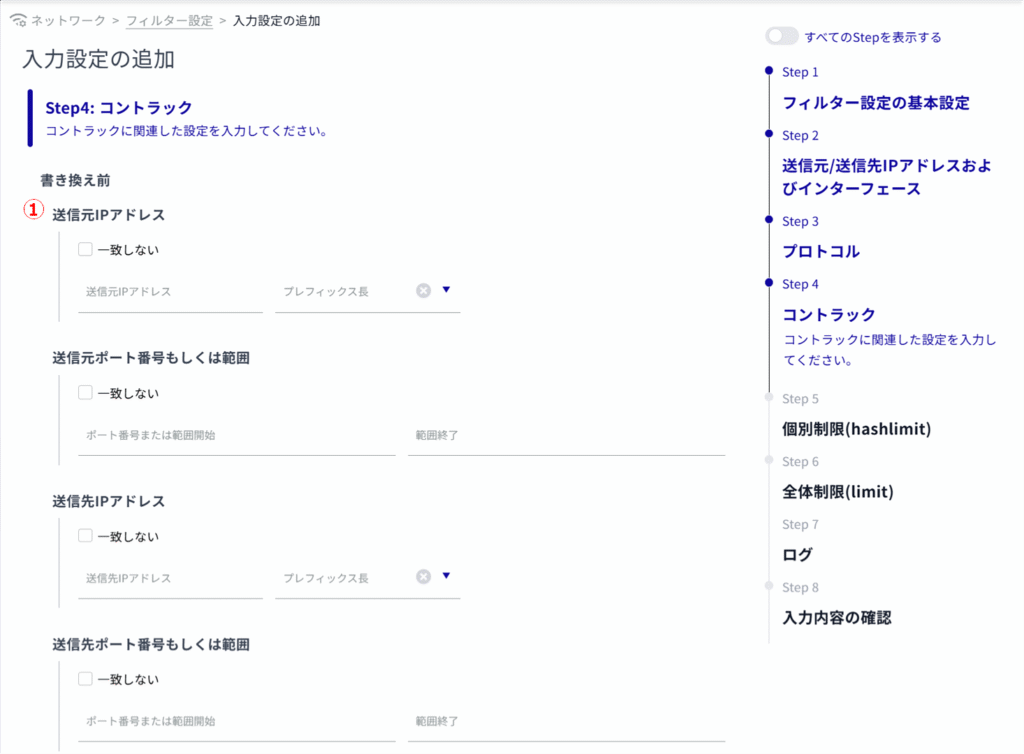
(1) Set the source IP address, source port number or range, destination address, and destination port number or range before rewriting.
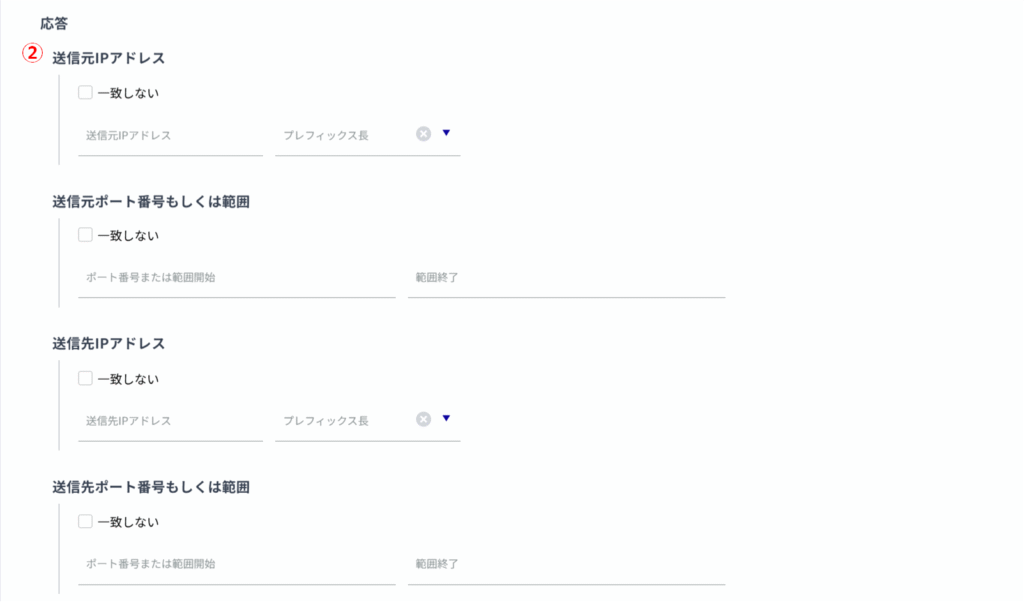
(2) Set the source IP address, source port number or range, destination address, and destination port number or range for the response.
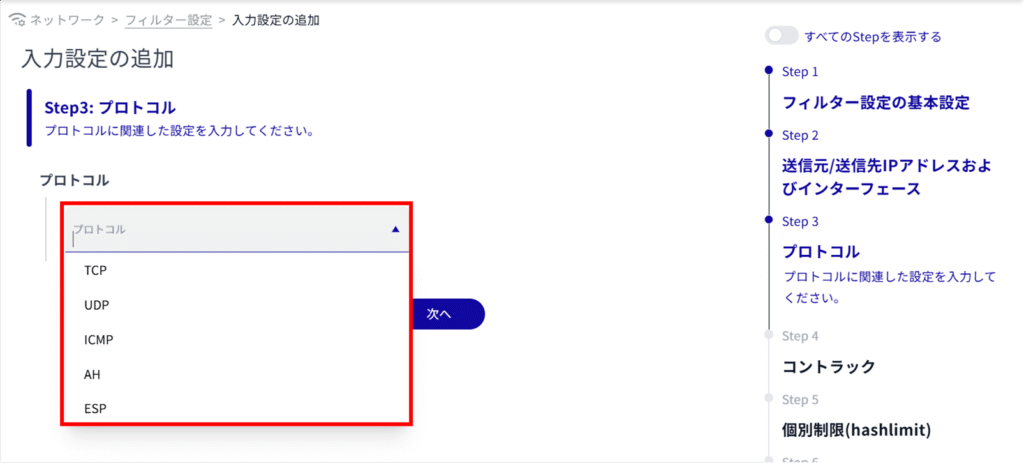
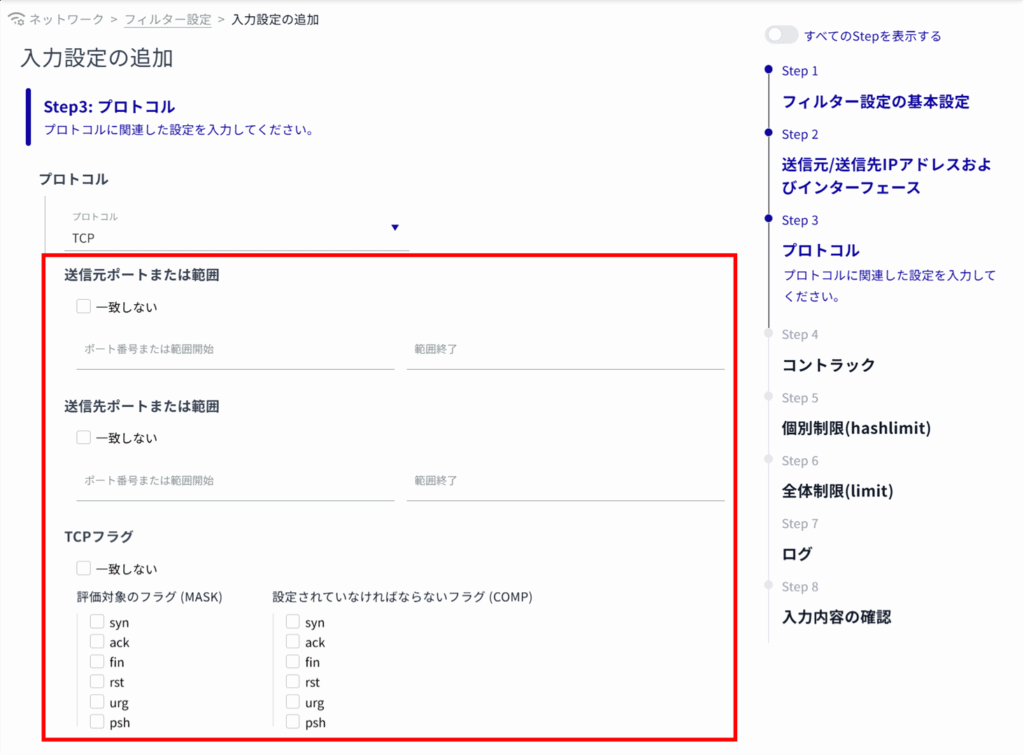
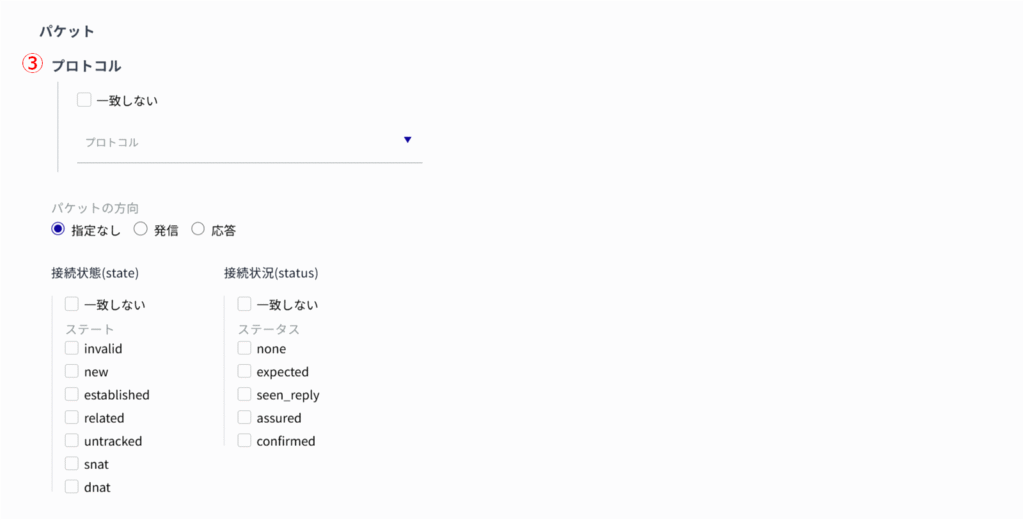
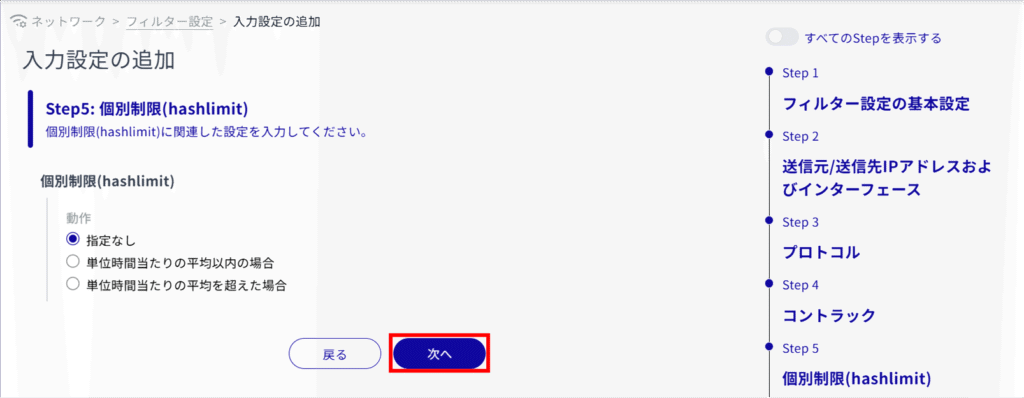
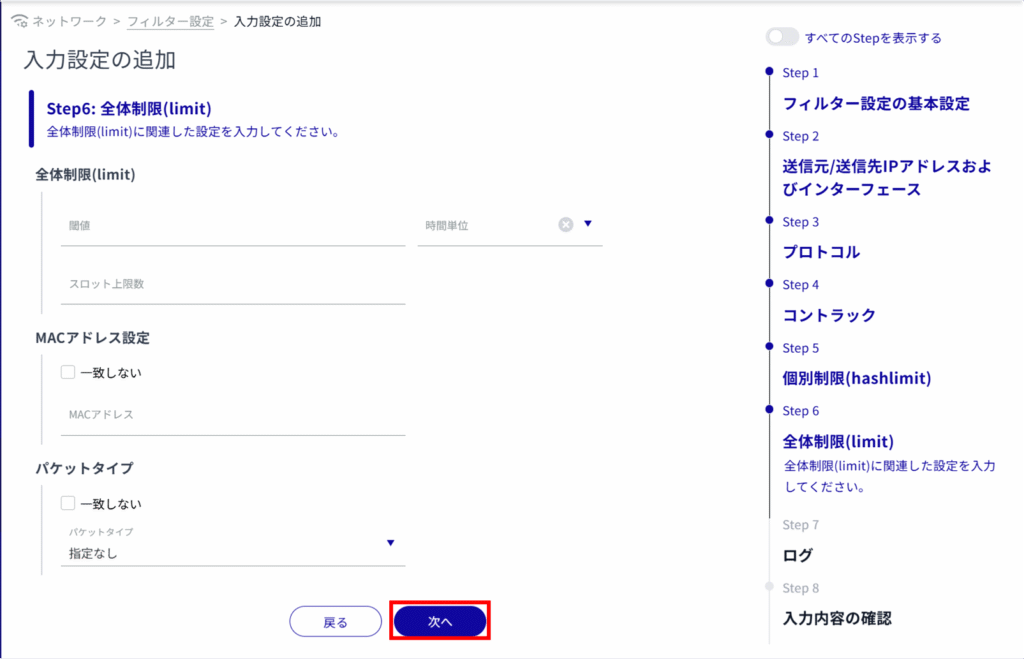
(iii) Set packet protocol, packet direction, connection state, and connection status.
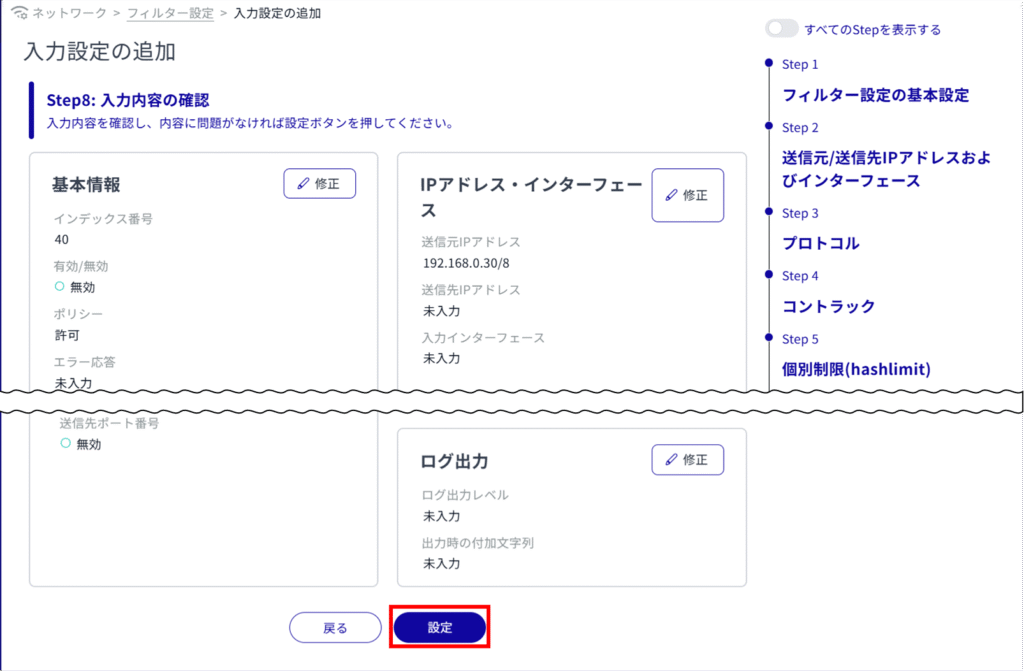
Select the log output level and specify the string to be appended to the beginning of the log.

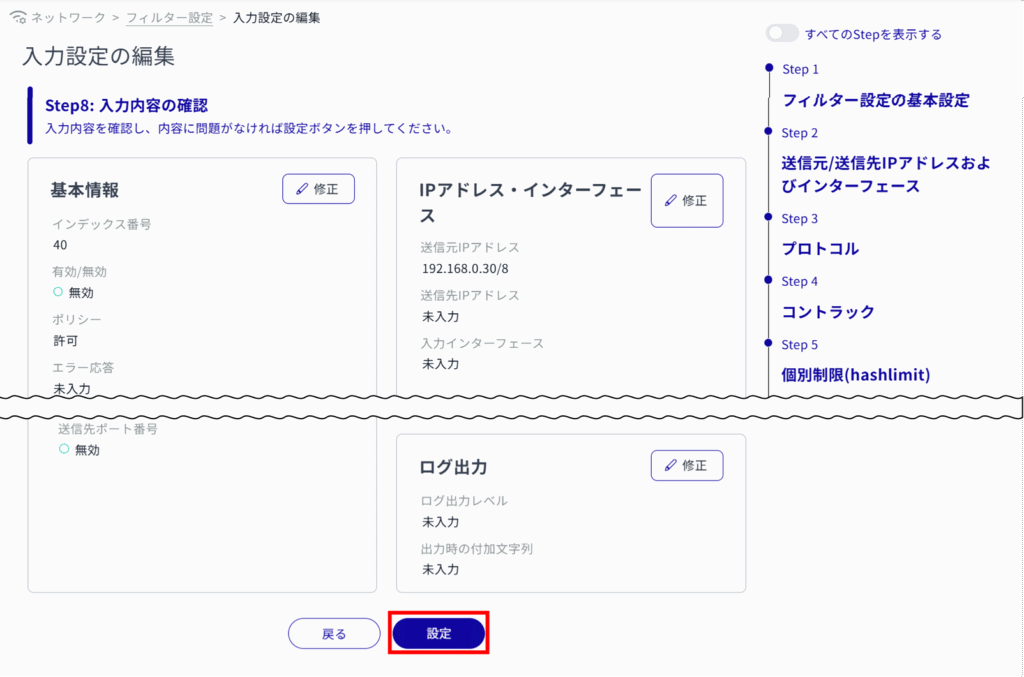
Edit packet filtering rules #
Edit filter settings.
Editing is possible for input, transfer, and output respectively. Here we use the input settings as an example.
The "Edit Input Settings" screen appears.
Delete packet filtering rules #
To delete registered rules, there are two methods: delete each rule individually from the operation menu of each rule, or delete after selecting multiple targets.
Delete rules individually #
This method is to select Delete from the operation menu of each rule.

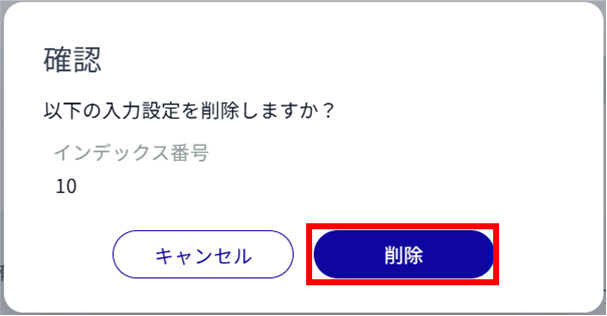
The rule is deleted.
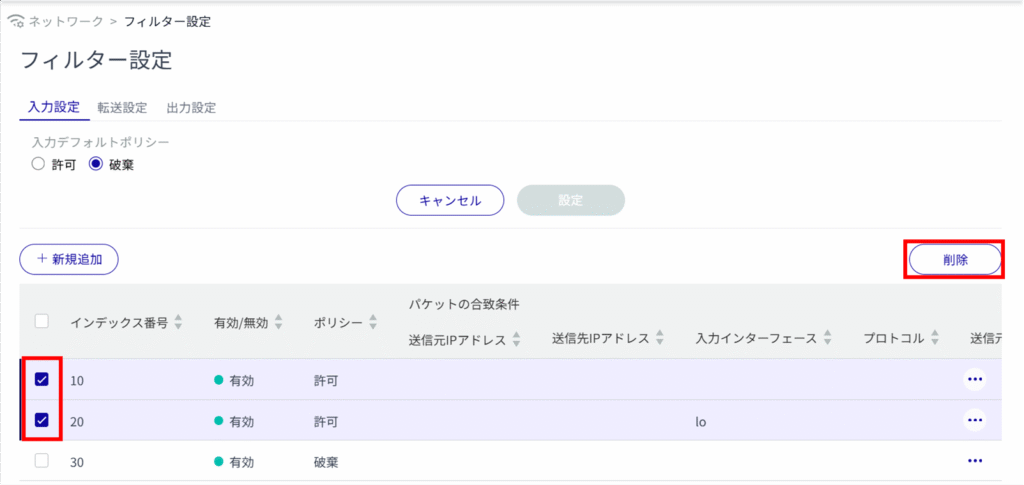
Selecting and deleting multiple rules #
This method is used to delete a rule after checking the check box for the rule to be deleted.
This is useful for deleting multiple rules at once. You can also delete a single rule setting by selecting it.
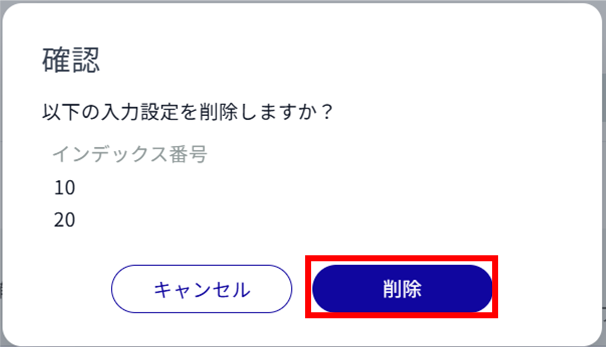
The rule is deleted.