
This section describes the operation of the "DHCP Server" screen.
Here you can check the lease status of the DHCP server and add, edit, or delete settings.
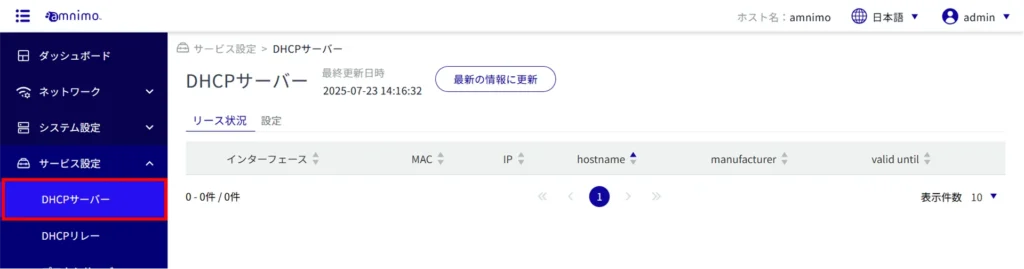
Click [Service Settings] > [DHCP Server] on the side menu to open the "DHCP Server" screen.
DHCP Lease Status #
Display DHCP lease status #
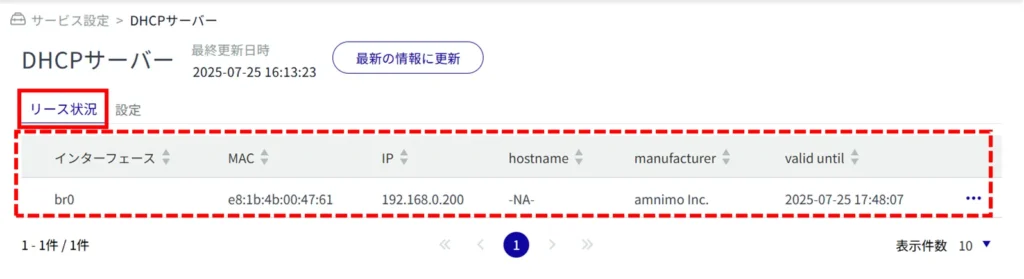
Open the "Lease Status" tab to view the status of IP addresses leased from the interface where the DHCP server is configured.
To use this feature, DHCP server settings on the relevant interface are required. Please refer to the following for details on how to configure the settings.
⇒ DHCP Server Configuration
DHCP Server Settings #
This section describes operations for viewing, adding, editing, and deleting DHCP server settings.
Note that the DHCP server cannot be enabled when the DHCP relay setting is enabled.
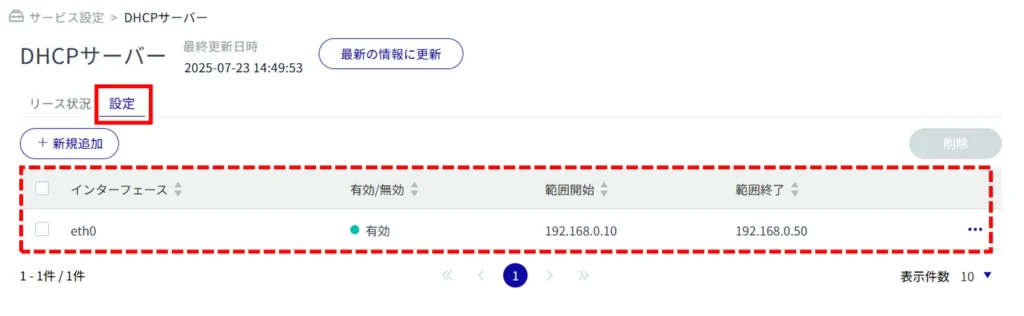
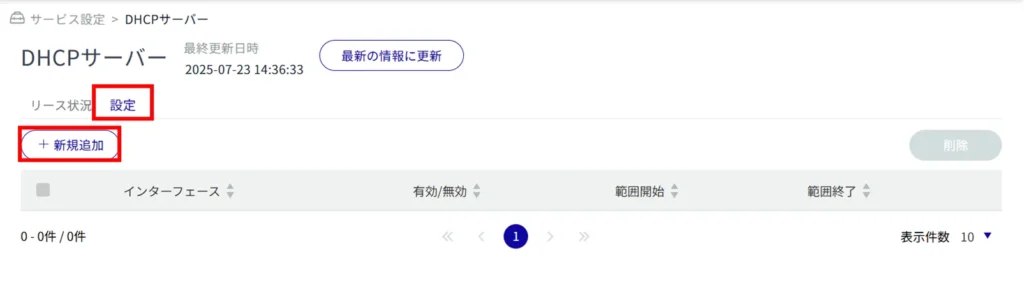
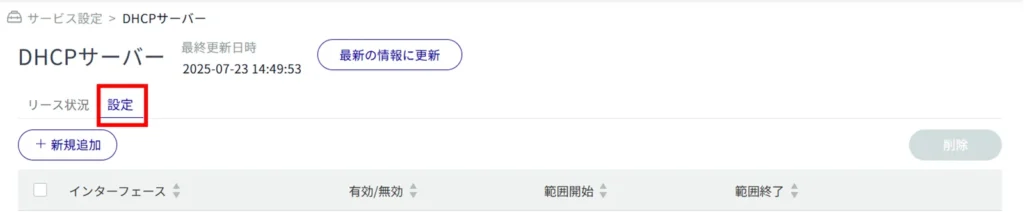
Display a list of DHCP server settings #
Click on the "Settings" tab to view a list of DHCP server settings.
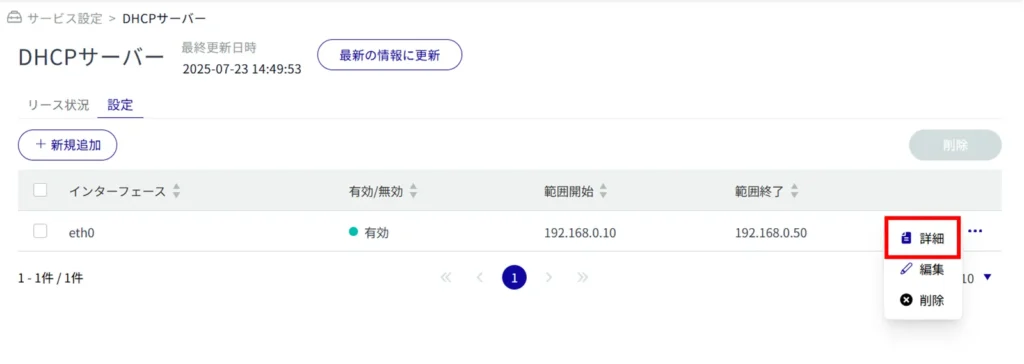
View DHCP server configuration details #

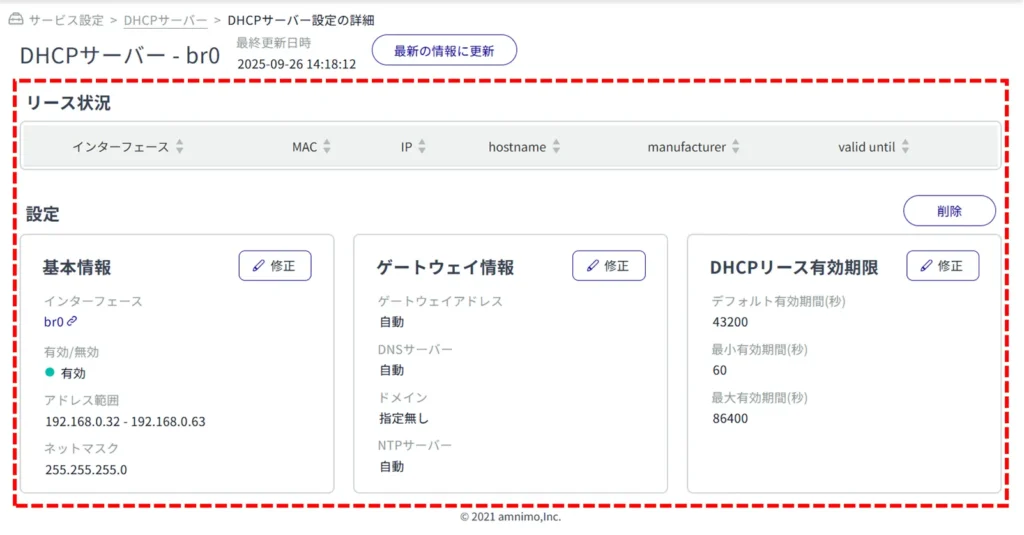
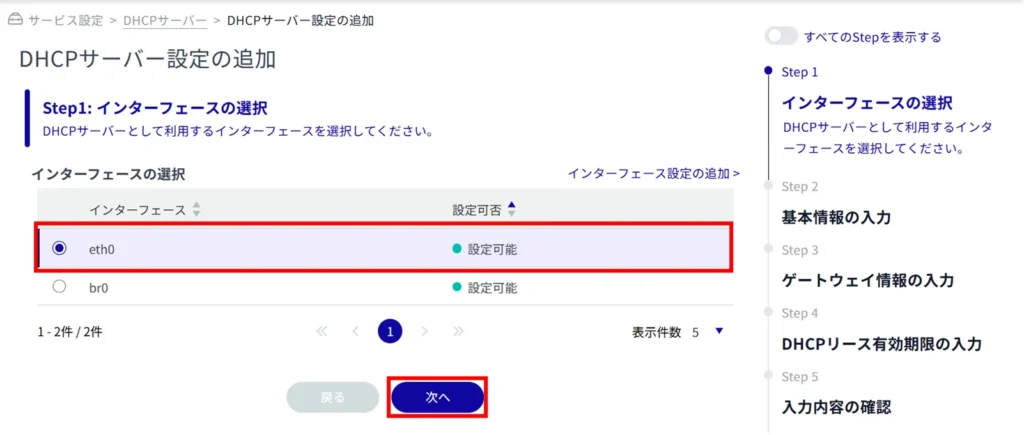
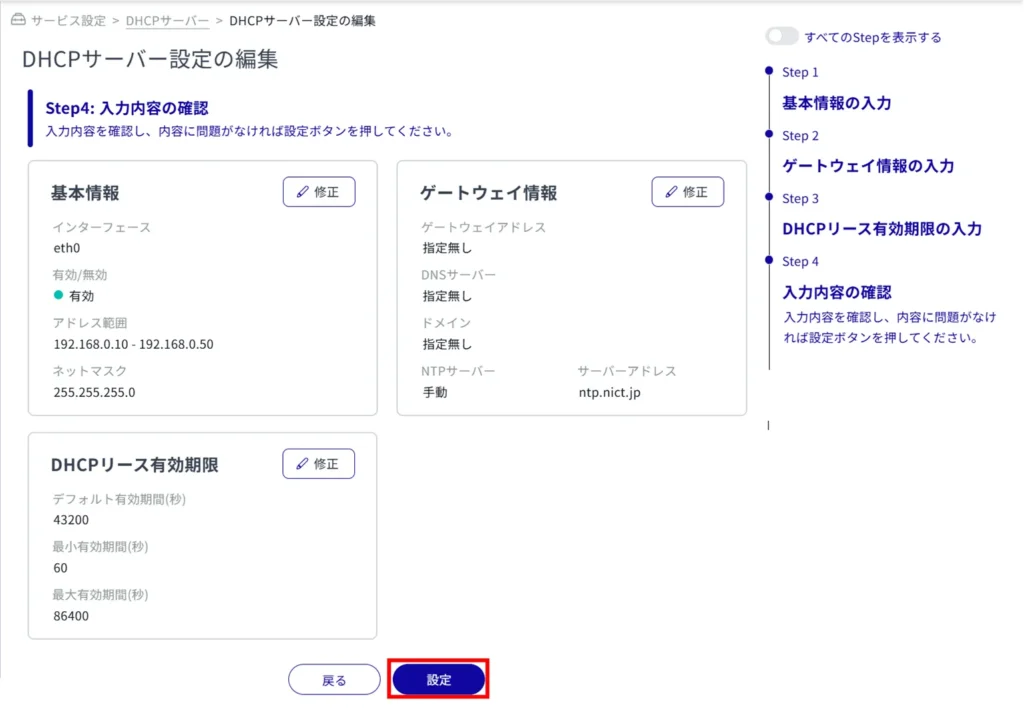
Add DHCP server settings #
The "Add DHCP Server Settings" screen appears.
Configurable interface names vary by product.
AI Edge Gateway: wan0, br0 to br9
Edge Gateway: eth0, br0 to br9
IoT Router: eth0 to eth1, br0 to br9
Compact Router: eth0
Compact Router with Wireless LAN: br0, wlan0~wlan1, lan0~lan1
Click the toggle to enable or disable.
Set the range within which dynamic IP addresses are automatically assigned to clients.
Up to 256 address ranges can be set within the netmask range.
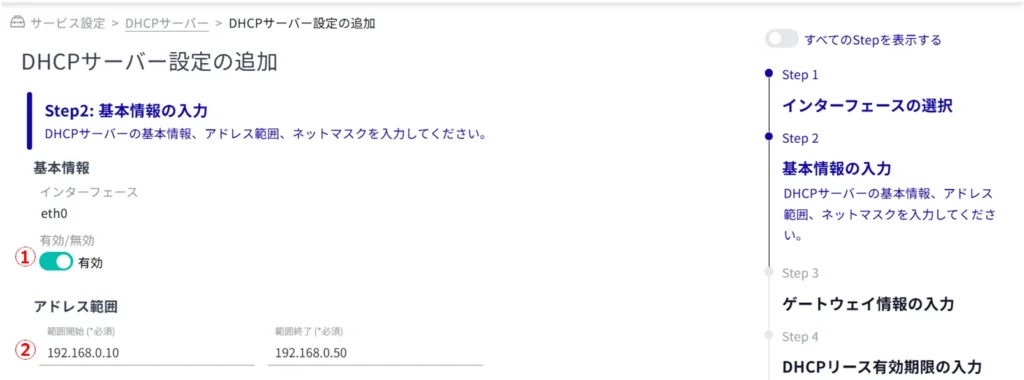
Specifies the subnet mask. The default value is 255.255.255.0.

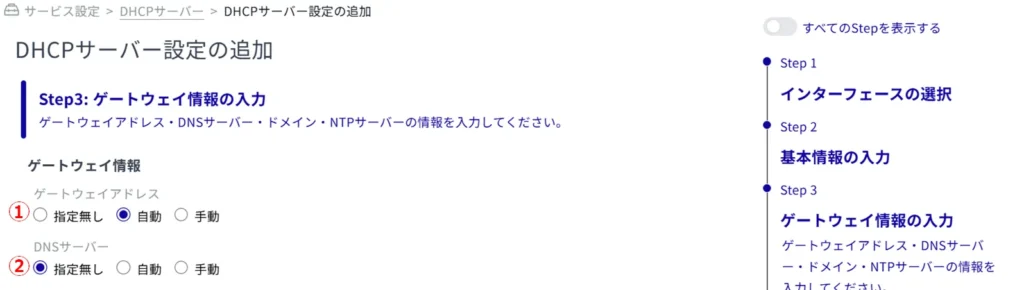
Specify the gateway address to be notified to the DHCP client side.
When "Auto" is selected, the IP address of the selected interface is used.
Specifies the IP address (IPv4) of the DNS server to be notified to the DHCP client.
When "Auto" is selected, the IP address of the selected interface is used.
Specify the DNS domain name to be notified to the DHCP client.
Domain names must be no longer than 253 characters. Domain names must begin and end with single-byte alphanumeric characters, and the rest of the domain name must consist of single-byte alphanumeric characters or "-" (hyphen) and ". (period).

Specify the IP address (IPv4) of the NTP server to be notified to the DHCP client.
When "Auto" is selected, the IP address of the selected interface is used.

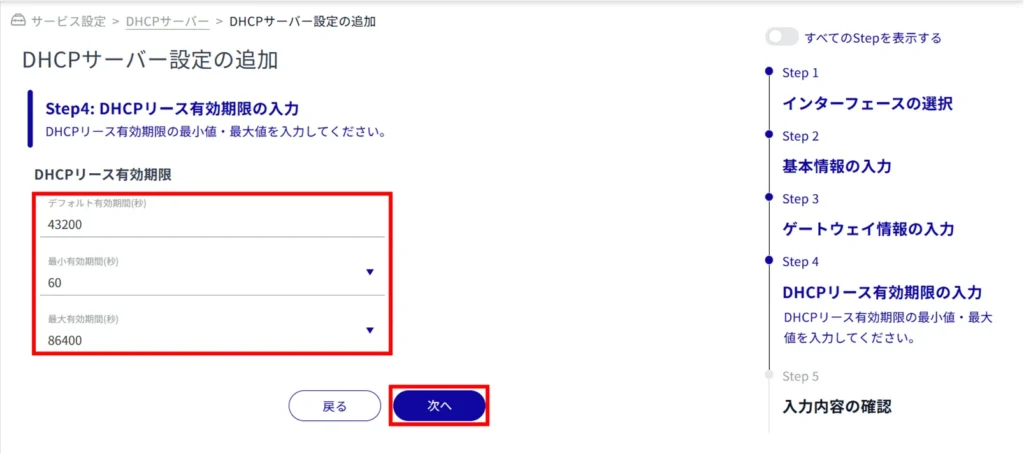
The setting range is 1 to 86400 (seconds), with a default value of 60 to 86400 (seconds).
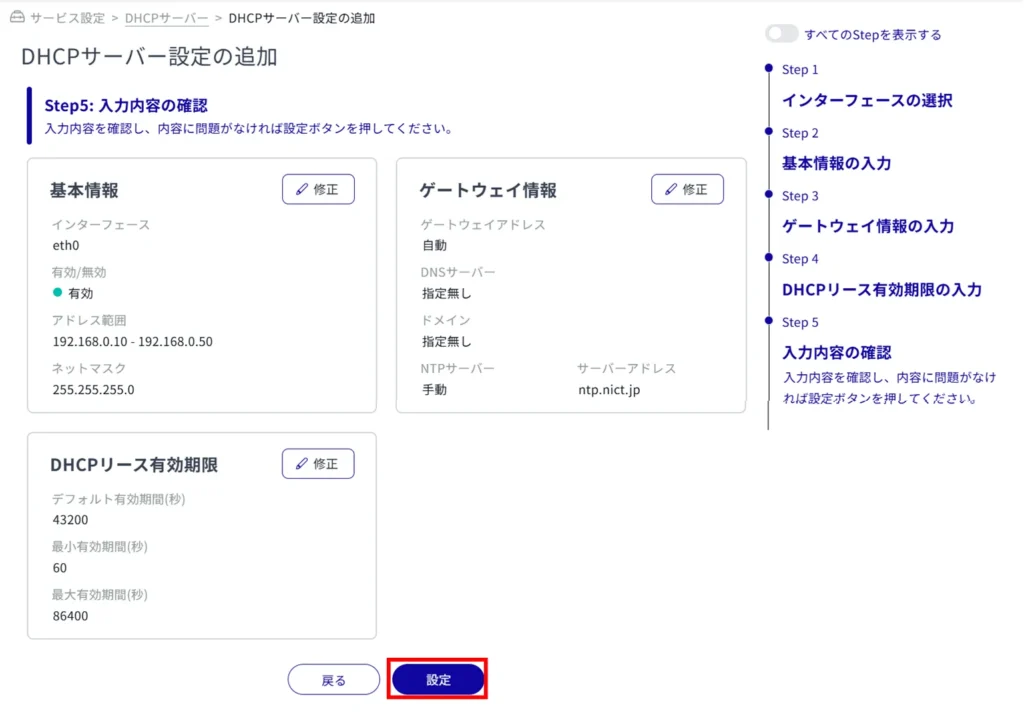
DHCP server settings are added.
Edit DHCP server settings #
Edit the registered DHCP server settings.

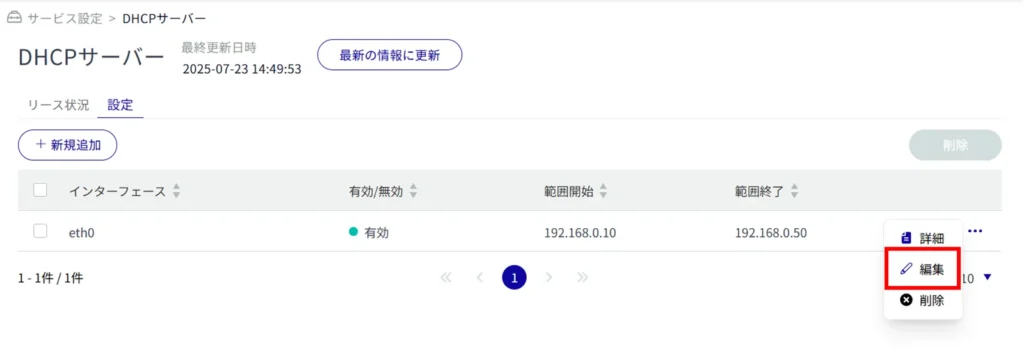
The "Edit DHCP Server Settings" window appears.
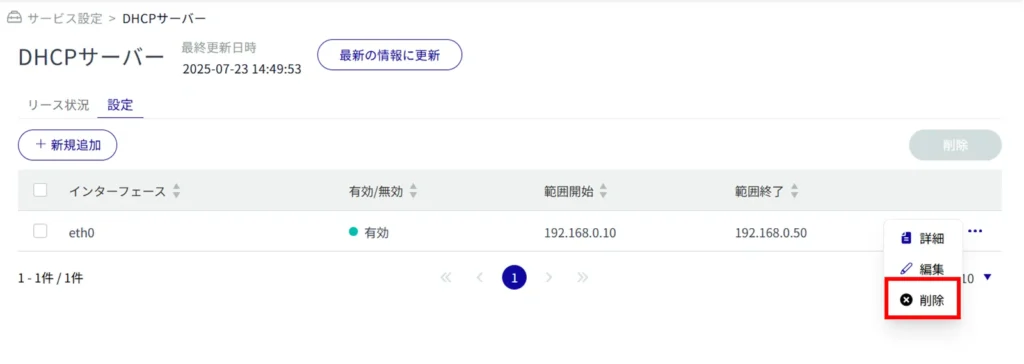
Delete DHCP server settings #
There are two ways to delete registered DHCP server settings: individually from the DHCP server settings operation menu, or by selecting multiple targets and then deleting them.
Delete individual DHCP server settings
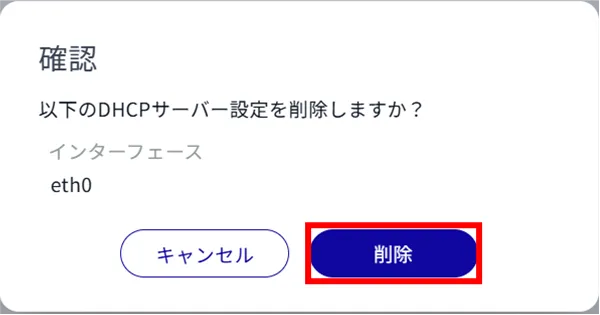
The DHCP server setting is deleted.
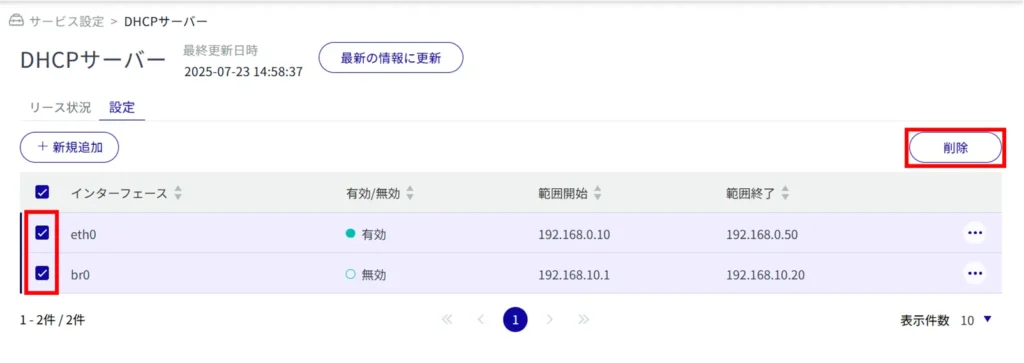
Selecting and deleting multiple DHCP server settings
This method is used to delete a DHCP server setting after checking the check box for the DHCP server setting you wish to delete. This is useful for deleting multiple DHCP server settings at once.
You can also select only one DHCP server setting to delete.

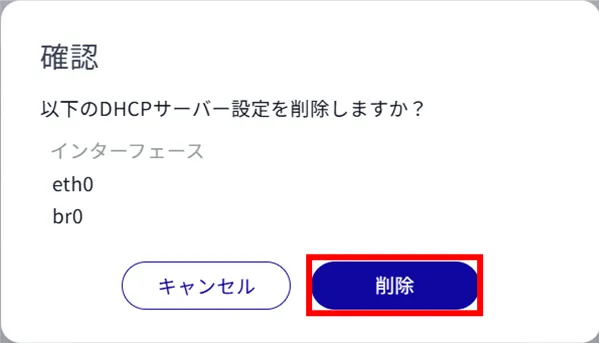
The DHCP server setting is deleted.