Table of Contents
This section describes in turn how to switch the tenants to be operated.
Tenant switching #
Tenant switching is performed as follows
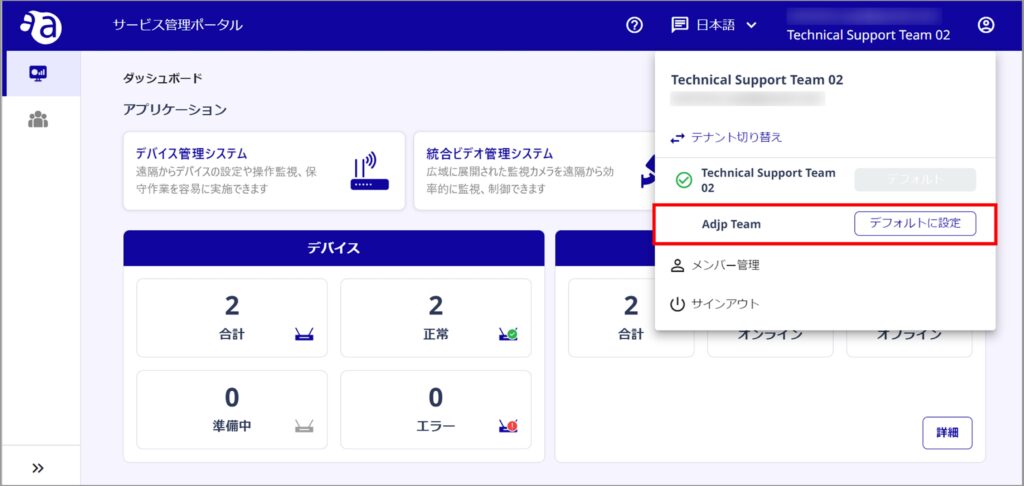
Click the My Account icon in the upper right corner of the screen (①) and click [Switch Tenants] (②).

A list of tenants will appear, click on the tenant you wish to switch to.
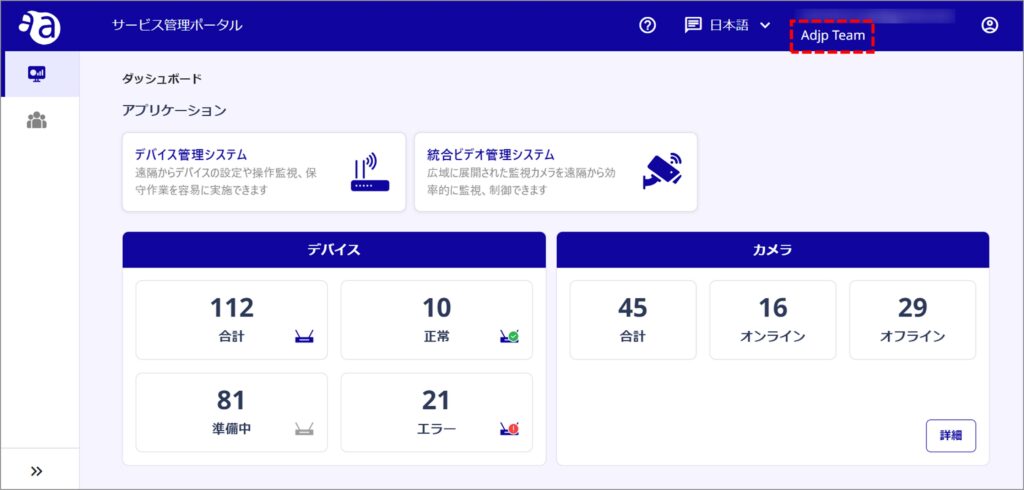
Tenant switchover is complete.
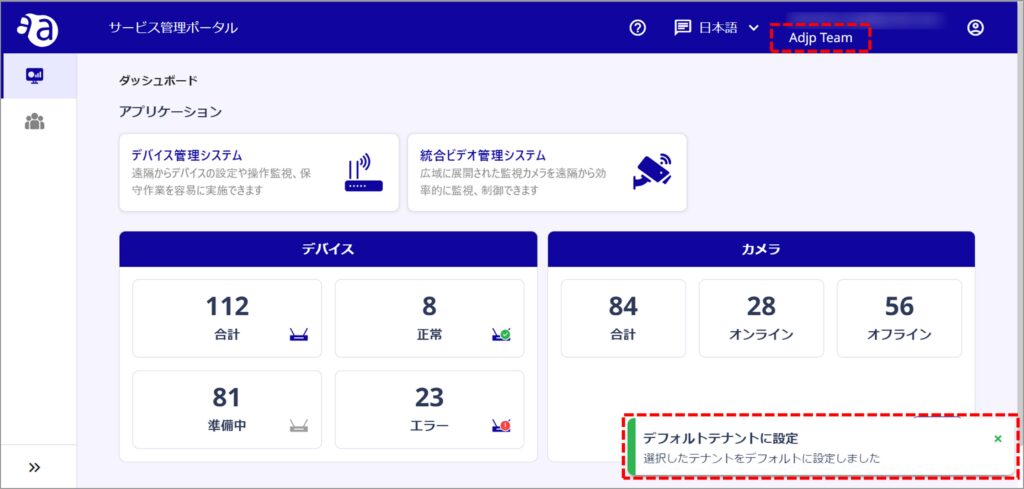
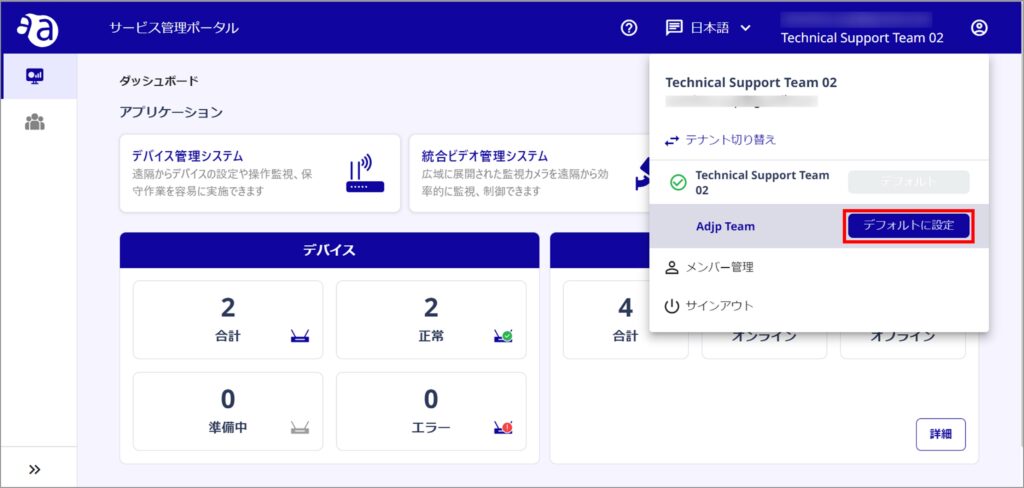
Default Tenant Settings #
To set any tenant to appear as the default, follow these steps
Click the My Account icon in the upper right corner of the screen (①) and click [Switch Tenants] (②).

When the tenant list appears, click Set as Default next to the tenant you want to display as the default.
The tenant has switched and the default tenant has been configured.