The nameplate template consists of a rectangle, an image, and a text object.
The order in which the objects are displayed is, from the back, rectangle → image → text. For objects of the same type, those added later are placed in the front.
Each nameplate template can contain up to 10 rectangles and 5 images.
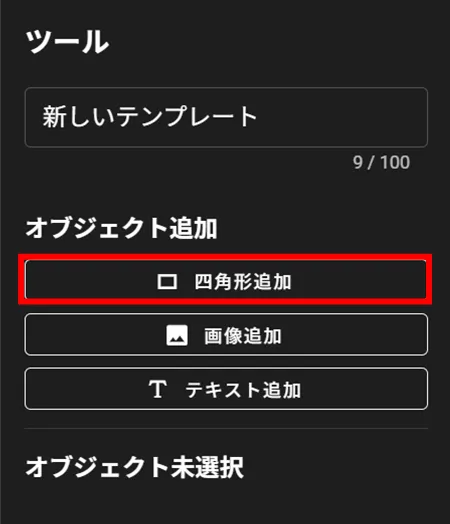
Add Object - Rectangle #
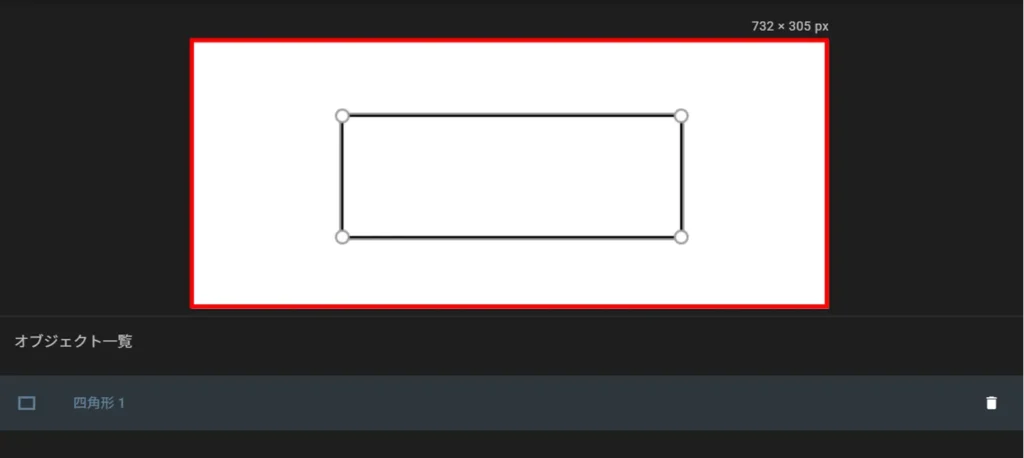
Adding Squares #
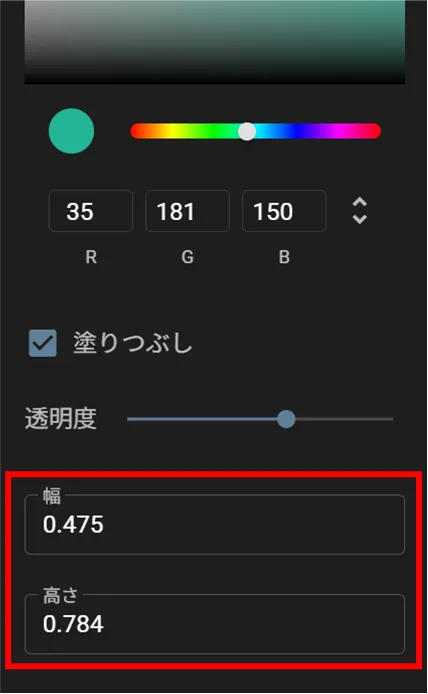
Rectangle Color Selection #
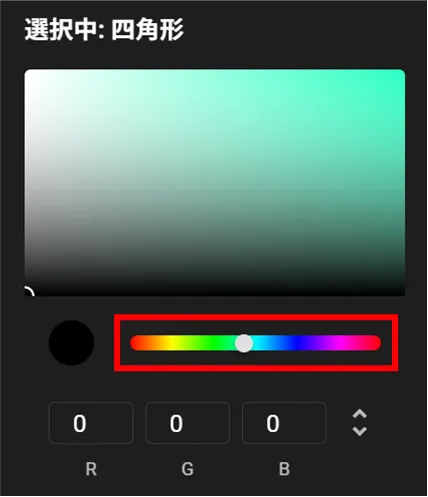
Lightness and saturation can be set either by selection on the color scale or by entering RGB values.
| color scale | RGB value |
|---|---|
 |  |
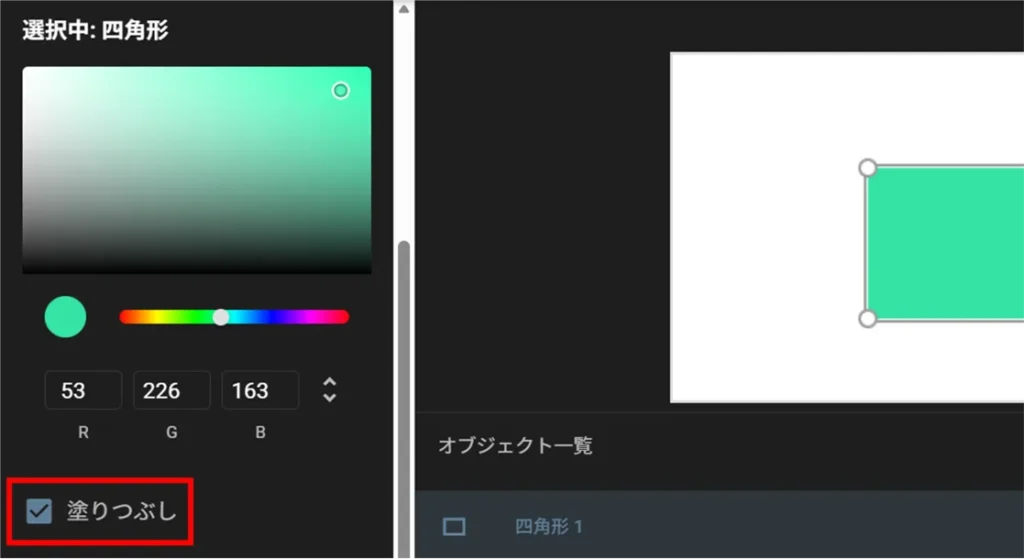
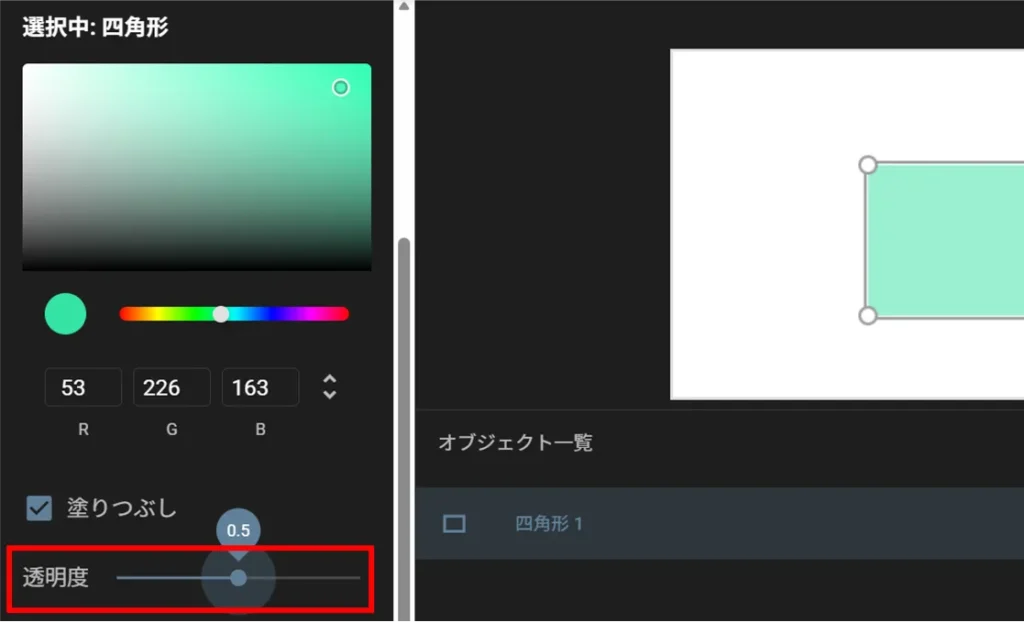
Rectangle Fill #
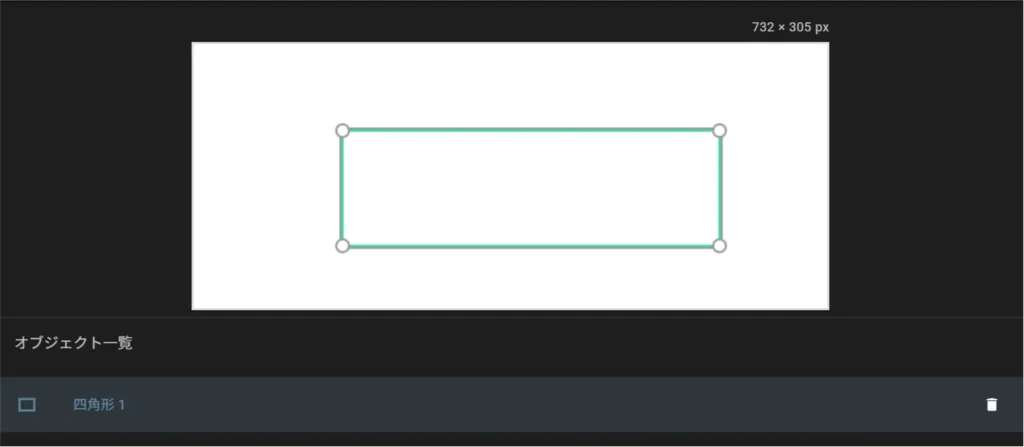
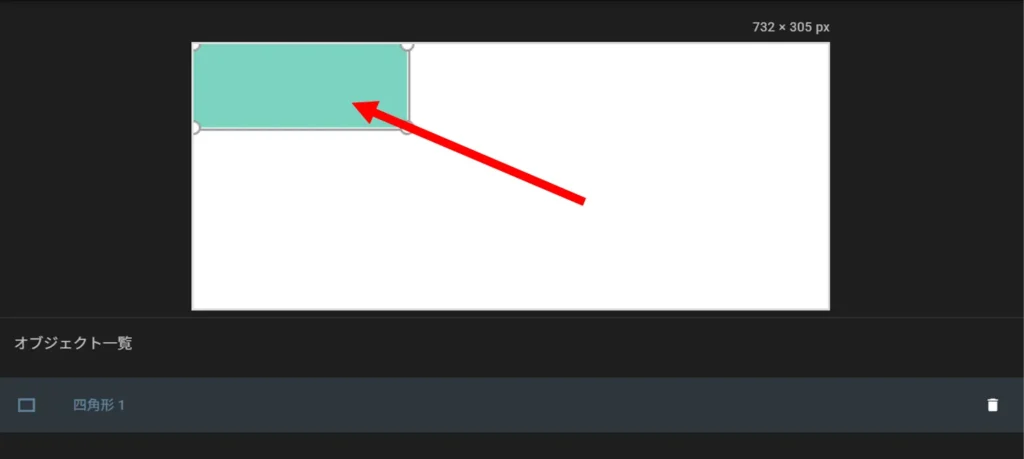
Adjustment of position, size and shape of squares #
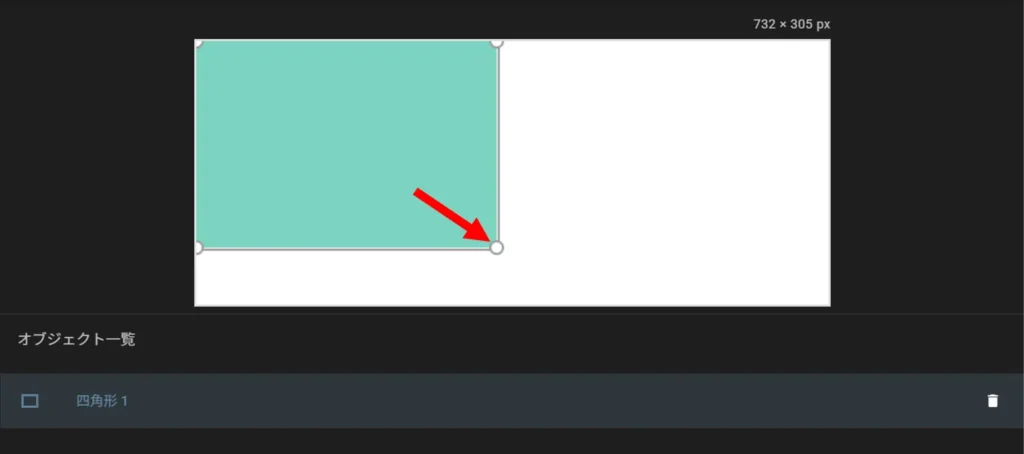
The size and shape of the rectangle can also be changed by entering numerical values for width and height.
The maximum value for width and height is 1 and the minimum value is 0.
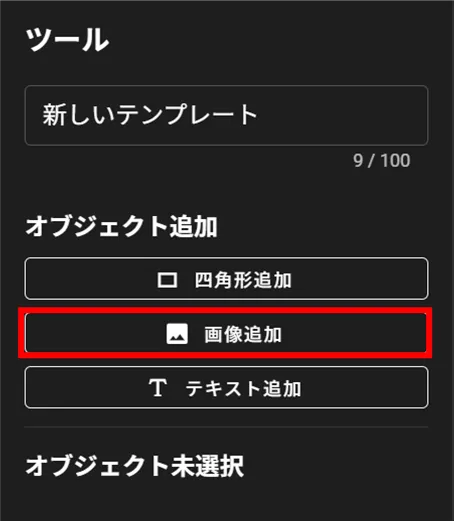
Add Object - Image #
Supported images that can be added are as follows
- Supported formats: PNG, JPG, JPEG
- Maximum file size: 500 KB
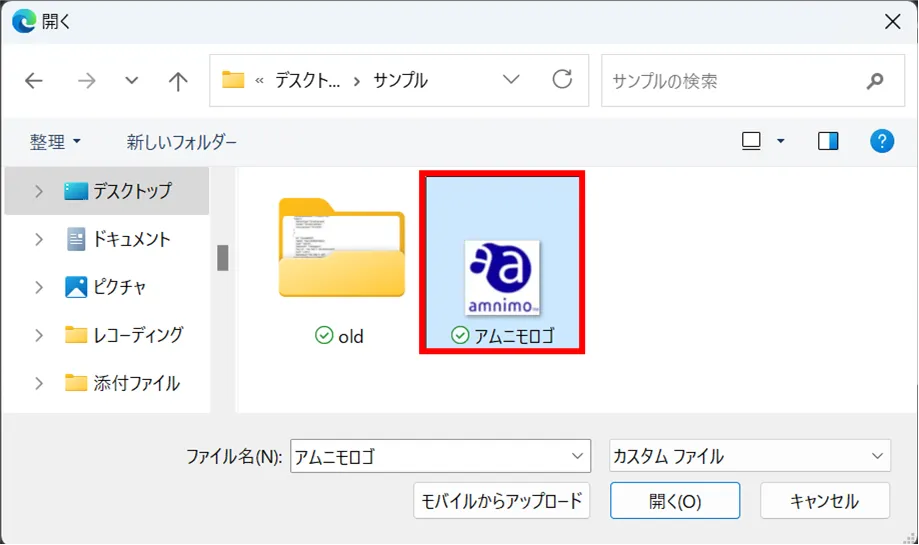
Adding Images #
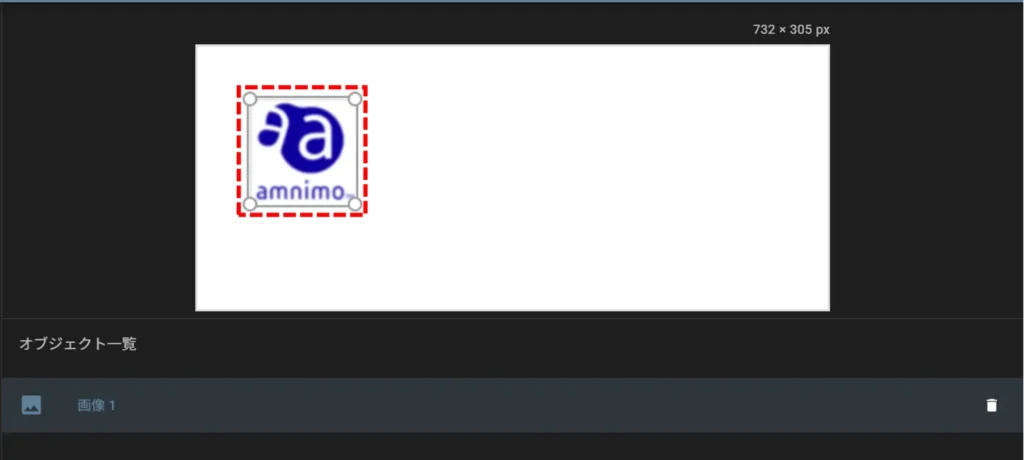
Adjustment of image position and size #
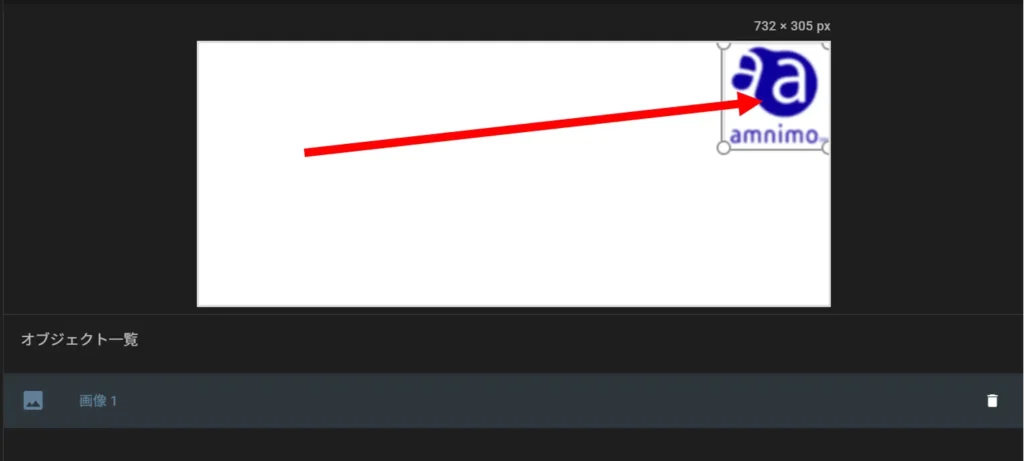
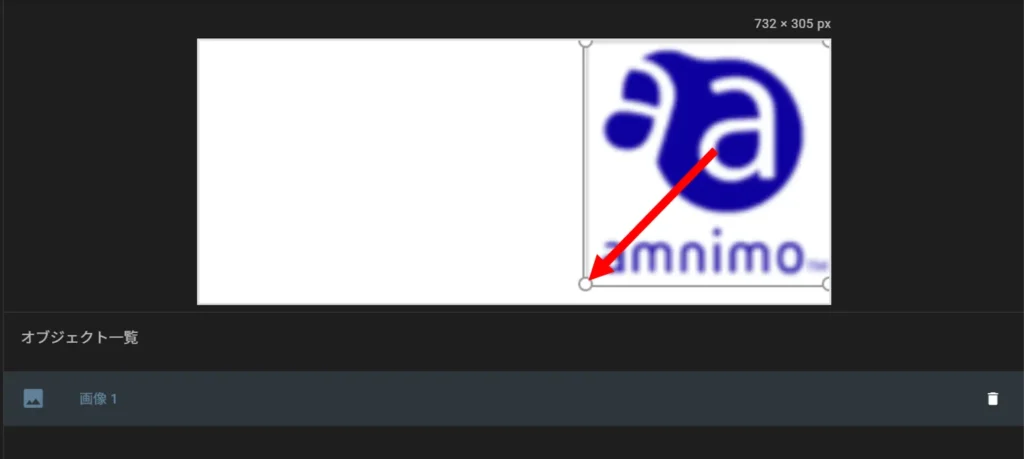
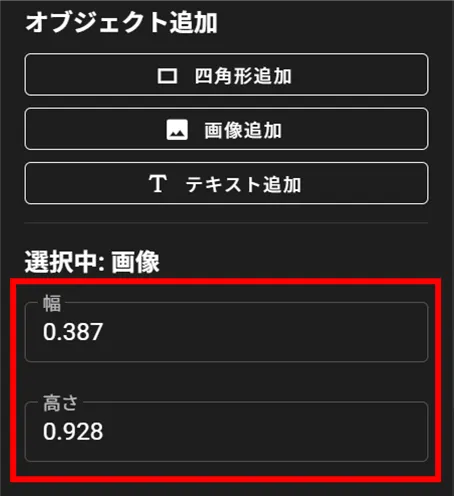
The size and shape of the image can also be changed by entering numerical values for width and height.
The maximum value for width and height is 1 and the minimum value is 0.
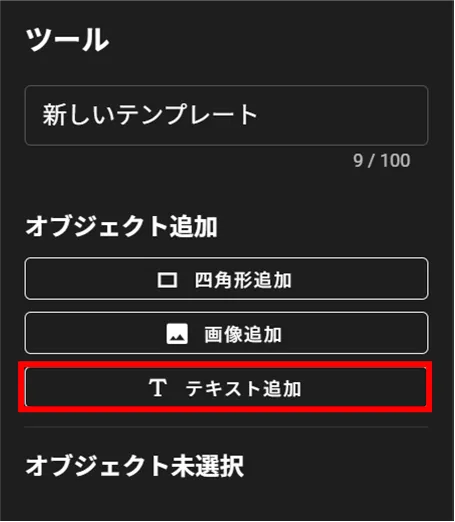
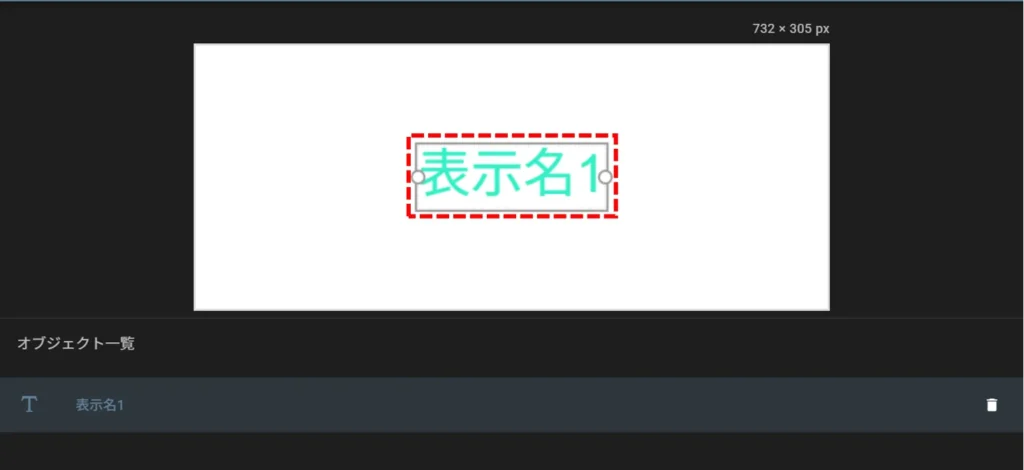
Add Object - Text #
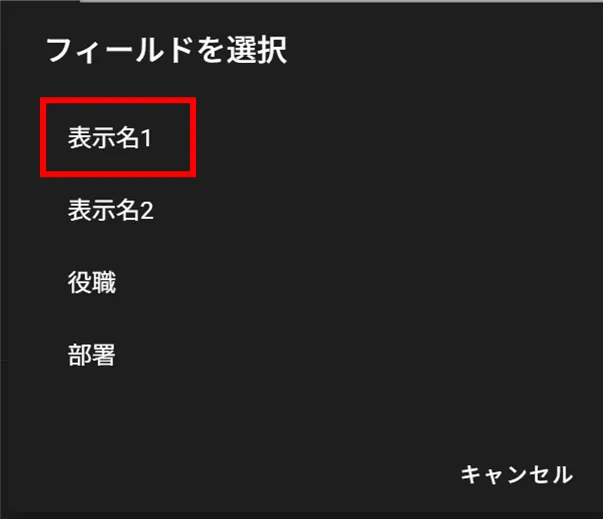
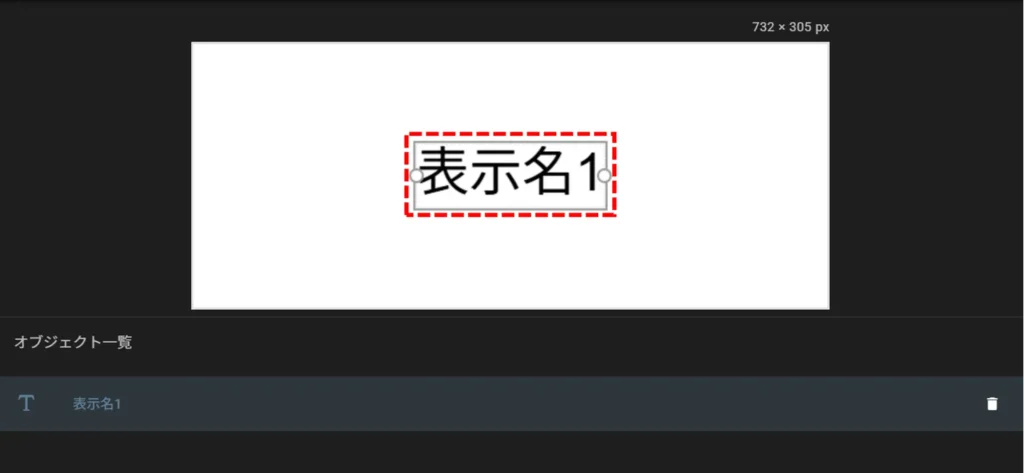
Add Text #
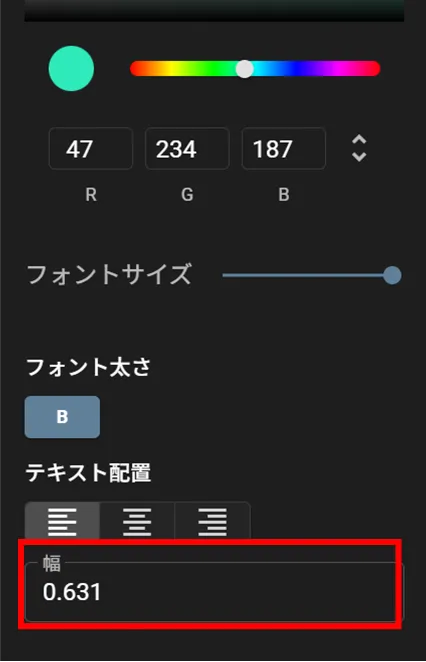
Text color selection #

Lightness and saturation can be set either by selection on the color scale or by entering RGB values.
| color scale | RGB value |
|---|---|
 | 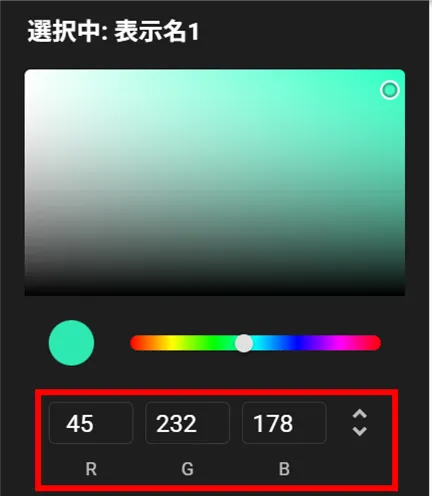 |
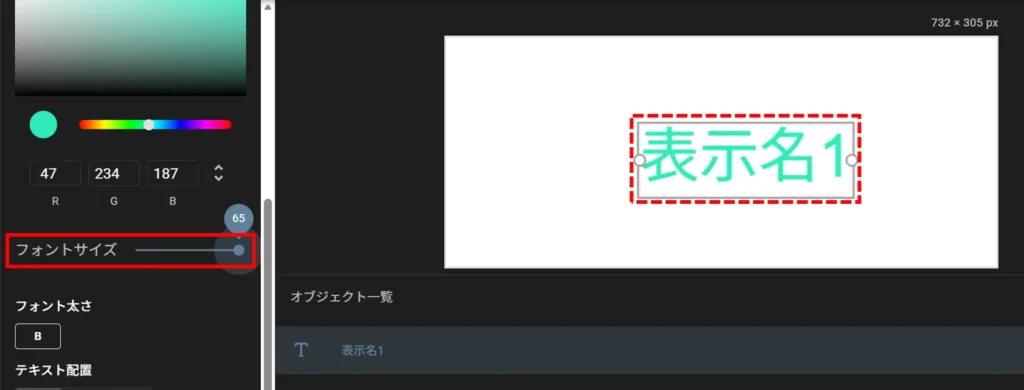
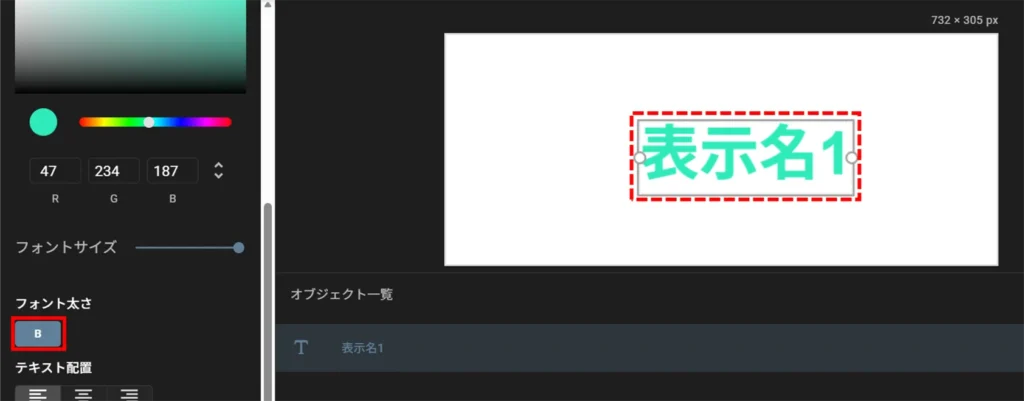
Font size adjustment and bold setting for text #
Text alignment settings #

Adjustment of text position and width #
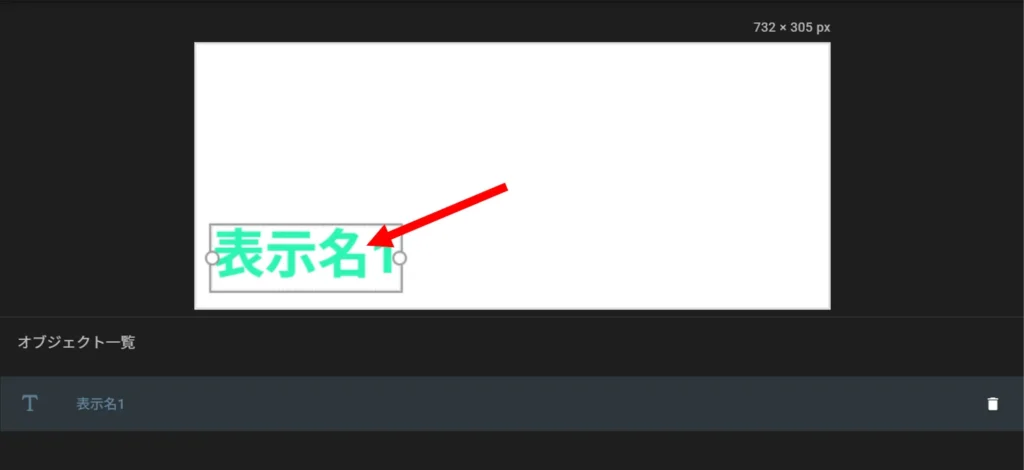
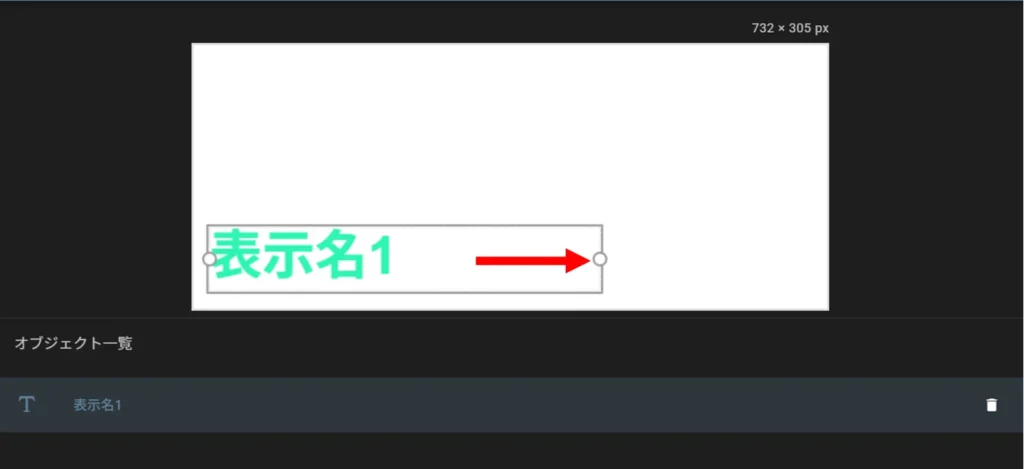
Text size can also be changed by entering a numerical value for width.
The maximum value of the width is 1 and the minimum value is 0.
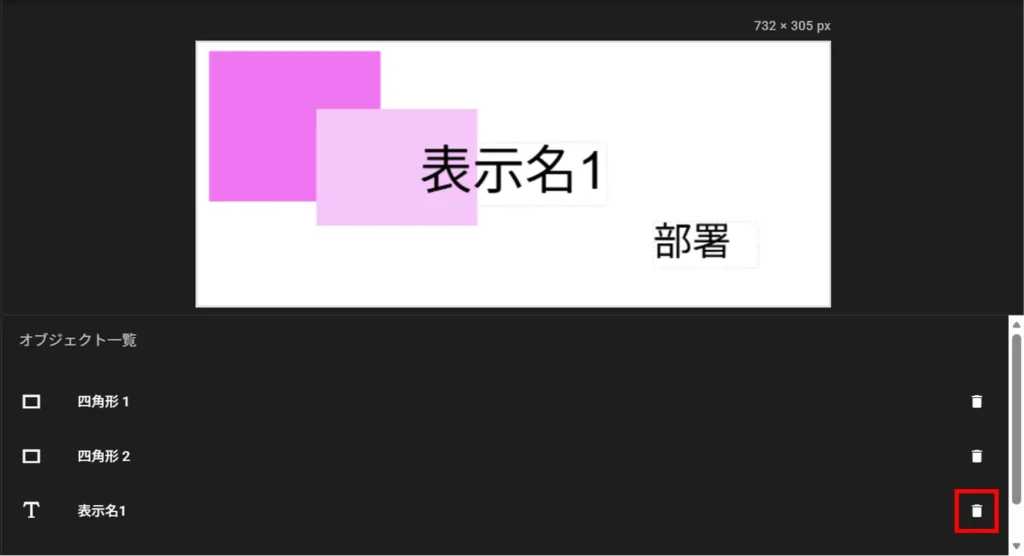
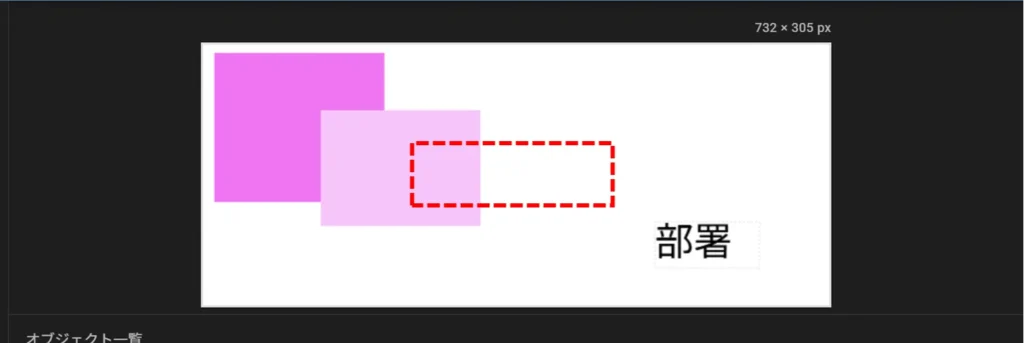
object deletion #