
Configure SSH settings to log in to the device using SSH.
Click [Advanced Settings/Controls] - [SSH Settings] on the side menu.
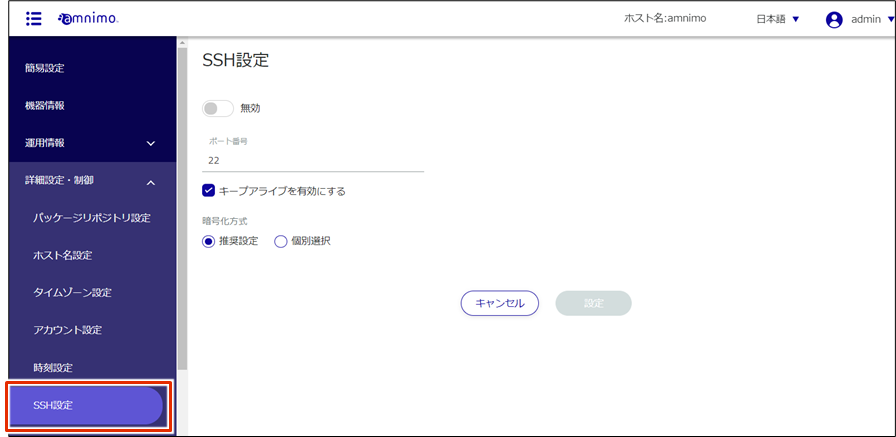
The "SSH Settings" screen appears.
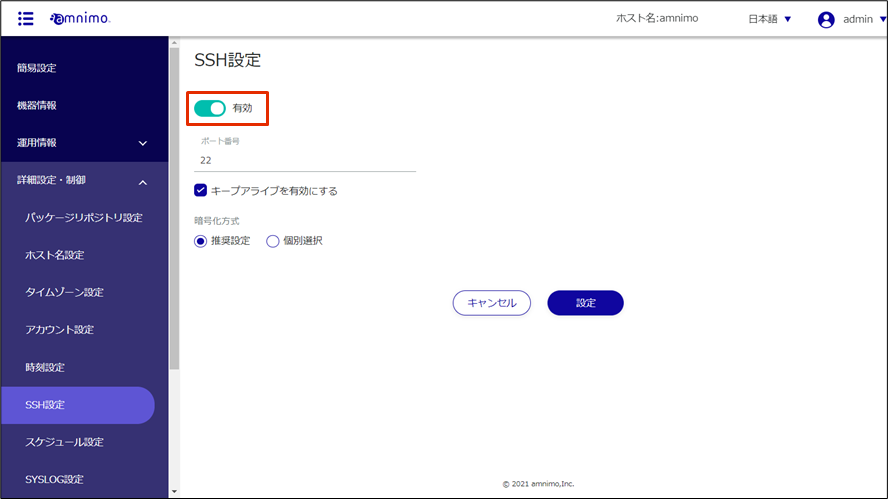
Slide the toggle to set SSH as enabled.
Configure the port settings.
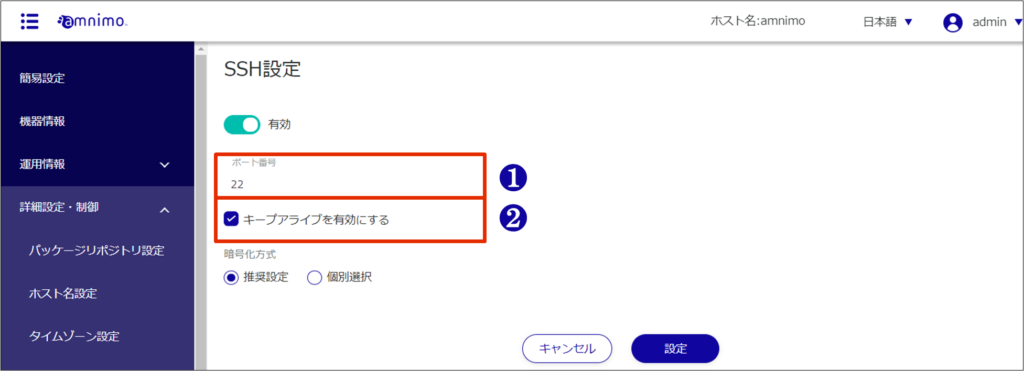
❶ Change the port number if necessary.
The port number can be set from 1 to 65535; SSH uses port 22 as standard.
Note that if the port number is changed, the client must specify that port number to connect.
❷ By checking the "Enable keep-alive" checkbox, keepalive packets can be sent periodically to prevent SSH connections from timing out.
Set the encryption method.
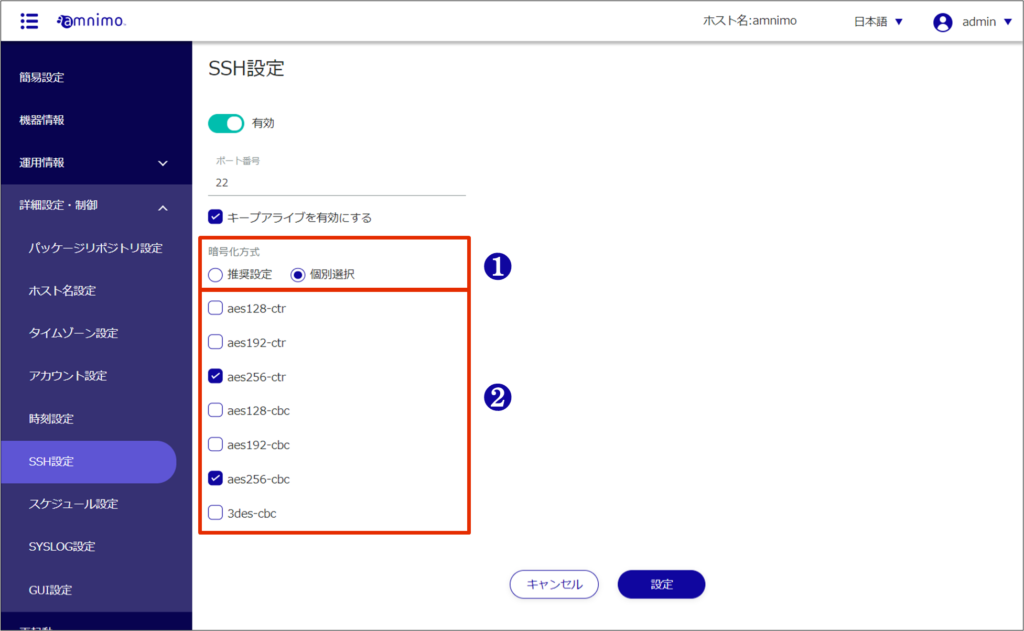
❶ Select "Recommended setting" or "Individual selection" as the encryption method to be used.
- If you selected "Recommended Settings," go to Step 5.
❷ If "Individual Selection" is selected, check the checkbox for the encryption method to be used.
[Click Settings.
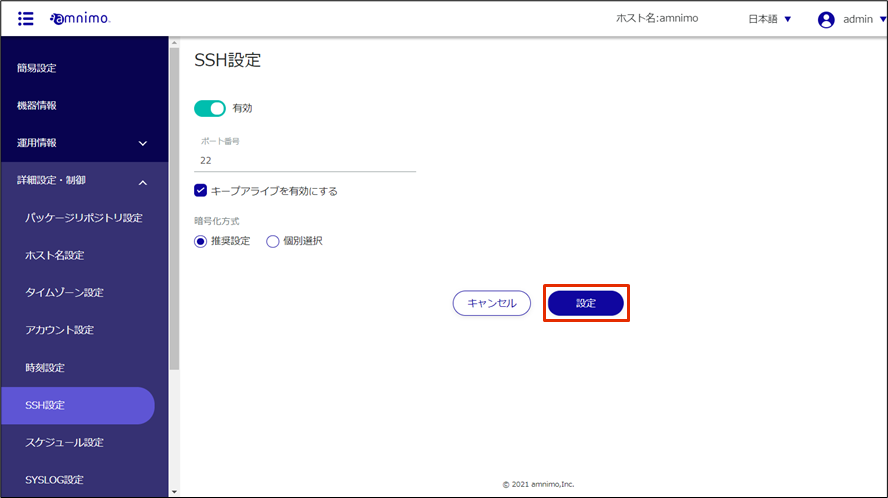
SSH settings are saved.