
- Customers who use amnimo VMS without Nx witness do not need to configure Nx Witness.
Please start from "Configure amnimo VMS". - Please refer to the following manuals for detailed usage and configuration details of Nx Witness.
⇒" Nx Witness VMS Guide
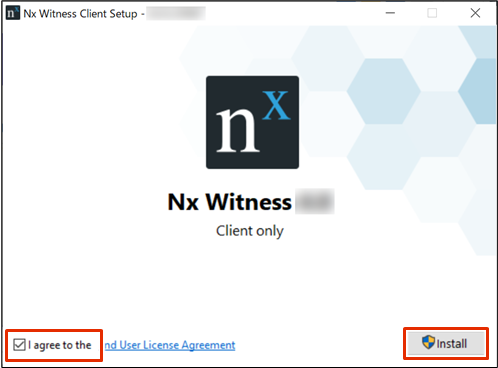
Install the desktop client #
This section describes how to install the Nx Witness desktop client on a Windows PC.
- The client version and download location for your environment can be found at the following page.
⇒ "Where can I download Nx Witness? - When downloading, be sure to select Client Installer.
- The design of the installation screen may change due to manufacturer's reasons.
The installer will start.
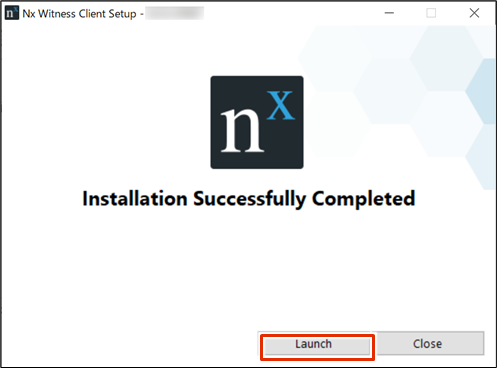
The Nx Witness desktop client will start.
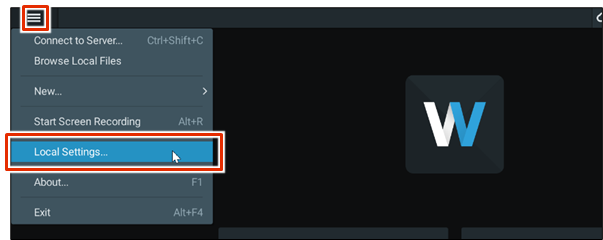
render in Japanese #
Nx Witness can be displayed in Japanese. Please set as necessary.
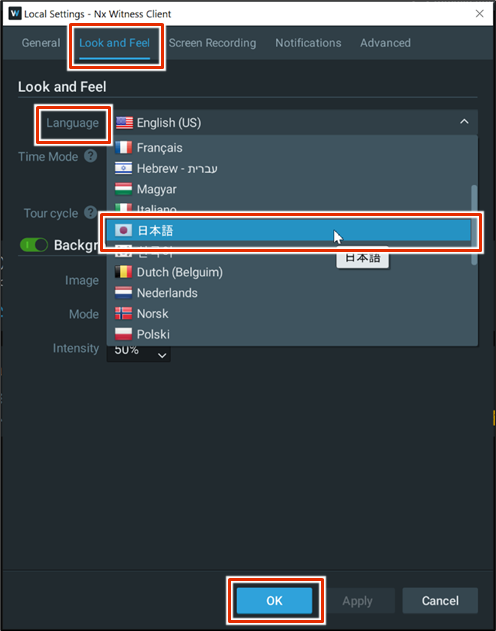
Click ❶ Look and Feel ❶.
Click [Language] and select [Japanese].
❸ Click [OK].
A confirmation dialog box for restart will appear.
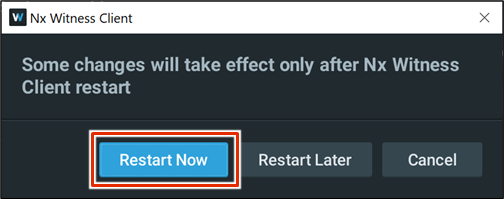
Nx Witness will restart.
After restarting, the Japanese display settings will take effect.
Connecting to a Media Server #
Connect to the media server using a PC on the same network as the gateway.
If a connection is made from a PC on a different network than the gateway, the media server cannot be detected.
Configure initial system settings. #
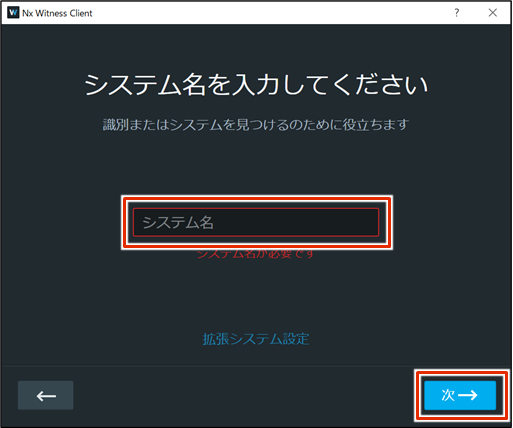
Set the system name and administrator password.
In VMS, the entire monitoring (surveillance) mechanism, including one or more cameras and servers, is called a "system.
Media servers on the same network are searched and the media servers are displayed.
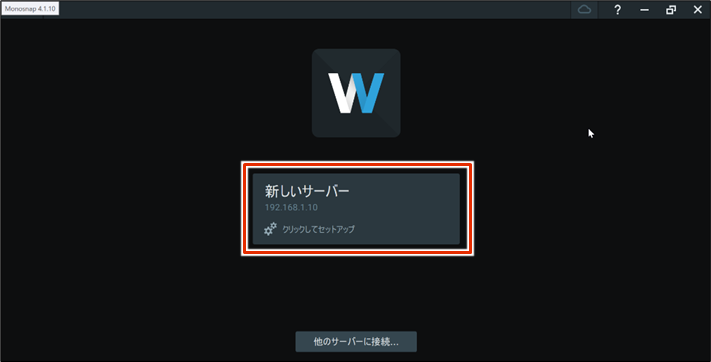
The "Start Nx Witness" screen appears.

The system name setup screen appears.
The administrator password setting screen appears.
Do not include "?", "/", or "#" in the password. Do not include "?If any of the above characters are included, all features of the integrated video management system will be unavailable.
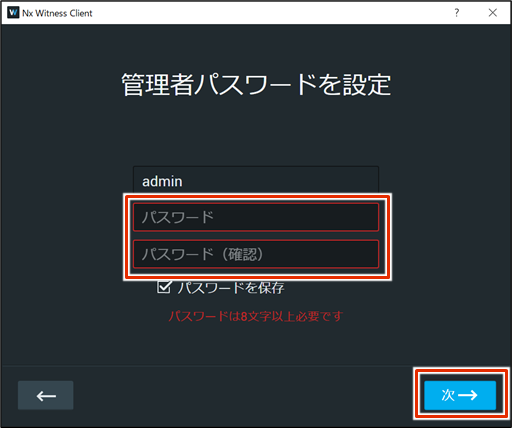
system will be available.
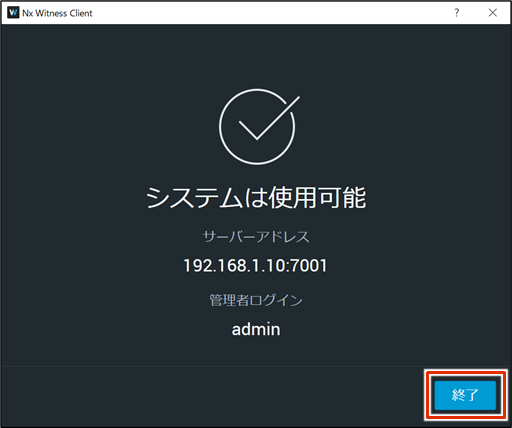
Initial system setup is completed.
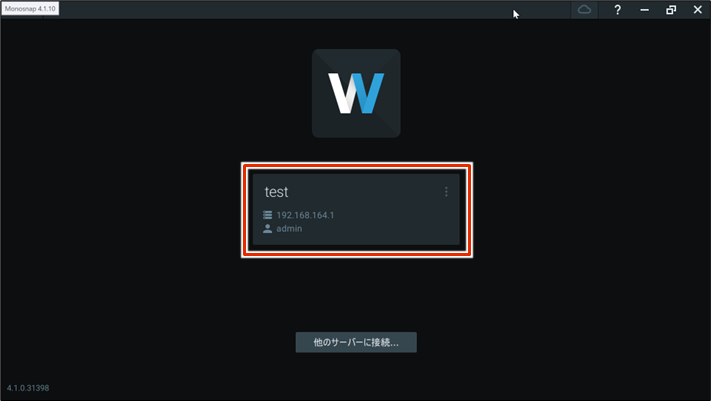
Connect to the configured system #
Connects to the system with the information set in the initial system setup.
Media servers on the same network are searched and displayed.
The authentication information entry screen will appear.
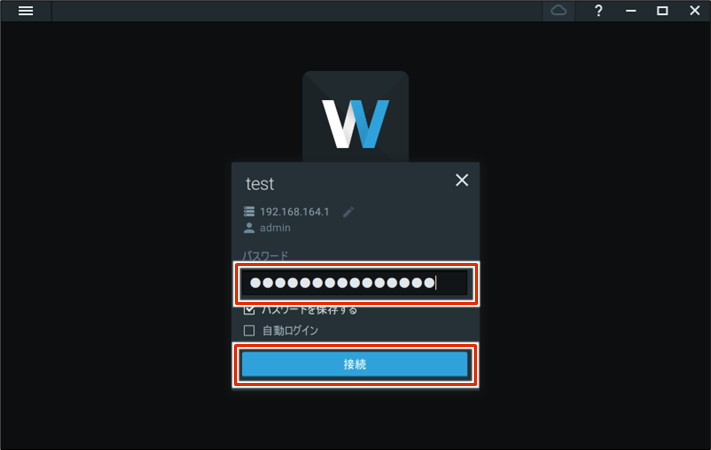
When you log in to the media server, you will see the following screen.
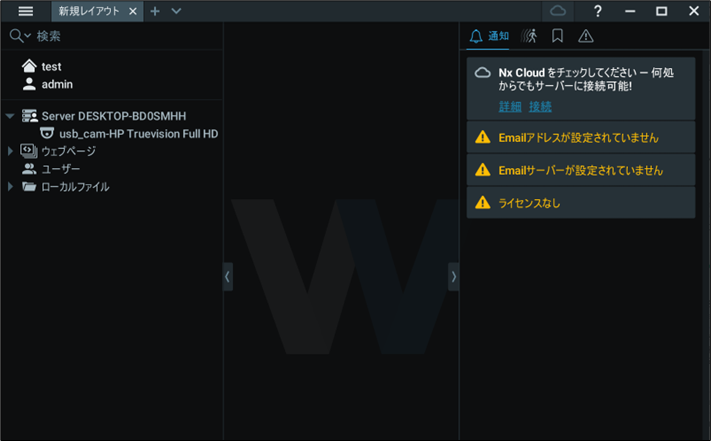
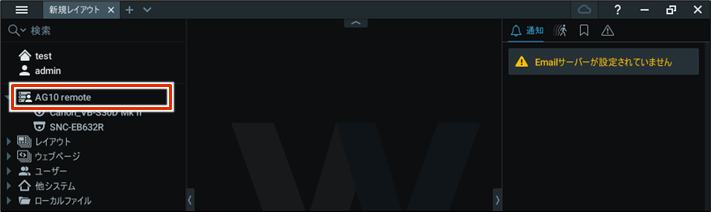
Check the device #
The media server automatically detects accessible devices in the network. When a device is activated, it will appear in Cameras & Resources.
- If the "People Counter" feature of the Axis camera is enabled, neither automatic nor manual detection will work in Nx Witness.
- If the device belongs to a different network or can only be accessed via the Internet, the device will not be auto-detected.
- Depending on your network environment and security settings, the camera may not be recognized. In this case, please check your VPN environment and PC security settings.
For information on how to connect to the system, please refer to the following
⇒ Connect to the system you have configured in "Configuring Nx Witness".
The camera is displayed.
Right-click on the camera name and select "Camera Settings" from the menu that appears.
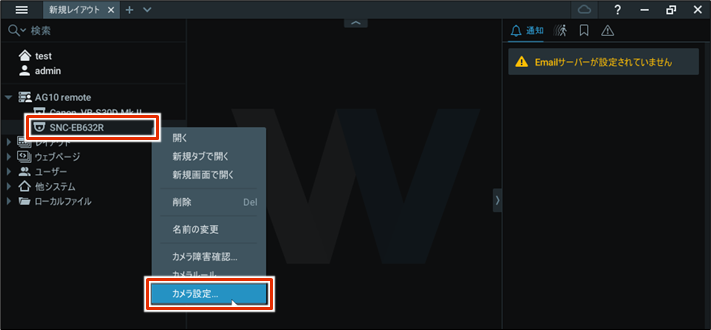
The "Camera Settings" screen appears.
On the General tab, click Edit Credentials.
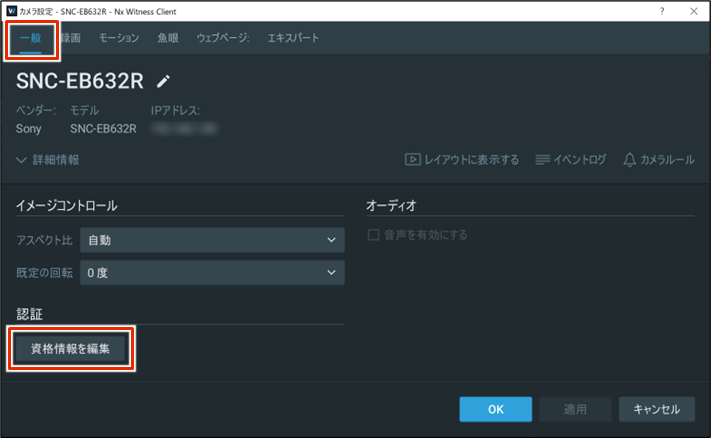
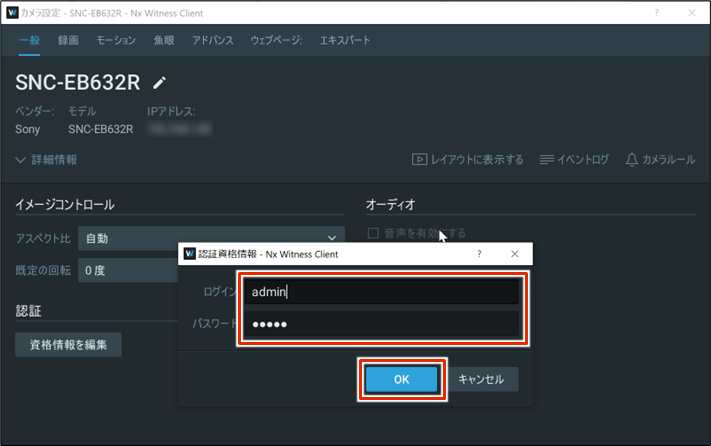
The "Certification Credentials" screen appears.
❸ Enter the login information you set up when you set up the camera, and then click [OK].
Login information varies from customer to customer. Enter the user name and password that you set yourself during the initial setup of the camera.
If the camera is working, the image will be displayed as shown below.
You may see the icon ![]() next to the connected camera. This indicates that the device has not been authenticated.
next to the connected camera. This indicates that the device has not been authenticated.
In this case, the device must be authenticated. For more information, please refer to the following manual
⇒ " Nx Witness VMS Guide ".
When you start the Nx Witness desktop client, you may see a pop-up prompting you to update, but please do not do so.
For more information, please refer to the following FAQ
⇒When I start the Nx Witness desktop client, the update screen appears.
Save VMS settings #
When the Nx Witness system configuration is complete, save the settings.
- Be sure to save your Nx Witness settings if you change them.
- If settings are not saved, camera settings and other settings may disappear and revert to their original settings.
- Also, if the settings are saved, they will be reflected correctly when the system is started in the redundant area. Please refer to the following for more information on the redundant area.
⇒ GUI User's Manual
Save Nx Witness passwords and settings #
To backup Nx Witness configuration data, save the Nx Witness administrator password in the gateway.
To set the Nx Witness administrator password, see the following.
⇒ Configuring Nx Witness" > "Configuring Initial System Settings".
This operation is performed using the Graphical User Interface (GUI).
Please refer to the following for the connection procedure in the GUI.
⇒ First time sign-in
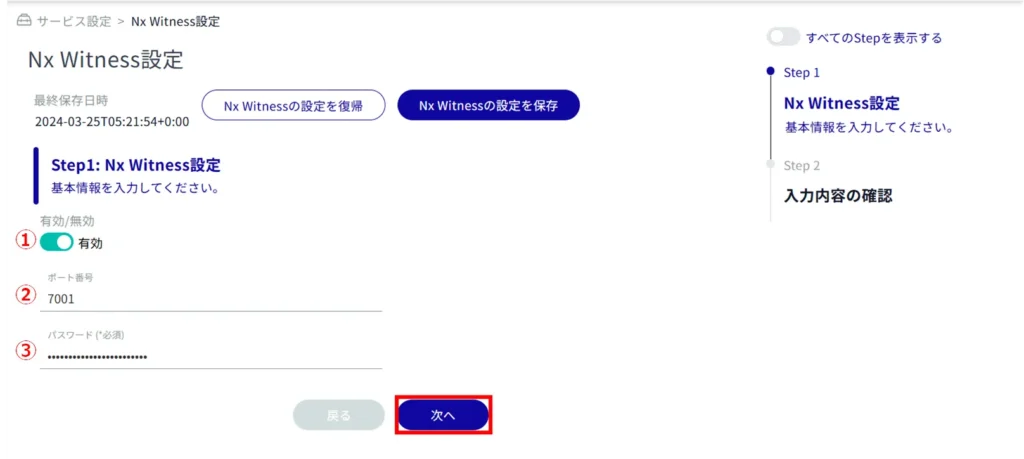
Configure Nx Witness settings. #
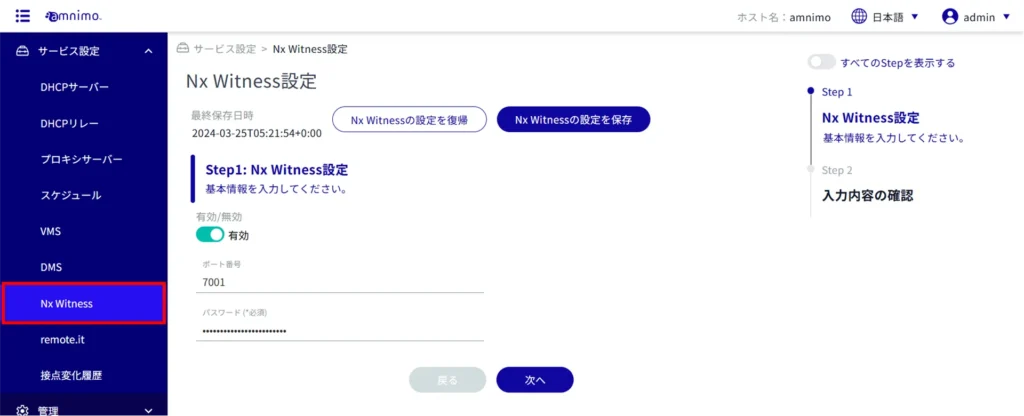
Click the toggle to select Enable/Disable.
(ii) Specify the port number. The default value is 7001.
(iii) Enter the admin password set for Nx Witness.

If Nx Witness is enabled while the VMS setting is enabled (amnimo VMS is enabled), the following message will appear.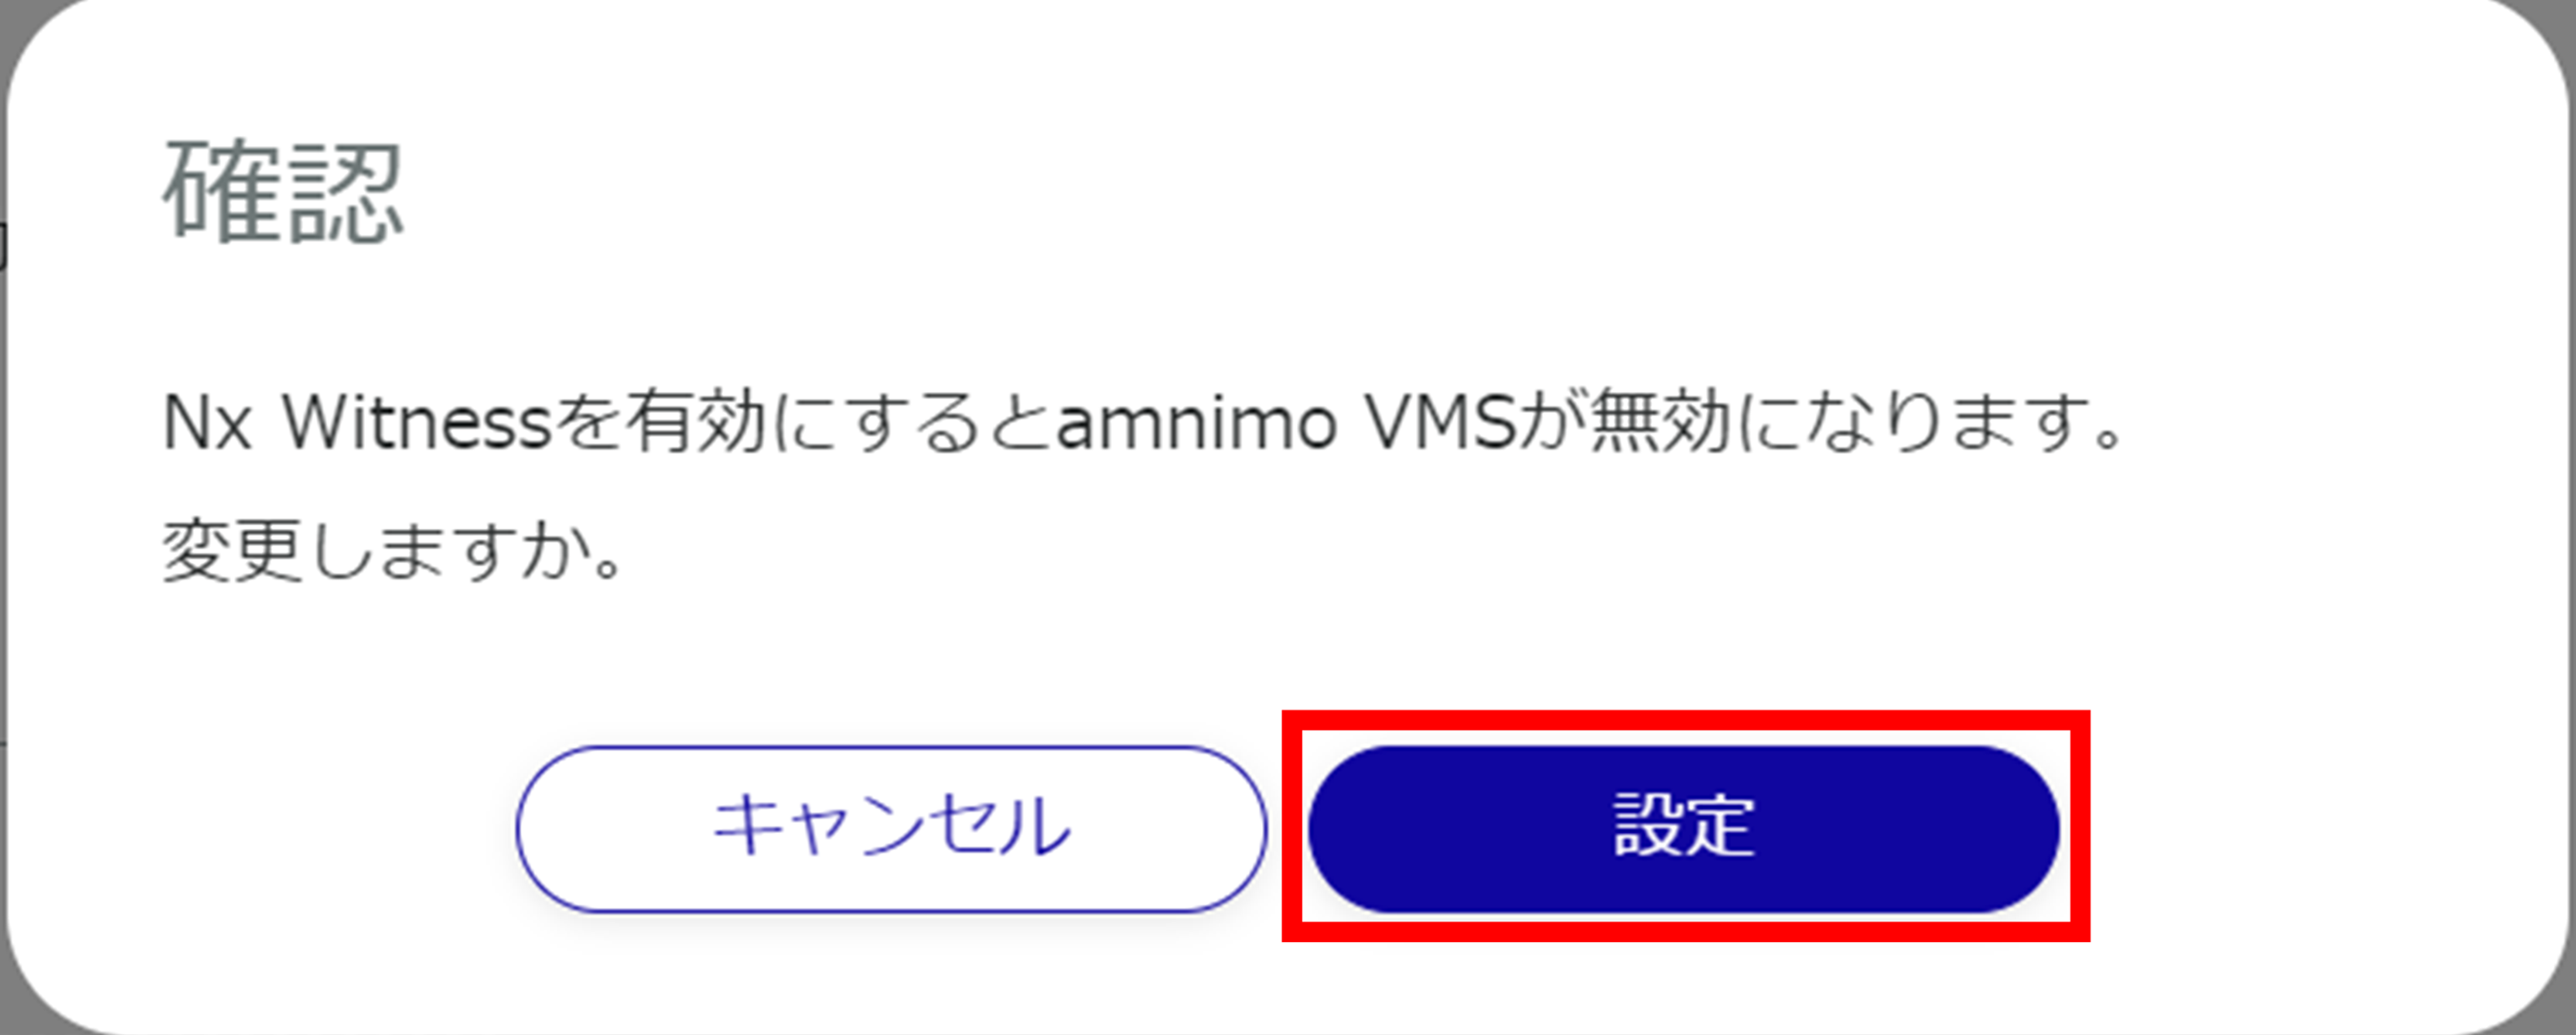
Changes are made to the Nx Witness configuration.
Save Nx Witness settings #
To use this feature, the Nx Witness password must have been properly set beforehand. Please note that an error message will be displayed if the password is not set correctly.
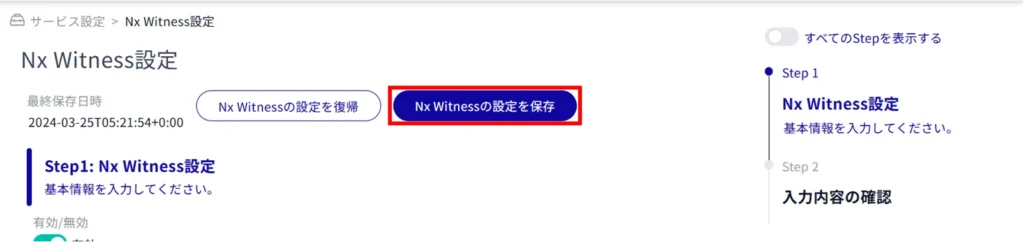
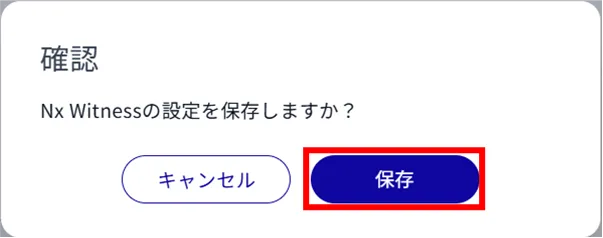
The Nx Witness settings are saved and the last save date/time in the upper left corner of the screen is updated.